microsoft
Installing VMware Workstation Pro 26H1
Here are the steps I took to install VMware Workstation Pro 26H1.
Meet the requirements
The number one issue why Workstation doesn’t install is failure to read the requirements. Ensure your hardware and your BIOS settings meet the requirements prior to installation.
Download Workstation
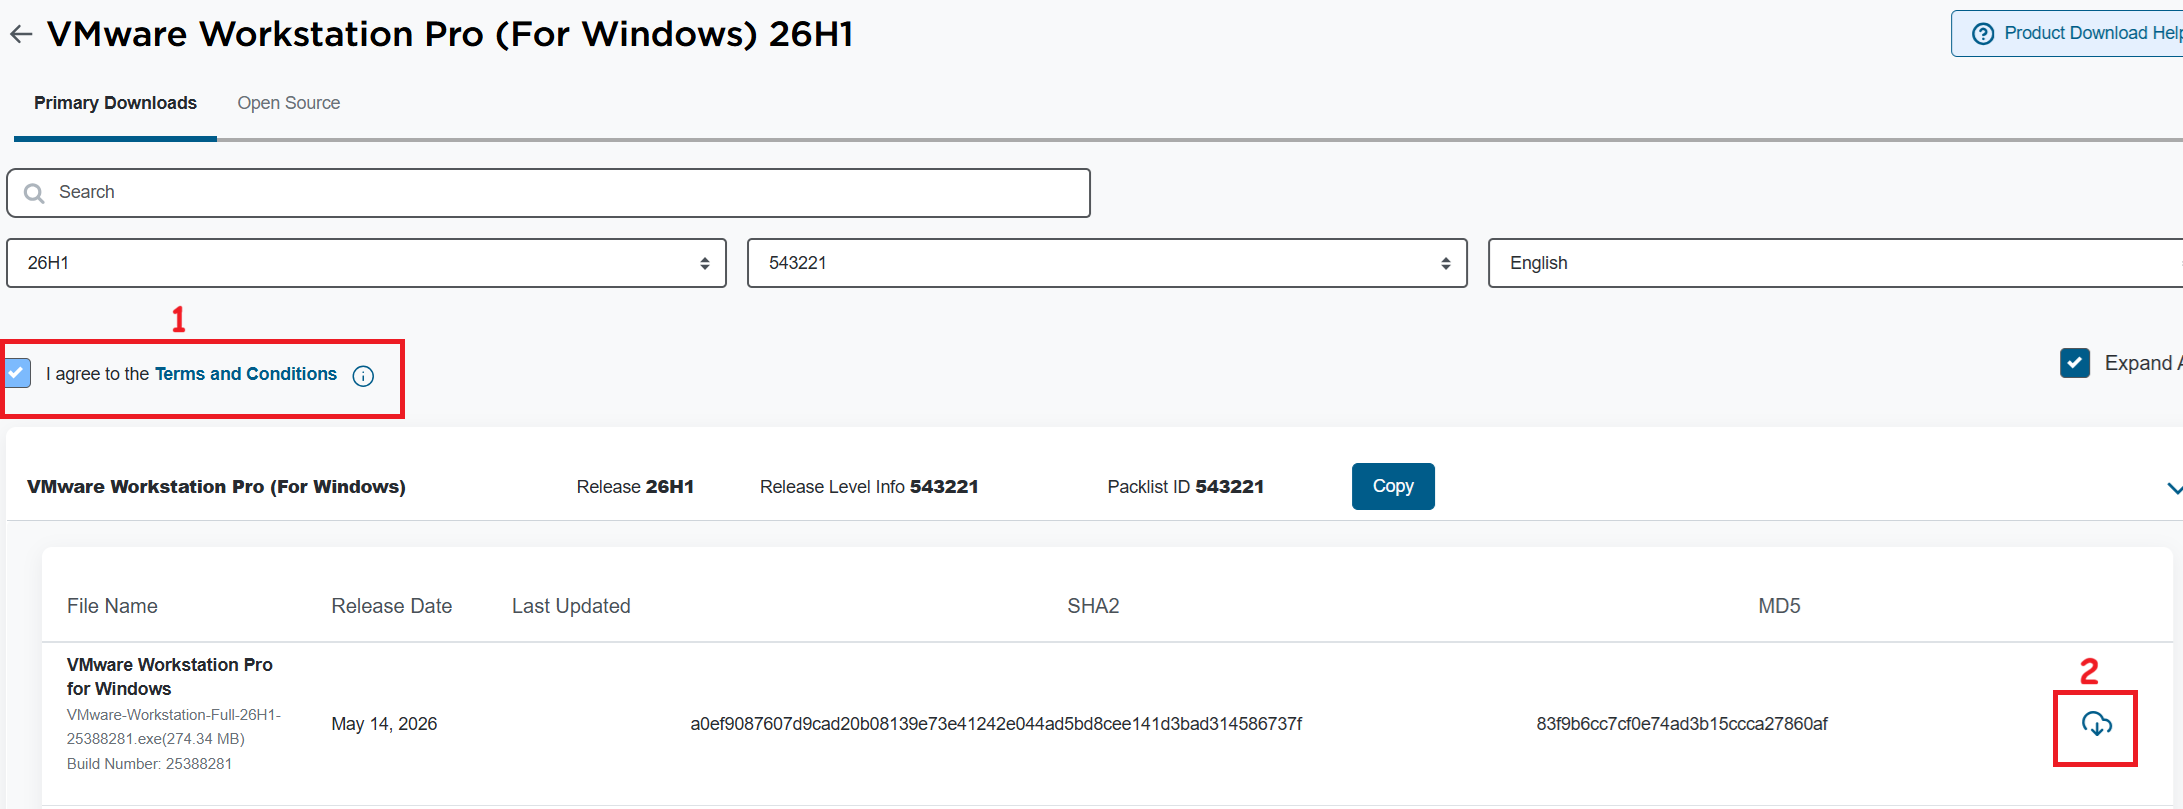
I’ll need to download VMware Workstation Pro 26H1. The good news is, it’s free and users can download it at the Broadcom support portal. Once you log in, you can find it under the downloads section under FREE Downloads. Need more guidance on the portal, see this KB.
Note: Make sure you click on the ‘Terms and Conditions’ plus the check box (1) before you click on the download icon (2).
Windows Settings
Disable Windows Virtualization Settings
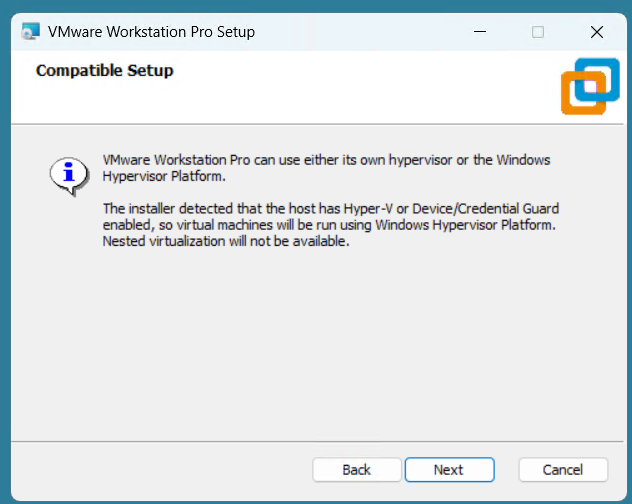
If you are deploying Workstation on to Windows the disablement of Hyper-V and Device Guard conflicts are important. Basically, Workstation needs these to be disabled to achieve optimal performance plus support nesting. If they are not disabled the following error will appear during the installation of Workstation.
Note: Before starting, I create a current Windows restore point prior to making the following changes.
To resolve this, I used the Microsoft Device Guard and Credential Guard Hardware Readiness Tool.
- Download the Device Guard and Credential Guard hardware readiness tool from Microsoft.
- Extract the downloaded ZIP file.
- Use the tool to disable Device Guard and Credential Guard:
- Open PowerShell window as an administrator.
- Navigate to the folder where you extracted the tool.
- First run this command to get Execution Policy:
- Set-ExecutionPolicy Unrestricted -Scope Process
- Now run the script with the -Disable parameter to disable Device and Credential Guard
- DG_Readiness_Tool_v3.6.ps1 -Disable
- Reboot your computer.
- During the boot process, Windows will ask you to confirm the changes. Follow the on-screen instructions to proceed (Just press F3).
- When complete your computer will reboot.
Workstation Installation
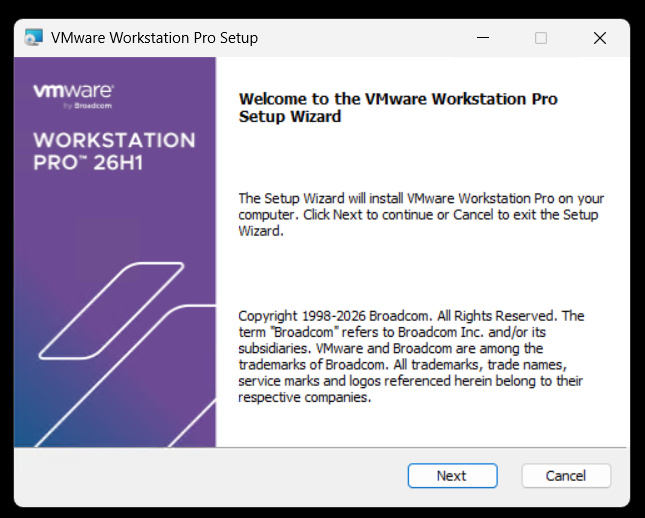
Launch the Workstation program and when prompted click Next.
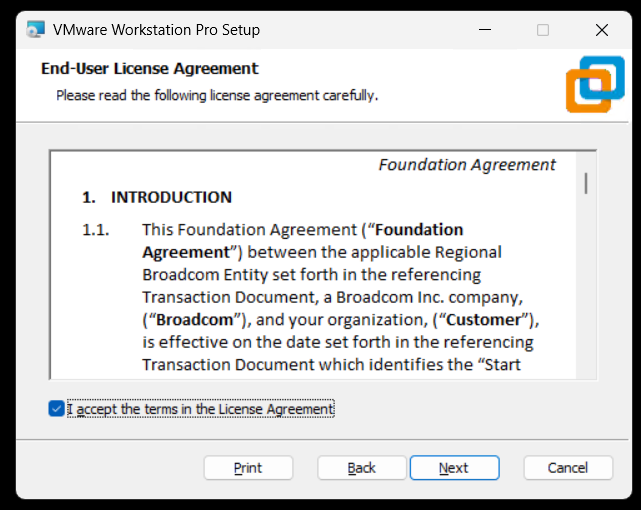
Check Accept and Click Next.
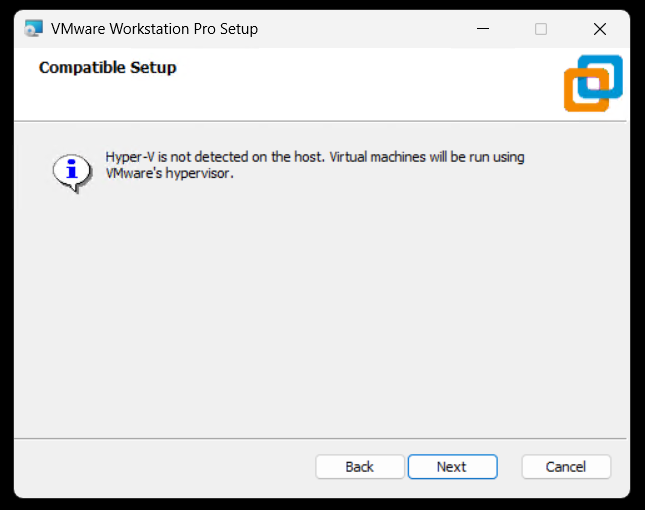
Ensure VMs are running on VMware Hypervisor.
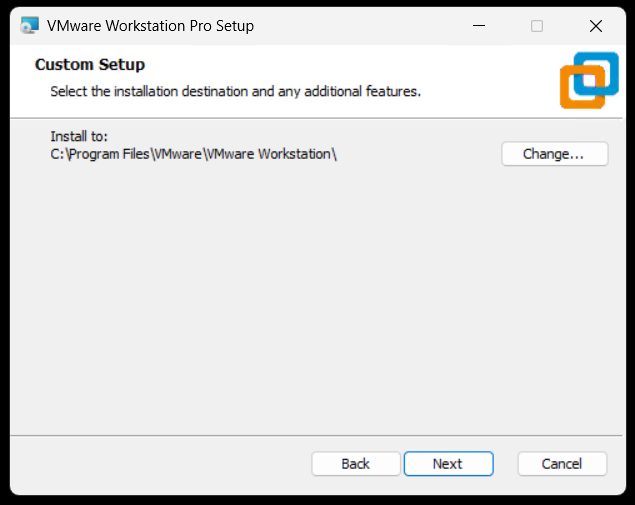
Ensure directory is correct and click next.
Click next to accept auto updates and joining the CEIP program.

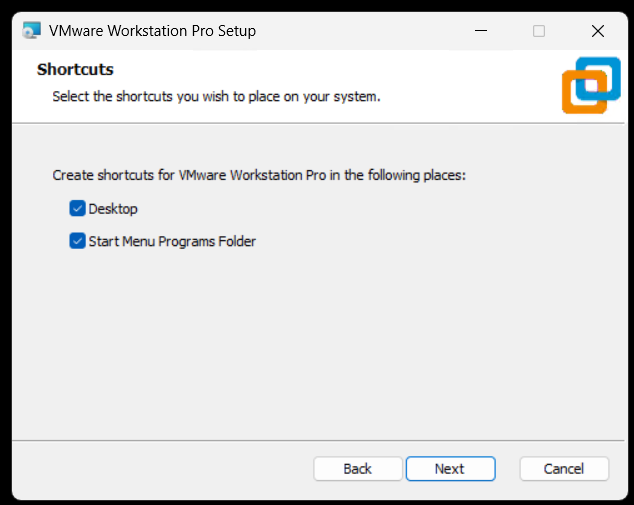
Click next to create shortcuts.
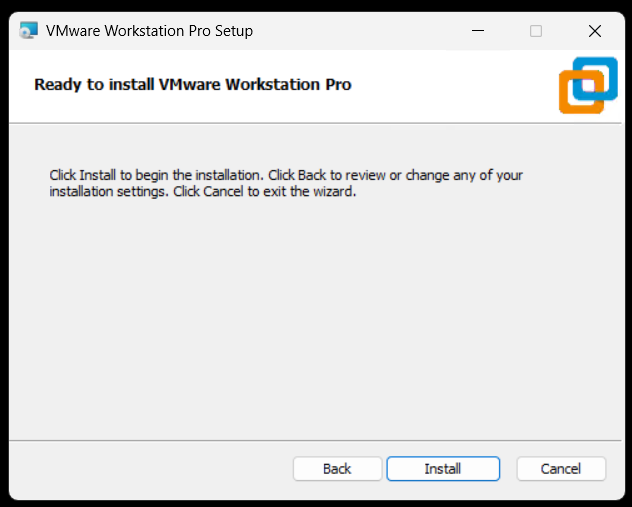
Click Install to install Workstation.
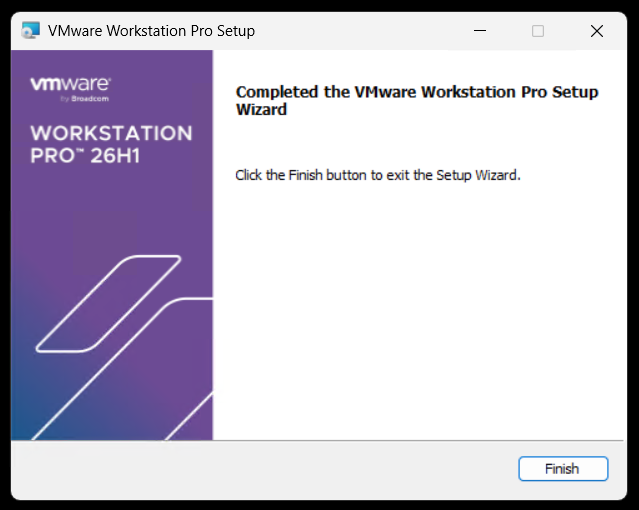
Allow the installer to complete and click Finish to finalize.
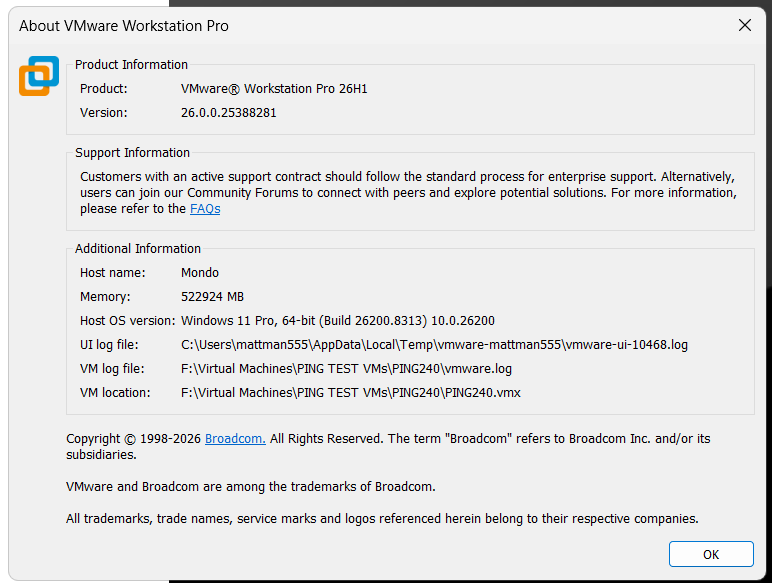
Open Workstation > Help > about to to validate install.
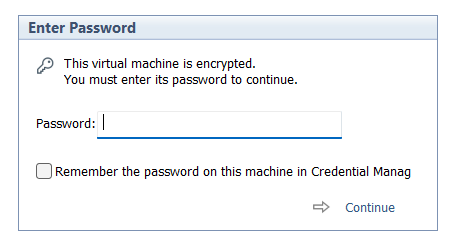
Windows 11 Workstation VM asking for encryption password that you did not explicitly set
I had created a Windows 11 VM on Workstation 25H2 and then moved it to a new deployment of Workstation. Upon powerup it the VM stated I must supply a password (fig-1) as the VM was encrypted. In this post I’ll cover why this happened and how I got around it.
Note: Disabling TPM/Secure Boot is not recommended for any system. Additionally, bypassing security leaves systems open for attack. If you are curious around VMware system Hardening check out this great video by Bob Plankers.
(Fig-1)
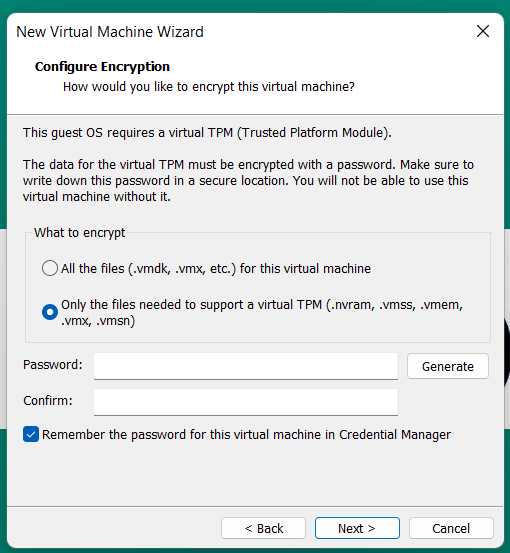
Why did this happen? As of VMware Workstation 17 encryption is required with a TPM 2.0 device, which is a requirement for Windows 11. When you create a new Windows 11×64 VM, the New VM Wizard (fig-2) asks you to set an encryption password or auto-generated one. This enables the VM to support Windows 11 requirements for TPM/Secure boot.
(Fig-2)
I didn’t set a password, where is the auto-generated password kept? If you allowed VMware to “auto-generate” the password, it is likely stored in your host machine’s credential manager. For Windows, open the Windows Credential Manager (search for “Credential Manager” in the Start Menu). Look for an entry related to VMware, specifically something like “VMware Workstation”.
I don’t have access to the PC where the auto-generated password was kept, how did I get around this? All I did was edit the VMs VMX configuration file commenting out the following. Then added the VM back into Workstation. Note: this will remove the vTPM device from the virtual hardware, not recommended.
# vmx.encryptionType
# encryptedVM.guid
# vtpm.ekCSR
# vtpm.ekCRT
# vtpm.present
# encryption.keySafe
# encryption.data
How could I avoid this going forward? 2 Options
Option 1 – When creating the VM, set and record the password.
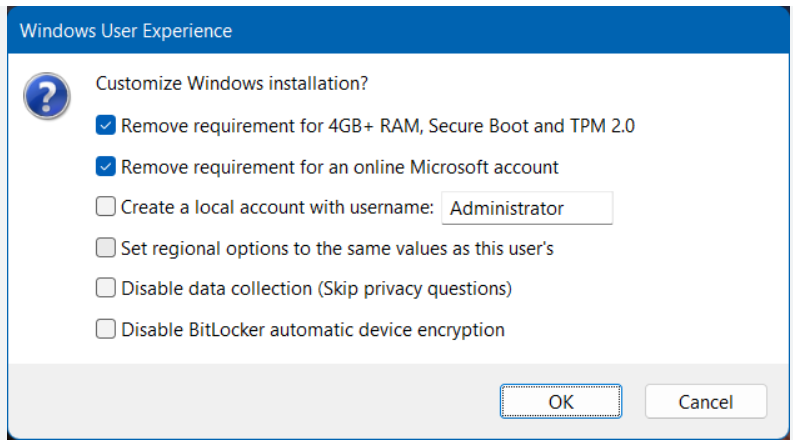
Option 2 – To avoid this all together, use Rufus to create a new VM without TPM/Secure boot enabled.
- Use Rufus to create a bootable USB drive with Windows 11. When prompted choose the options to disable Secure Boot and TPM 2.0.
- Once the USB is created create a new Windows 11×64 VM in Workstation.
- For creation options choose Typical > choose I will install the OS later > choose Win11x64 for the OS > chose a name/location > note the encryption password > Finish
- When the VM is completed, edit its settings > remove the Trusted Platform Module > then go to Options > Access Control > Remove Encryption > put in the password to remove it > OK
- Now attach the Rufus USB to the VM and boot to it.
- From there install Windows 11.
Wrapping this up — Bypassing security allowed me to access my VM again. However, it leaves the VM more vulnerable to attack. In the end, I enabled security on this vm and properly recorded its password.
