Installing VMware Workstation Pro 26H1
Here are the steps I took to install VMware Workstation Pro 26H1.
Meet the requirements
The number one issue why Workstation doesn’t install is failure to read the requirements. Ensure your hardware and your BIOS settings meet the requirements prior to installation.
Download Workstation
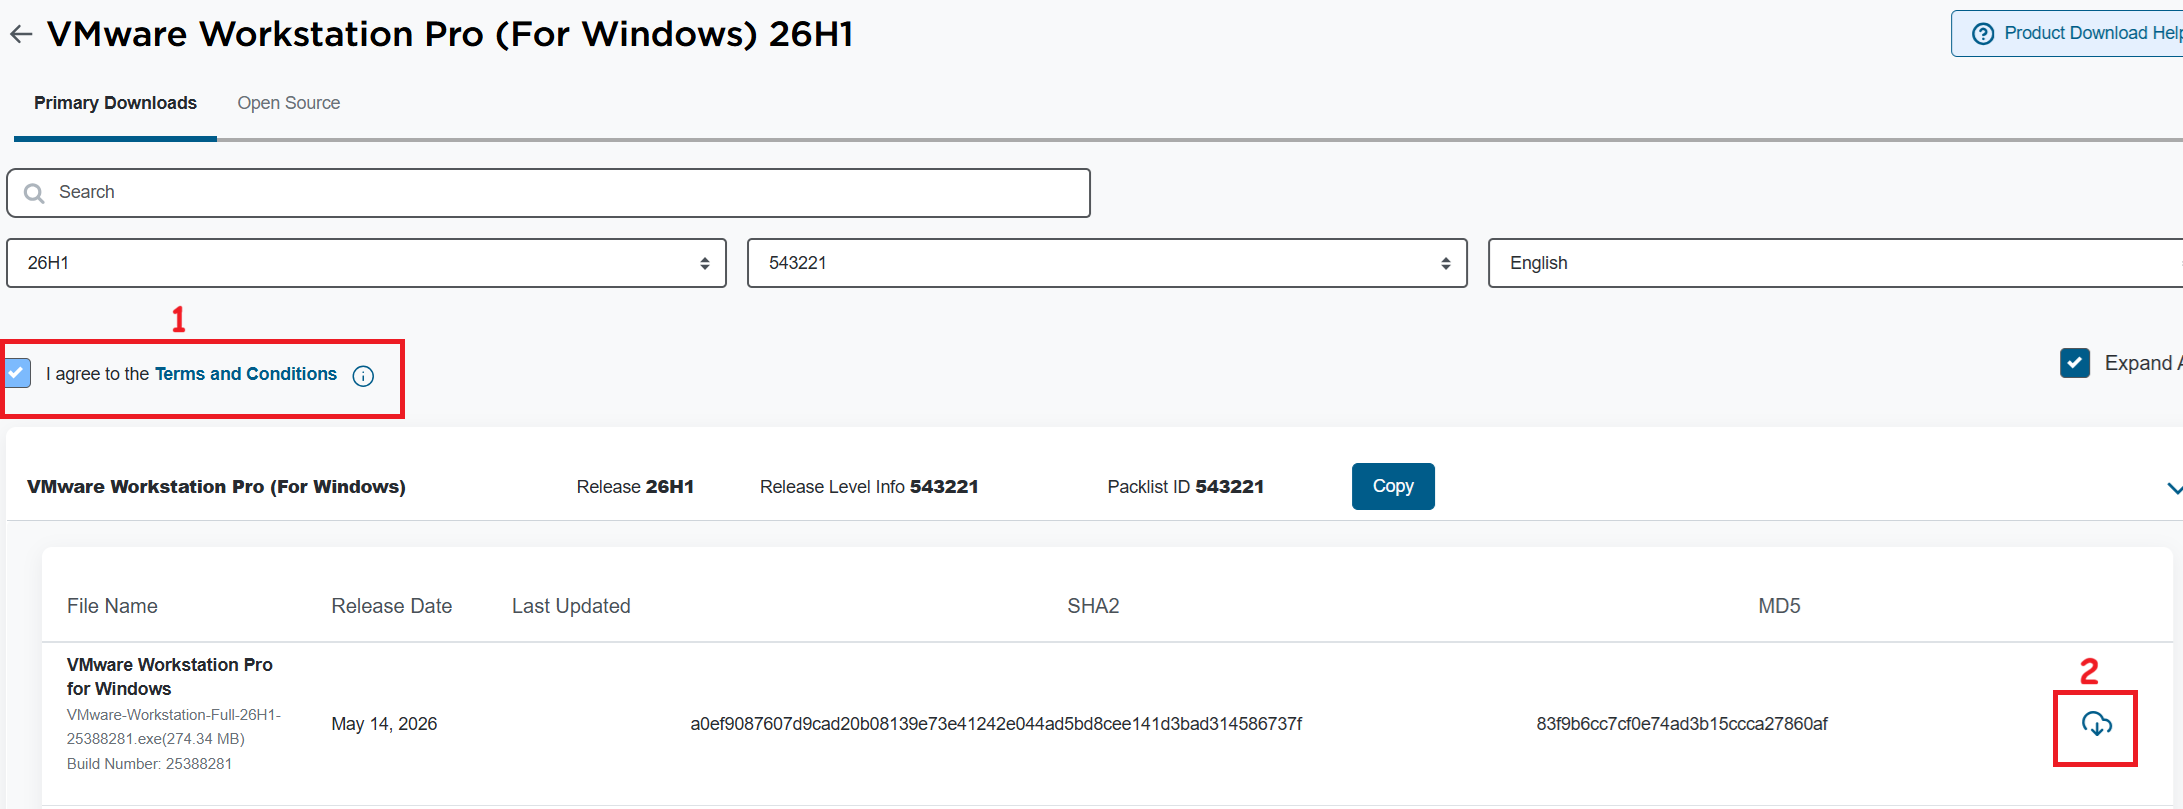
I’ll need to download VMware Workstation Pro 26H1. The good news is, it’s free and users can download it at the Broadcom support portal. Once you log in, you can find it under the downloads section under FREE Downloads. Need more guidance on the portal, see this KB.
Note: Make sure you click on the ‘Terms and Conditions’ plus the check box (1) before you click on the download icon (2).
Windows Settings
Disable Windows Virtualization Settings
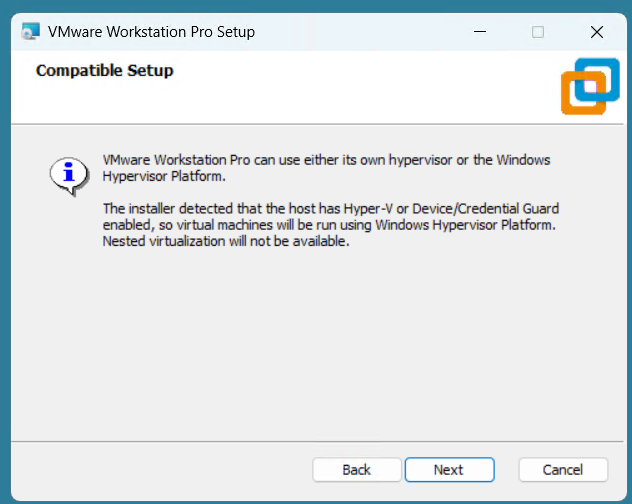
If you are deploying Workstation on to Windows the disablement of Hyper-V and Device Guard conflicts are important. Basically, Workstation needs these to be disabled to achieve optimal performance plus support nesting. If they are not disabled the following error will appear during the installation of Workstation.
Note: Before starting, I create a current Windows restore point prior to making the following changes.
To resolve this, I used the Microsoft Device Guard and Credential Guard Hardware Readiness Tool.
- Download the Device Guard and Credential Guard hardware readiness tool from Microsoft.
- Extract the downloaded ZIP file.
- Use the tool to disable Device Guard and Credential Guard:
- Open PowerShell window as an administrator.
- Navigate to the folder where you extracted the tool.
- First run this command to get Execution Policy:
- Set-ExecutionPolicy Unrestricted -Scope Process
- Now run the script with the -Disable parameter to disable Device and Credential Guard
- DG_Readiness_Tool_v3.6.ps1 -Disable
- Reboot your computer.
- During the boot process, Windows will ask you to confirm the changes. Follow the on-screen instructions to proceed (Just press F3).
- When complete your computer will reboot.
Workstation Installation
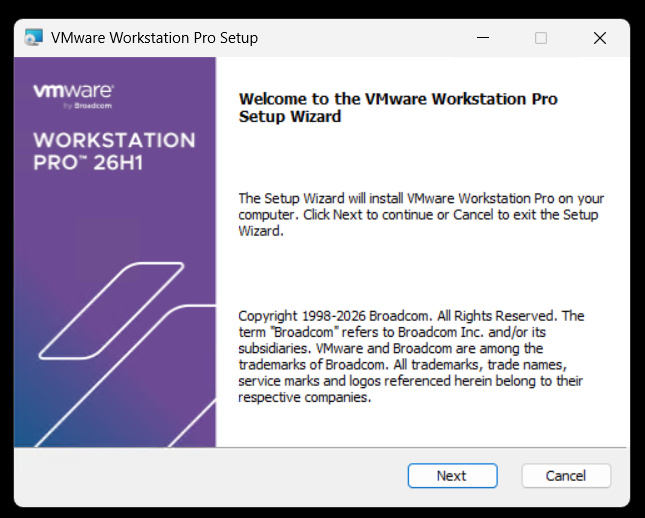
Launch the Workstation program and when prompted click Next.
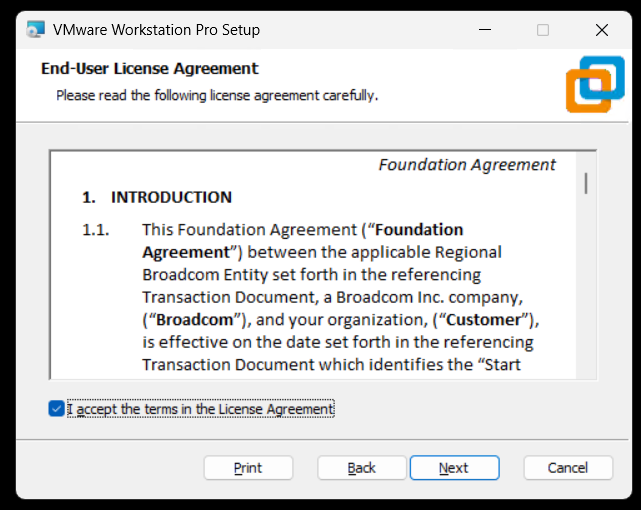
Check Accept and Click Next.
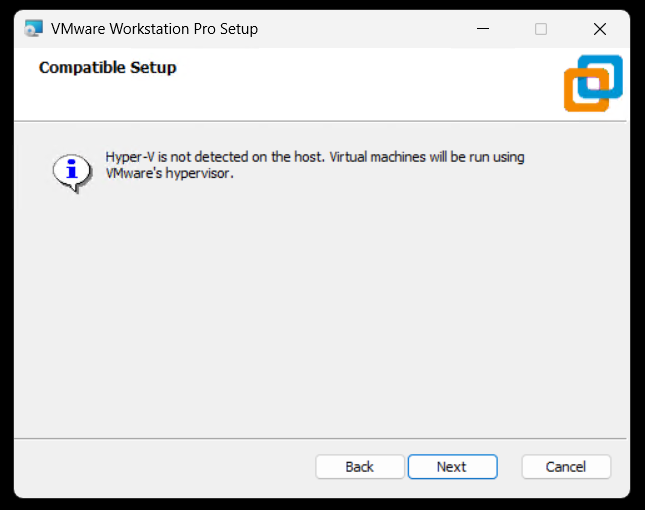
Ensure VMs are running on VMware Hypervisor.
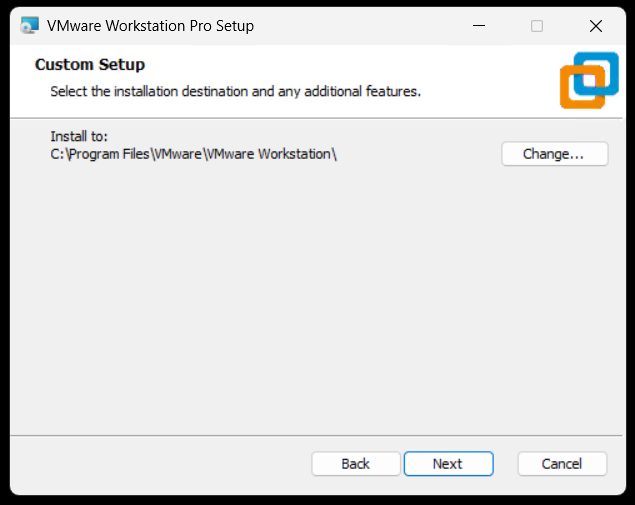
Ensure directory is correct and click next.
Click next to accept auto updates and joining the CEIP program.

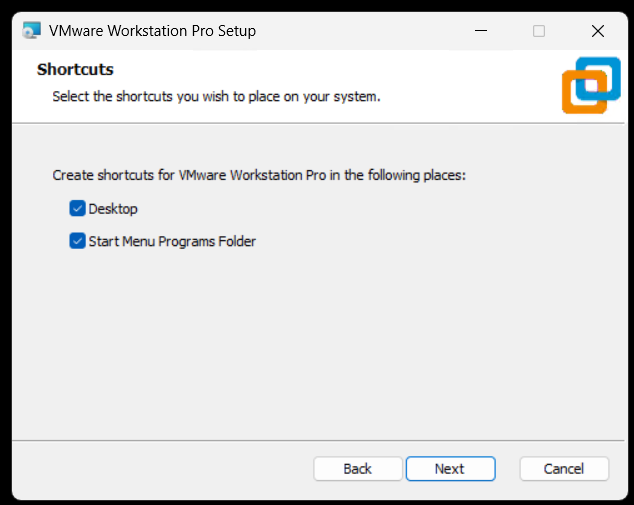
Click next to create shortcuts.
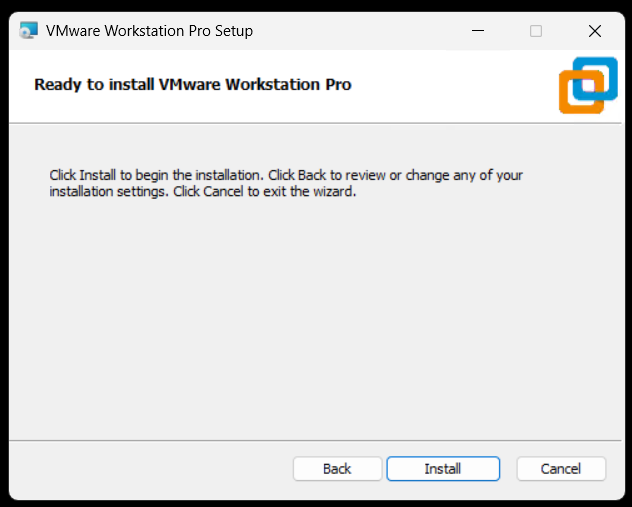
Click Install to install Workstation.
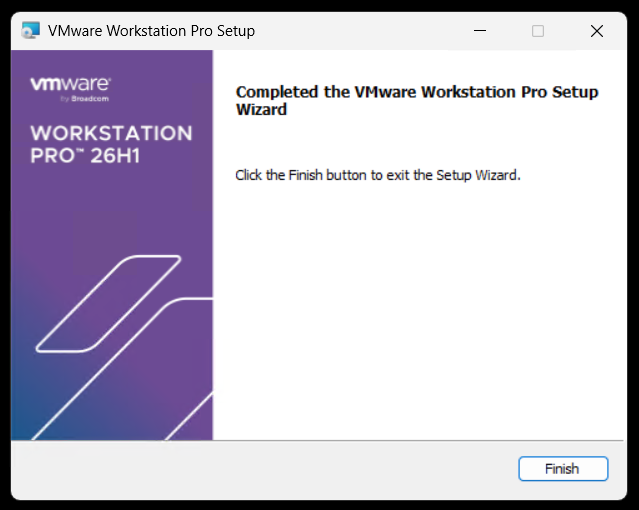
Allow the installer to complete and click Finish to finalize.
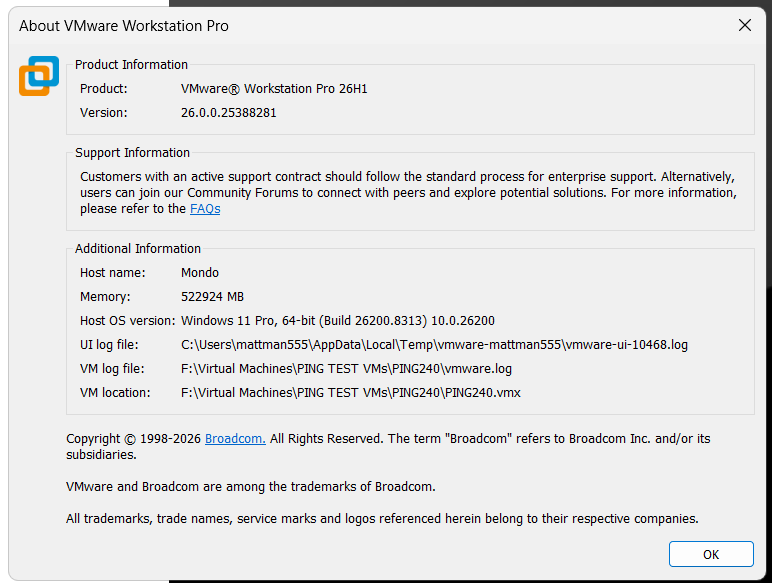
Open Workstation > Help > about to to validate install.