VMware Workstation Gen 9: Part 7 Deploying VCF 9.0.1 Fleet
Now that I have set up an VCF 9 Offline depot and downloaded the installation media its time to deploy a Simple VCF 9 Fleet on my Workstation environment. With all my ESX host configured/powered on and the SDDC Installer ready here are the steps I took to complete this.
PRE-Steps
Optional:
1) One of the more important steps is making sure I backup my Workstation environment and delete any Workstation VM snapshots. This way my environment is ready for deployment.
2) Make sure your Windows 11 PC power plan is set to High Performance and does not put the computer to sleep.
3) Review the Planning and Resource Workbook.
Required:
4) Ensure the NTP Service is running on each of your hosts. TIP: Even if you setup the NTP to start and stop with host, you may have to go in to the host client and actually start the NTP service.
5) DNS can be a big issue for the VCF9 installer. I only setup the DNS names for the ESX Hosts and installers appliances. When I am going through the VCF Installer is when I setup the other DNS names. Example – NSX Manager, Automation, Operations appliances. I find this approach helps to minimize errors.
TIP: The VCF installer may show errors during the installation and validation processes. I ensure the ESX hostname case matches how it is registered in DNS. Example – Hostname vcf111.nested.local doesn’t equal VCF111.nested.local.

6) With my ESX Hostnames confirmed in DNS, I need to update their self-signed certificates. See the following URL’s.
- KB: VCF Installer fails to add hosts during deployment due to hostname mismatch with subject alternative name
- DOCS: Regenerate the Self-Signed Certificate on ESX Hosts
- NOTE: Make sure you reboot your host via the DCUI and not via command line. I noted that after I regenerated the self-signed certificate I rebooted the host via command line. This caused the regenerated certificate to not take. If I rebooted the host via the DCUI the new certificate would take.
7) The VCF Installer 9.0.1 has some extra features to allow non-vSAN certified disks to pass the validation section. However, nested hosts will fail the HCL checks. Simply add the line below to the /etc/vmware/vcf/domainmanager/application-prod.properties and then restart the SDDC Domain Manager services with the command: systemctl restart domainmanager
This allows me Acknowledge the errors and move the deployment forward.

Installing VCF 9 with the VCF Installer
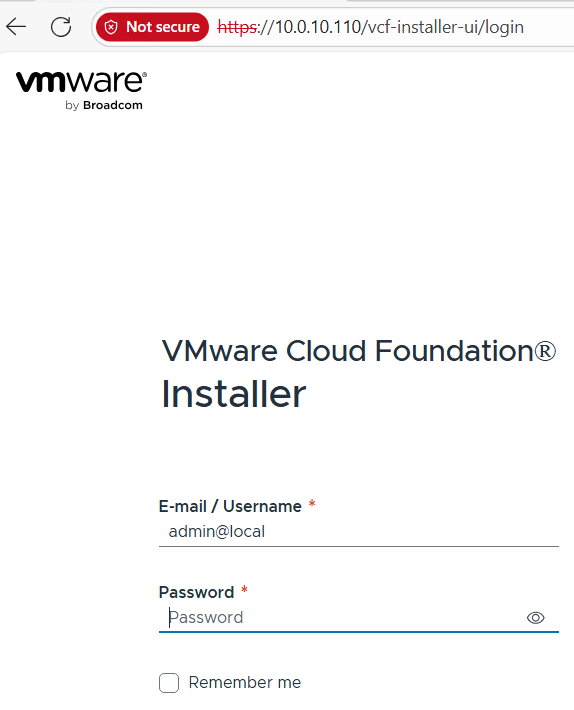
I log into the VCF Installer.
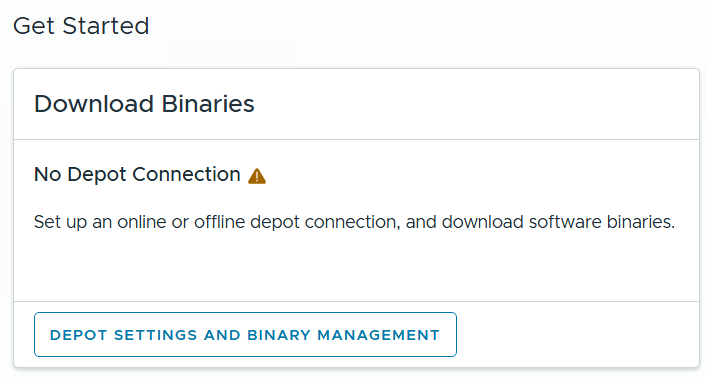
I click on ‘Depot Settings and Binary Management’
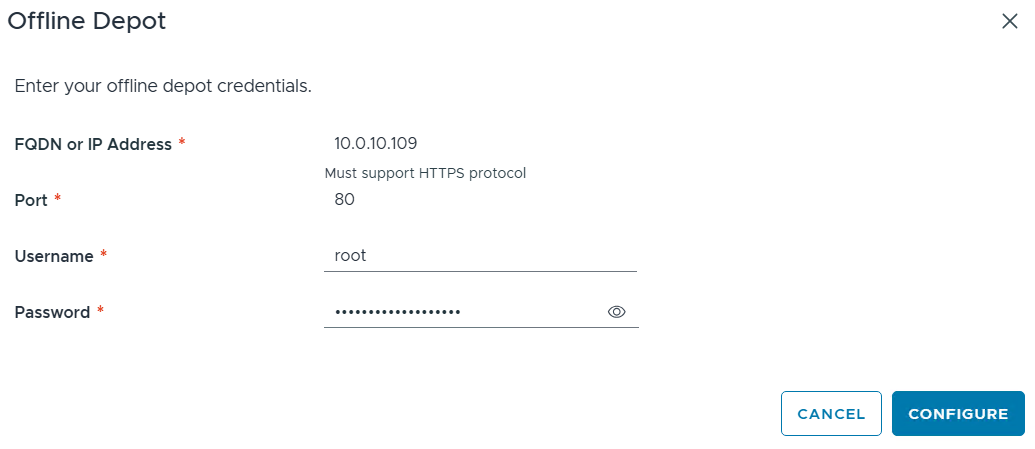
I click on ‘Configure’ under Offline Depot and then click Configure.
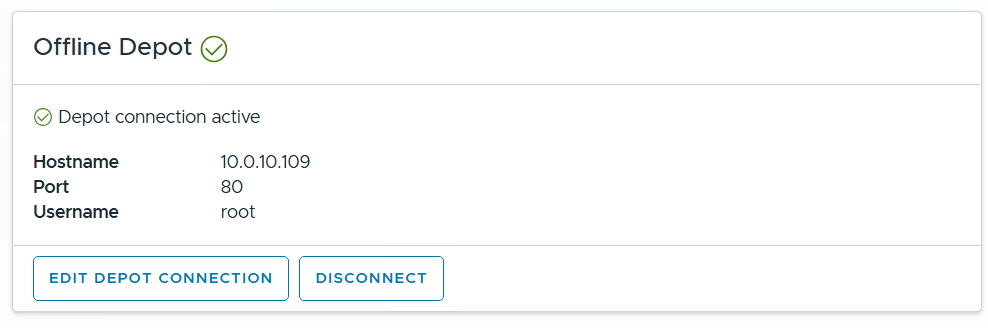
I confirm the Offline Depot Connection if active.
I chose ‘9.0.1.0’ next to version, select all except for VMware Cloud Automation, then click on Download.
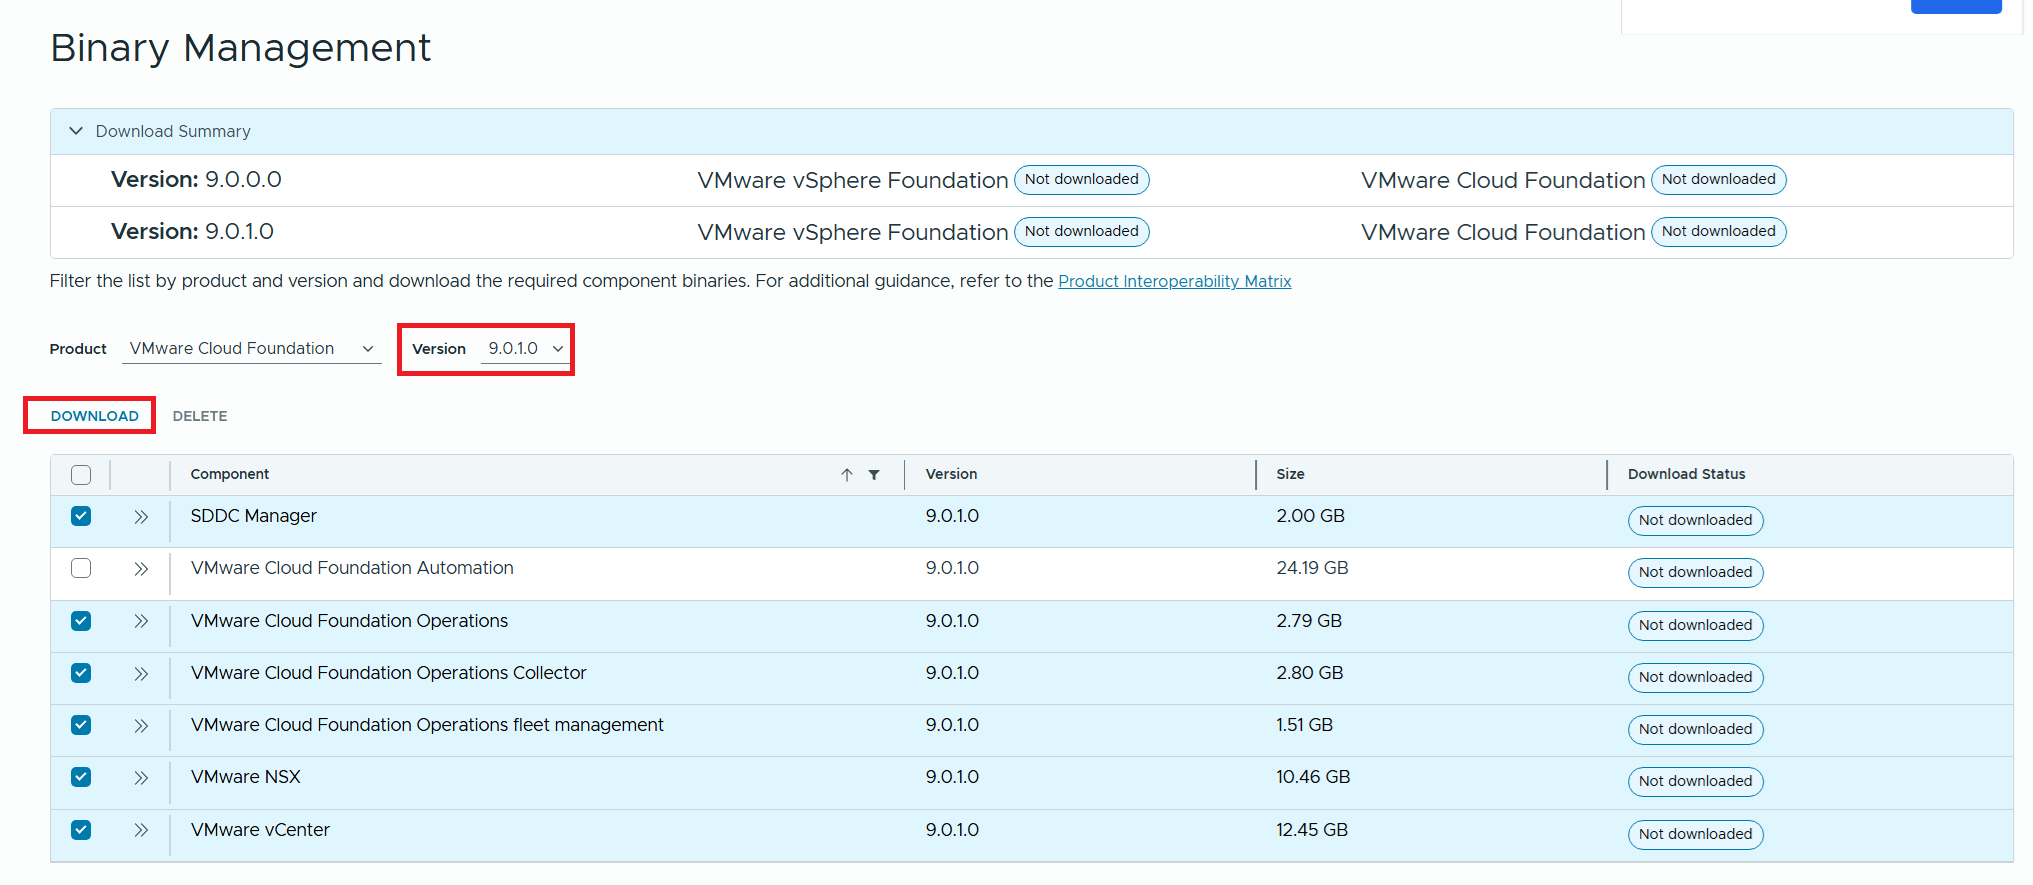
Allow the downloads to complete.

All selected components should state “Success” and the Download Summary for VCF should state “Partially Downloaded” when they are finished.

Click return home and choose VCF under Deployment Wizard.
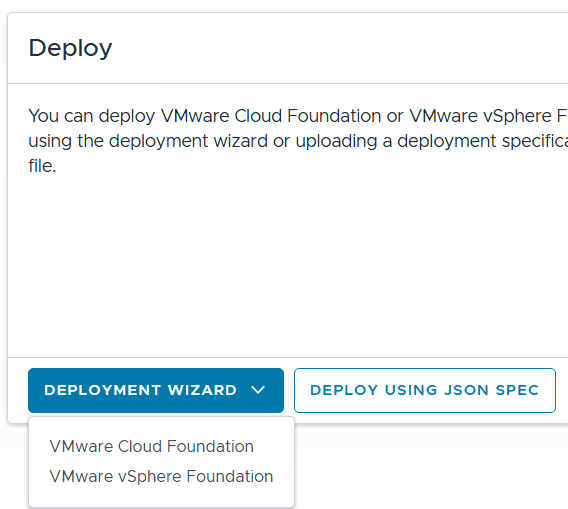
This is my first deployment so I’ll choose ‘Deploy a new VCF Fleet’

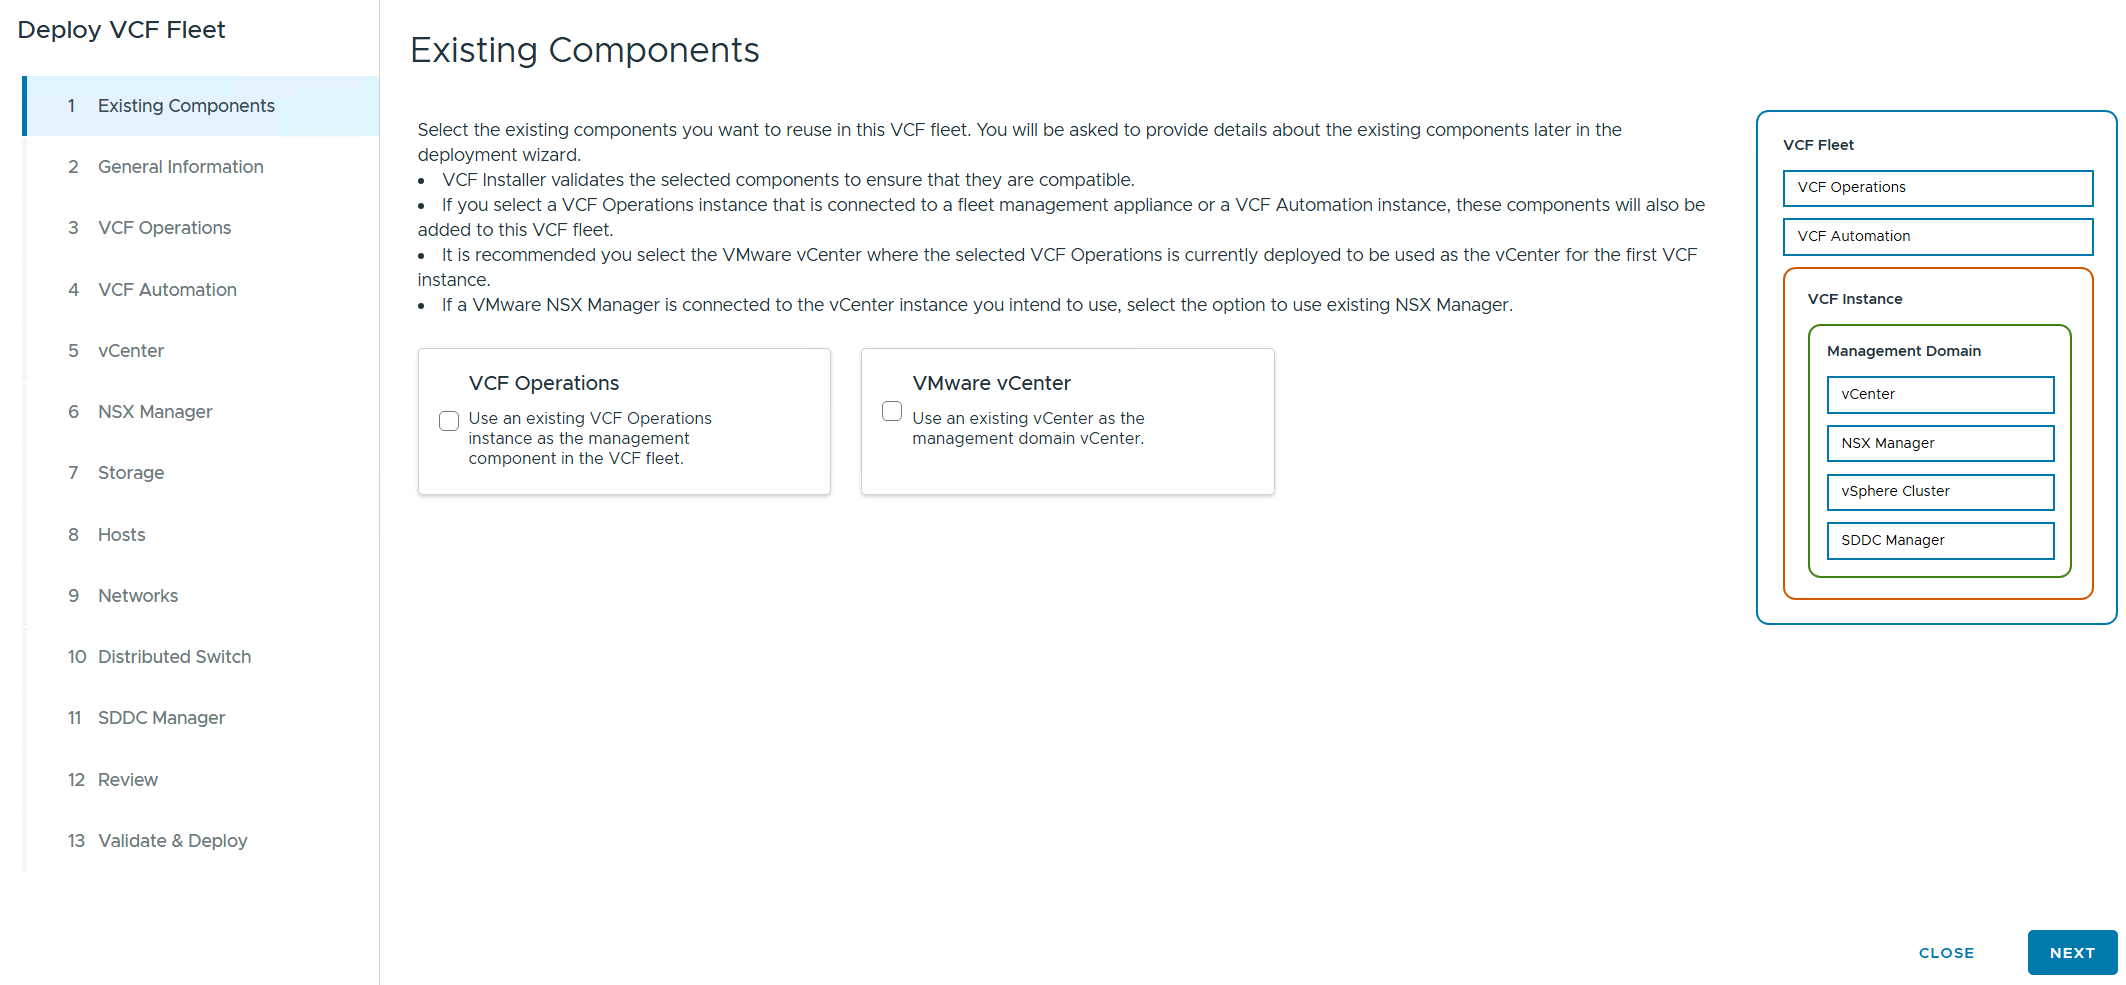
The Deploy VCF Fleet Wizard starts and I’ll input all the information for my deployment.
For Existing Components I simply choose next as I don’t have any.
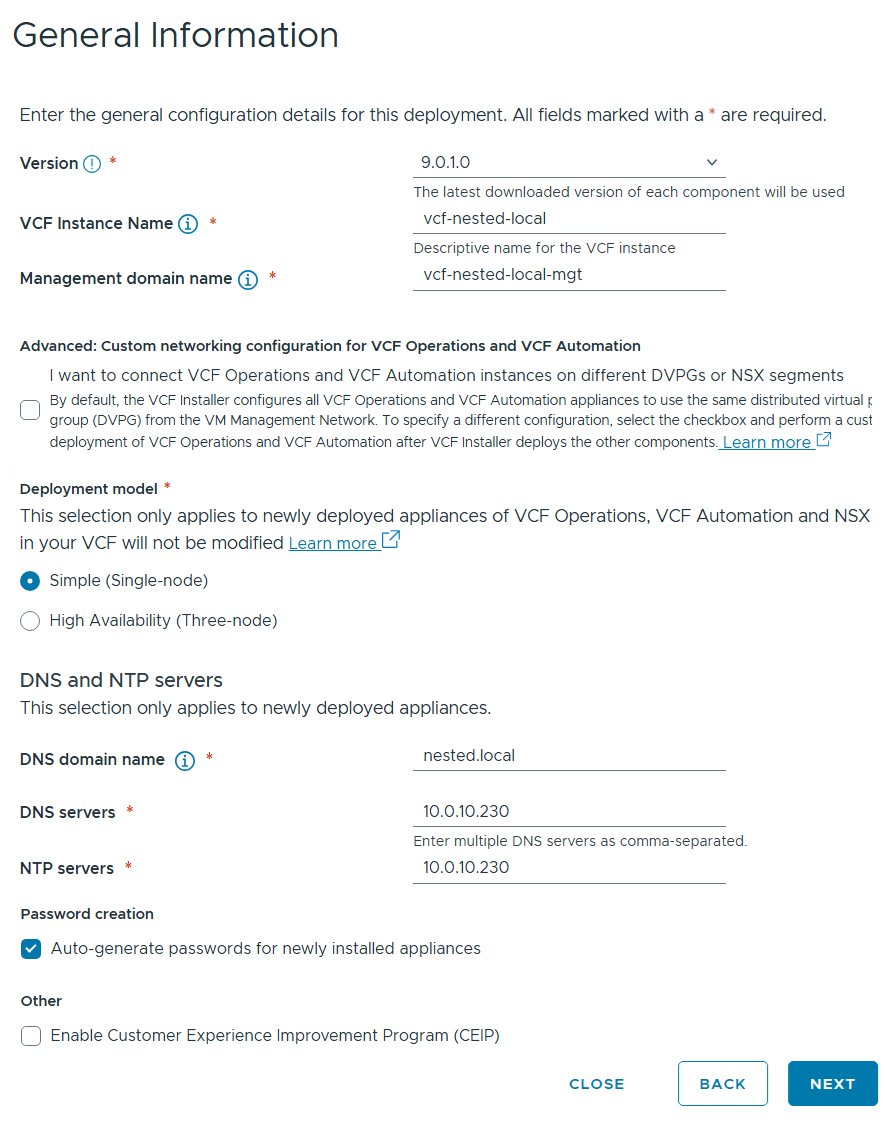
I filled in the following information around my environment, choose simple deployment and clicked on next.
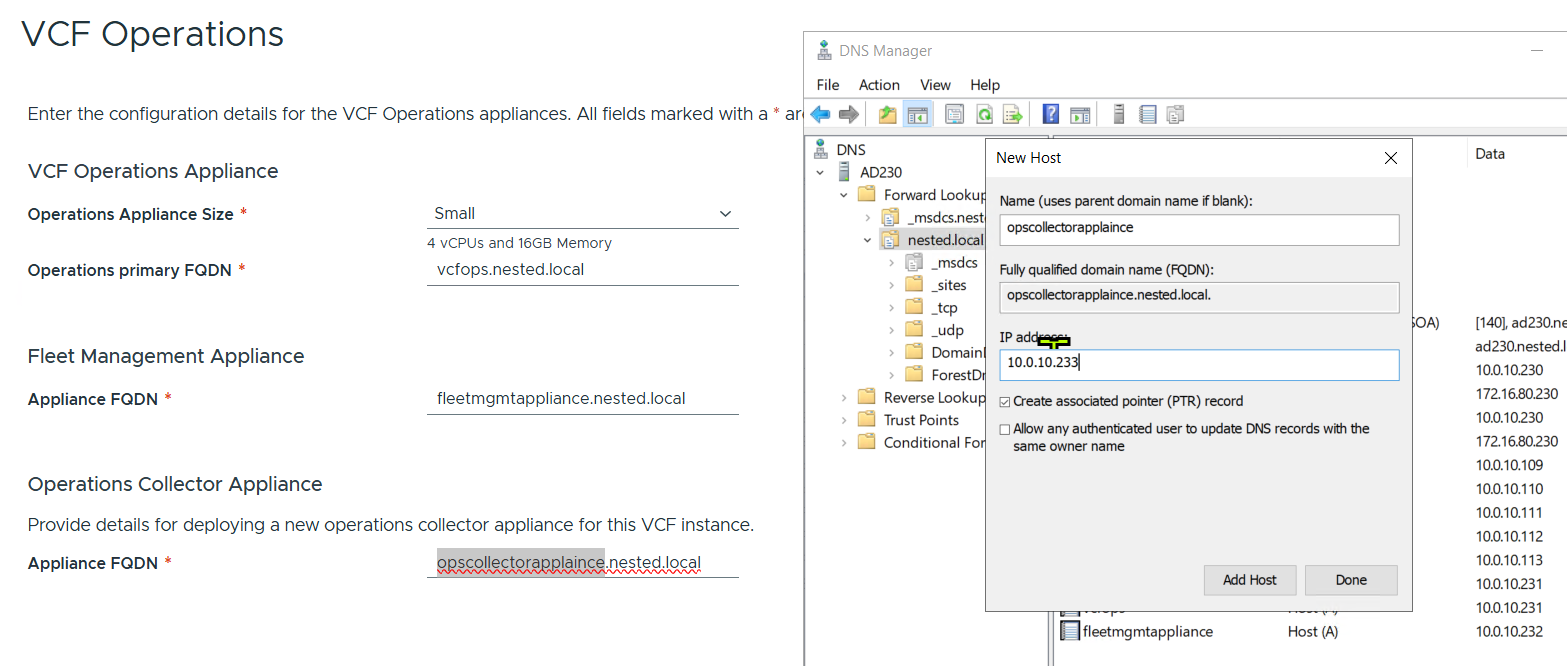
I filled out the VCF Operations information and created their DNS records. Once complete I clicked on next.
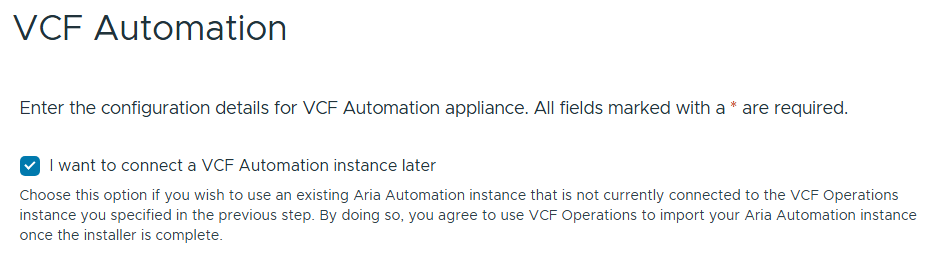
I chose to “I want to connect a VCF Automation instance later” can chose next.
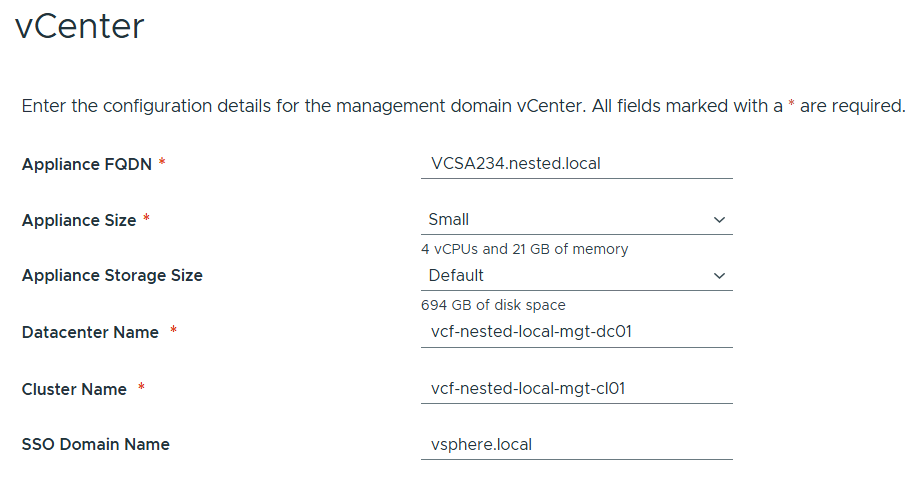
Filled out the information for vCenter
Entered the details for NSX Manager.

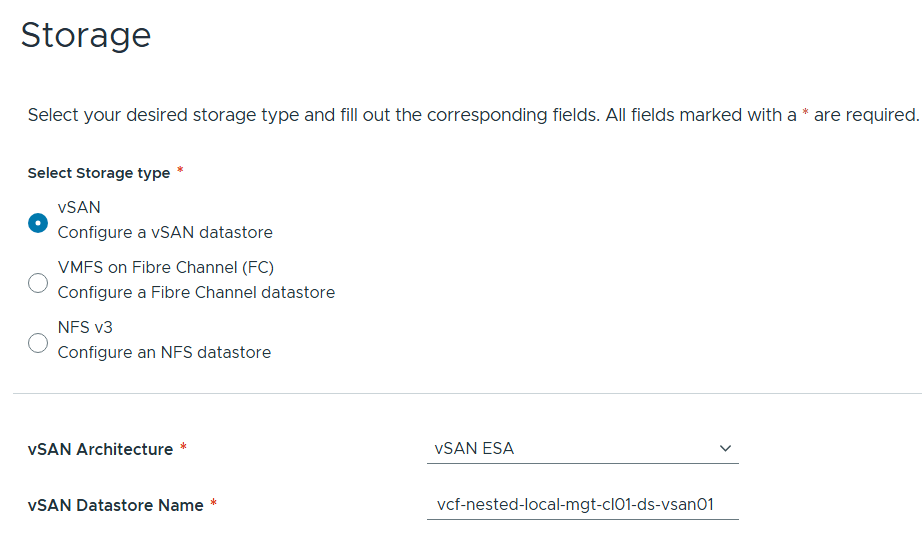
Left the storage items as default.
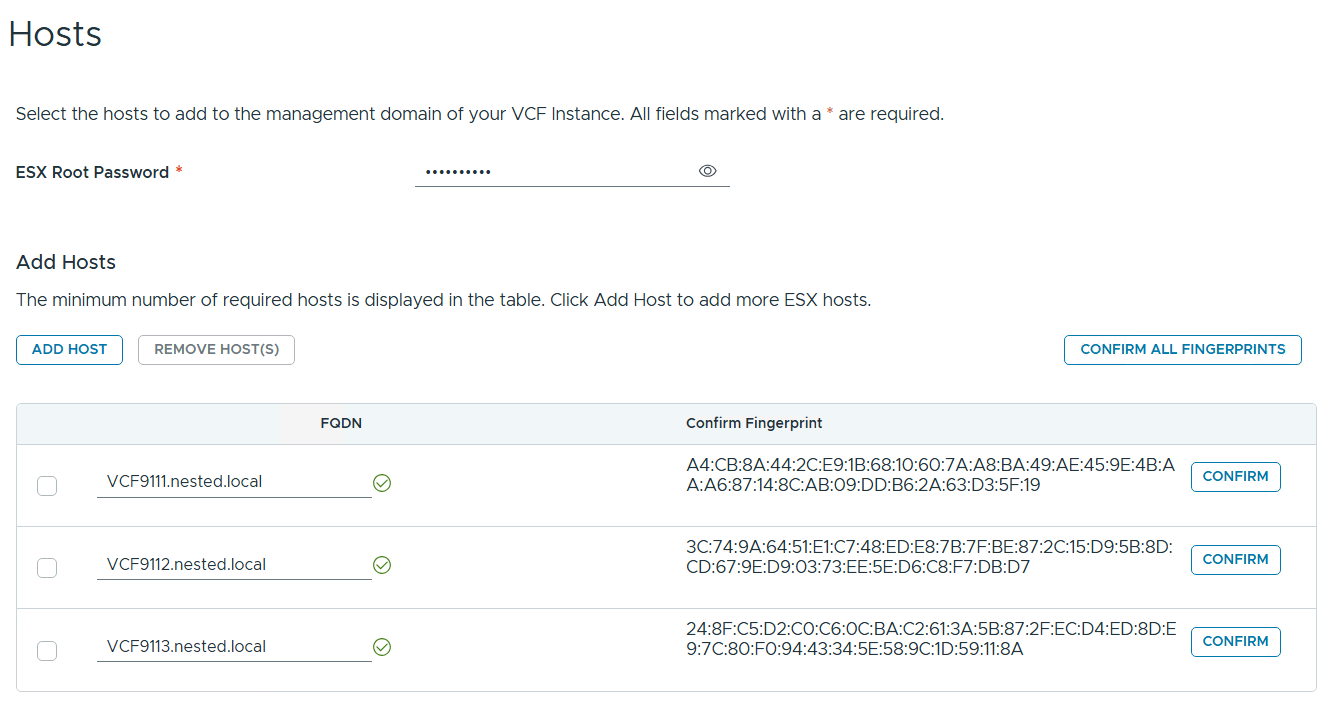
Added in my 3 x ESX 9 Hosts, confirmed all fingerprints, and clicked on next.
Note: if you skipped the Pre-requisite for the self-signed host certificates, you may want to go back and update it before proceeding with this step.
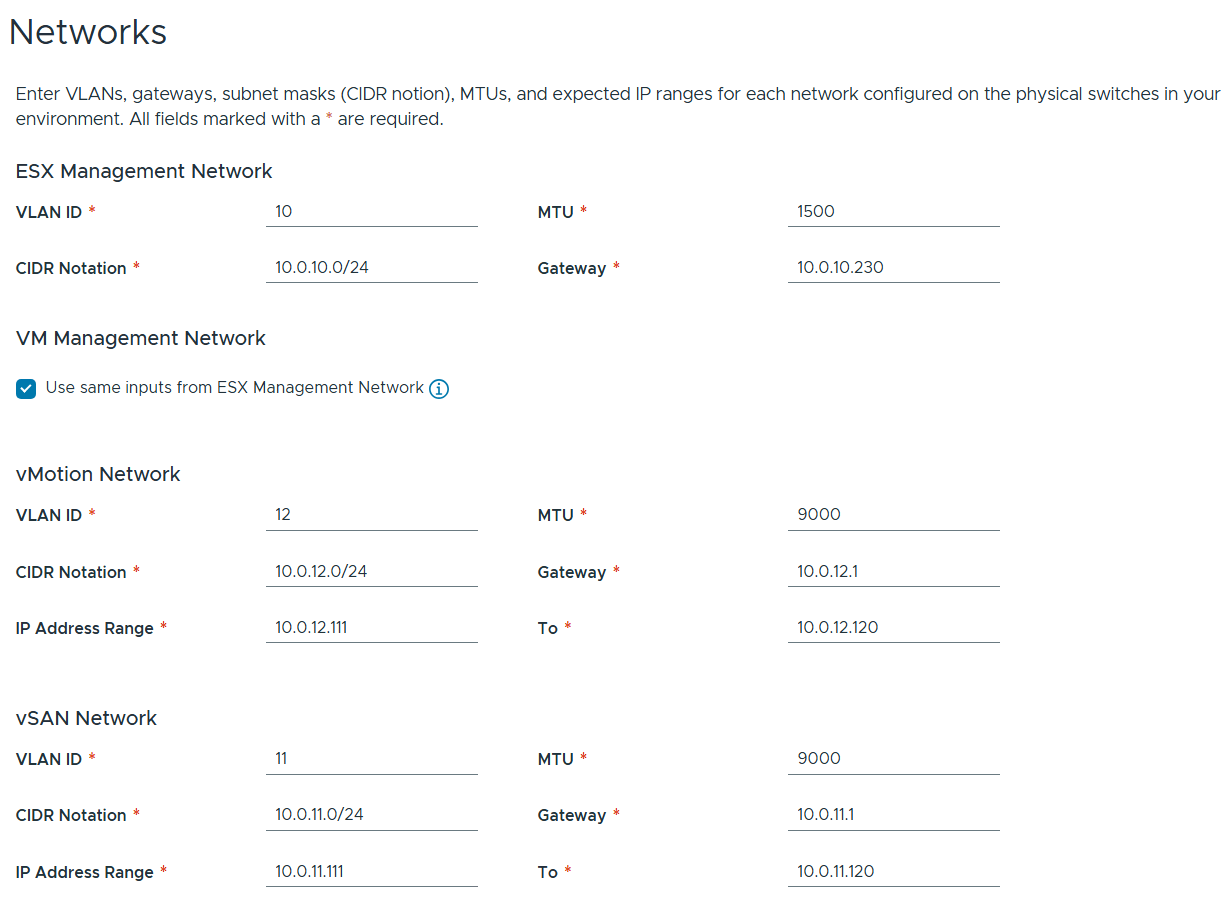
Filled out the network information based on our VLAN plan.
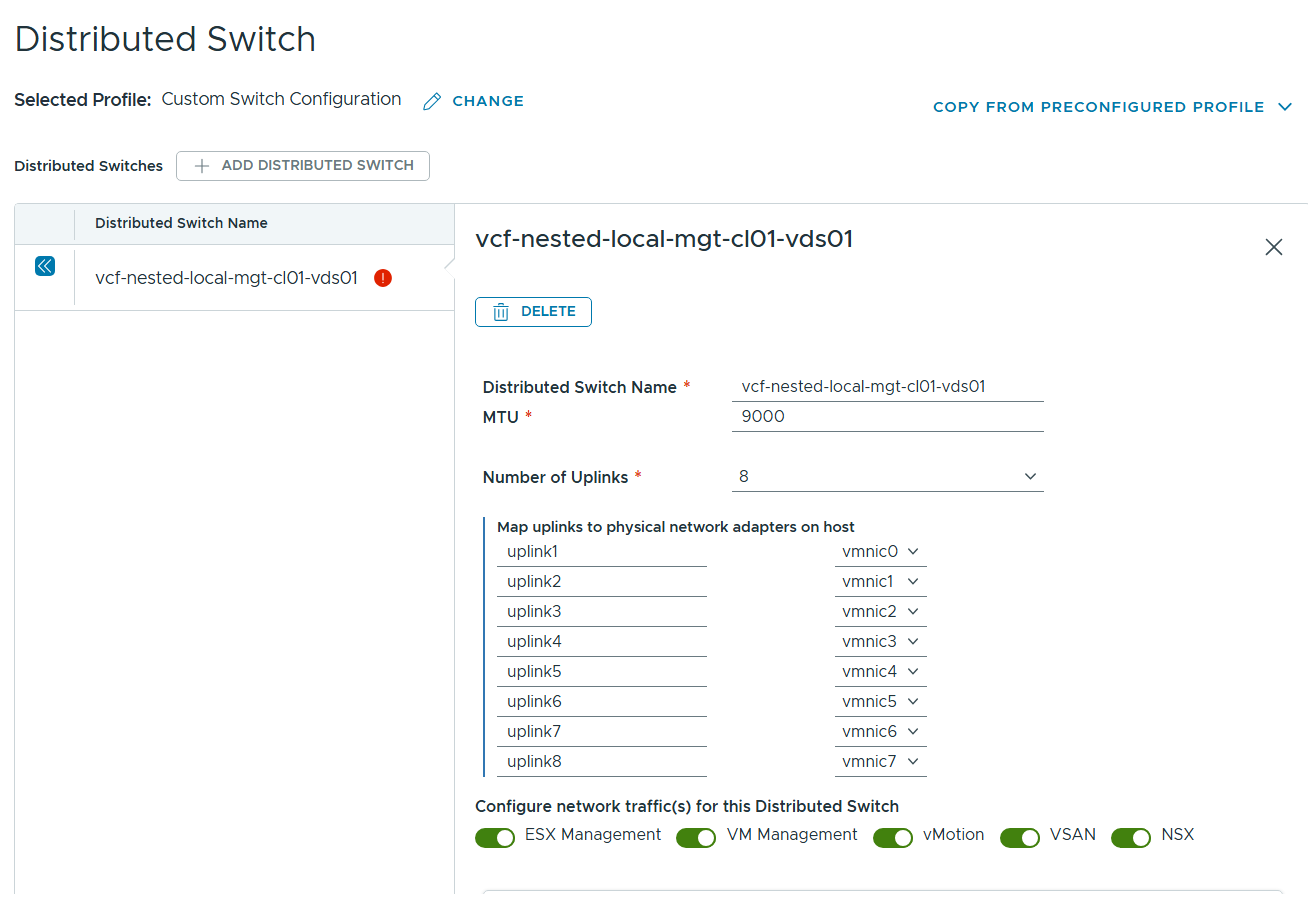
For Distributed Switch click on ‘Select’ under ‘Custom Switch Configuration’
Click on the vDS Switch name. Put in MTU 9000, change uplinks to 8 and chose all switches for ‘Configure network traffic(s) for this Distributed Switch, then scroll down.
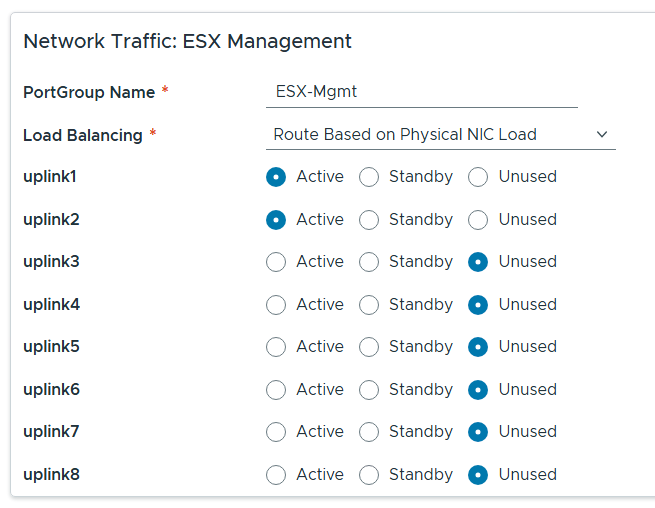
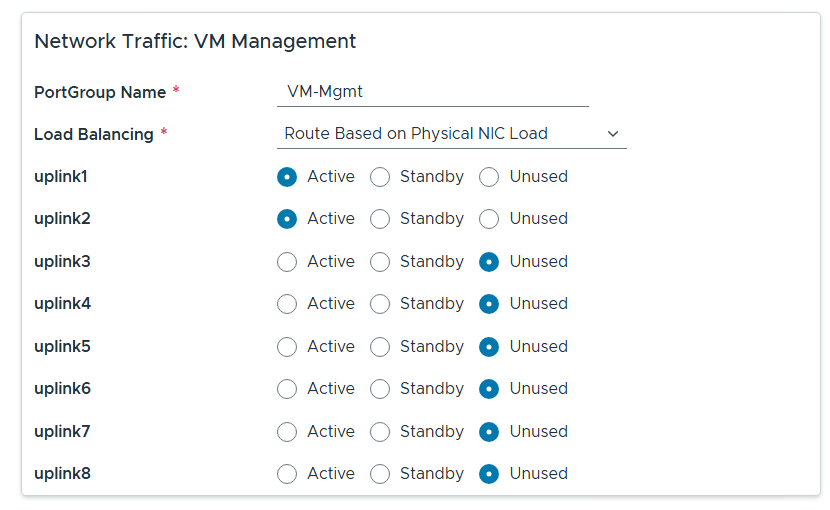
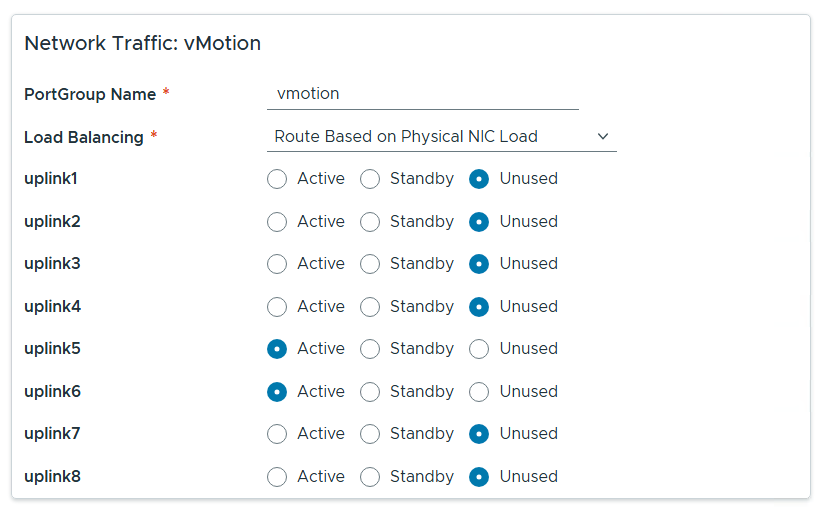
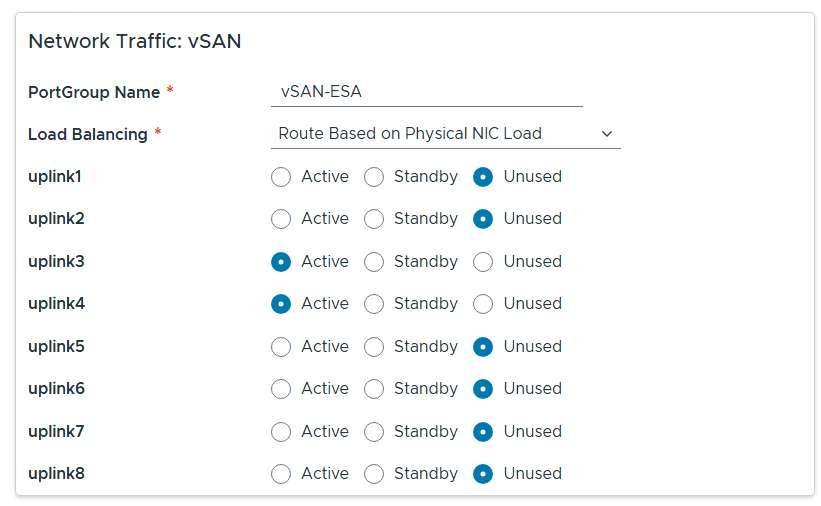
Rename each port group, set load balancing to ‘Route based on Physical NIC load’, select the correct uplinks as active, select the correct uplinks ad unused.
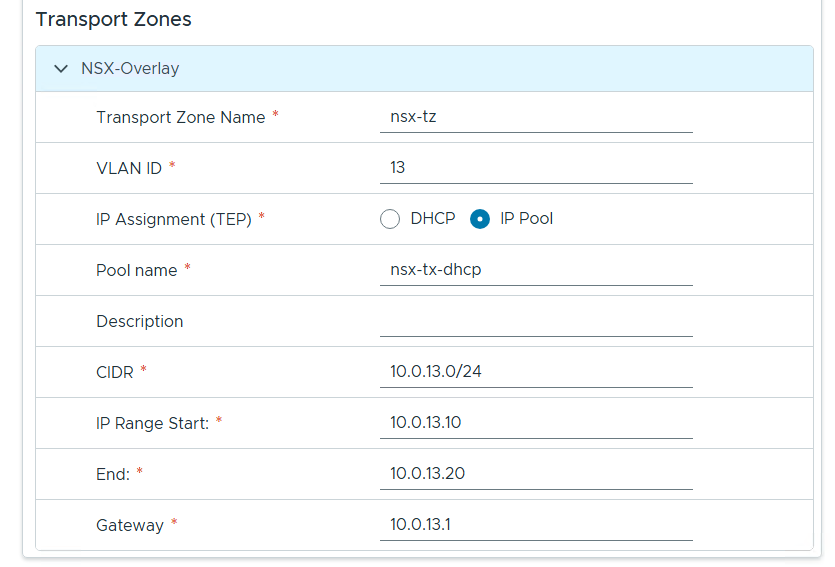
Configure NSX as follows.

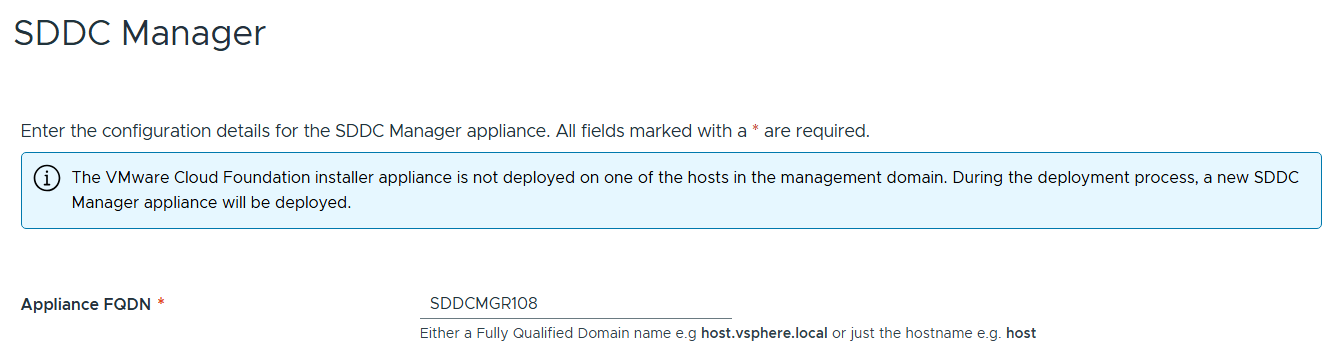
Entered the name of the new SDDC Manager and updated it’s name in DNS, then clicked on next.
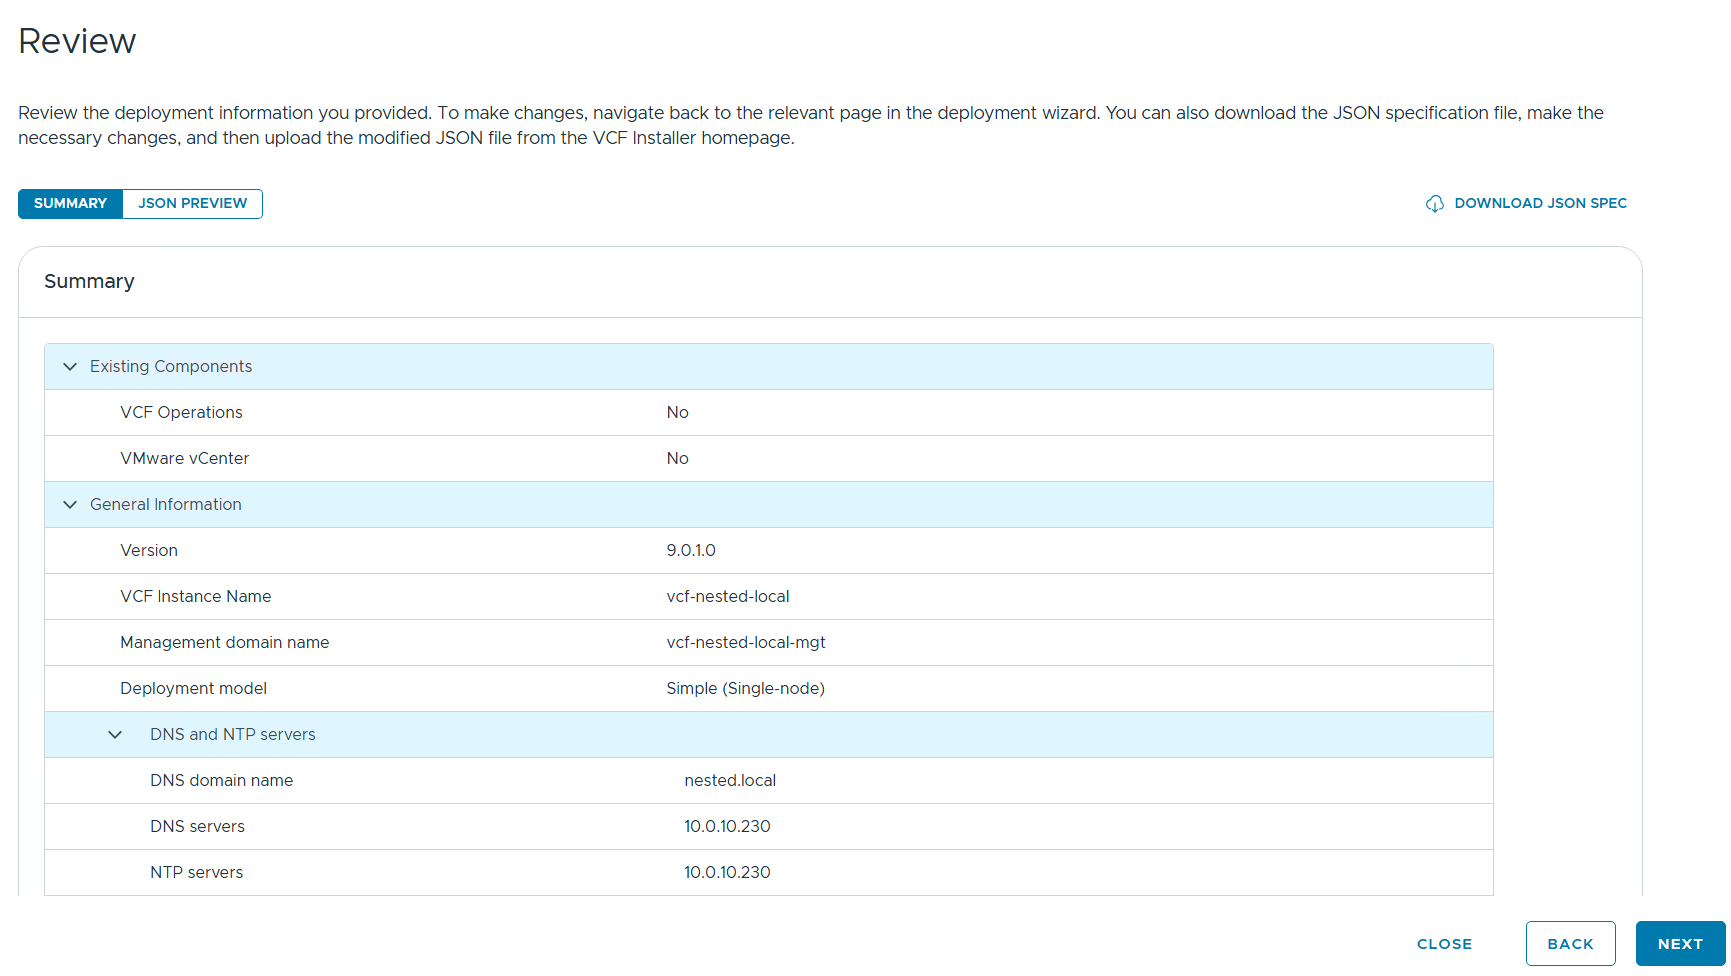
Reviewed the deployment information and chose next.
TIP – Download this information as a JSON Spec, can save you a lot of typing if you have to deploy again.
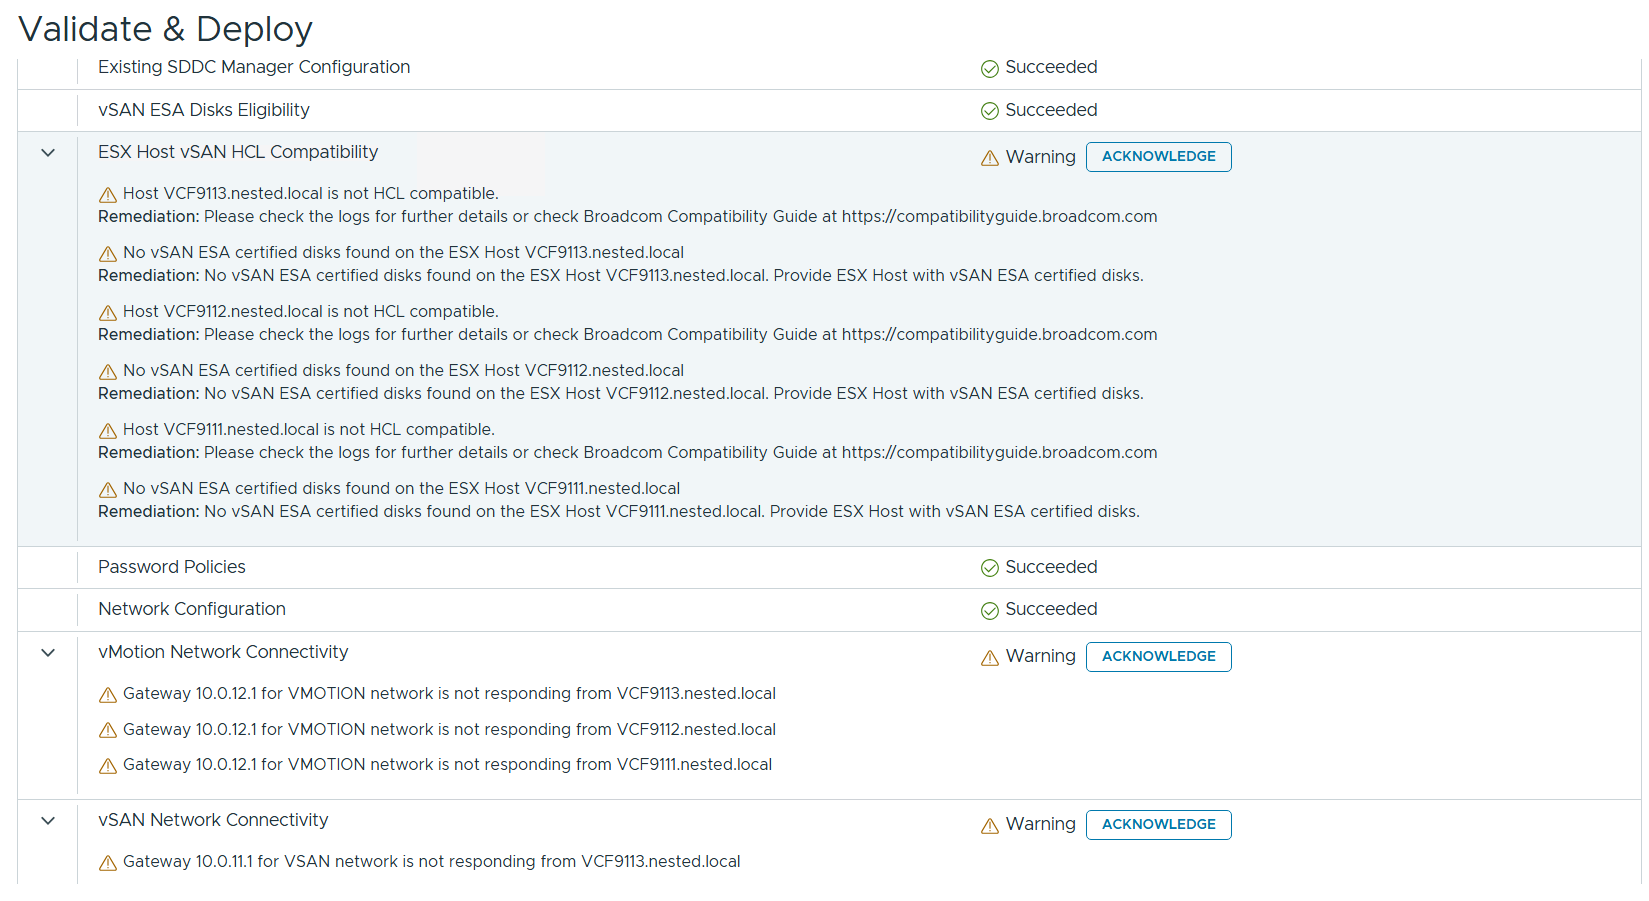
Allow it to validate the deployment information.

I reviewed the validation warnings, at the top click on “Acknowledge all Warnings” and click ‘DEPLOY’ to move to the next step.

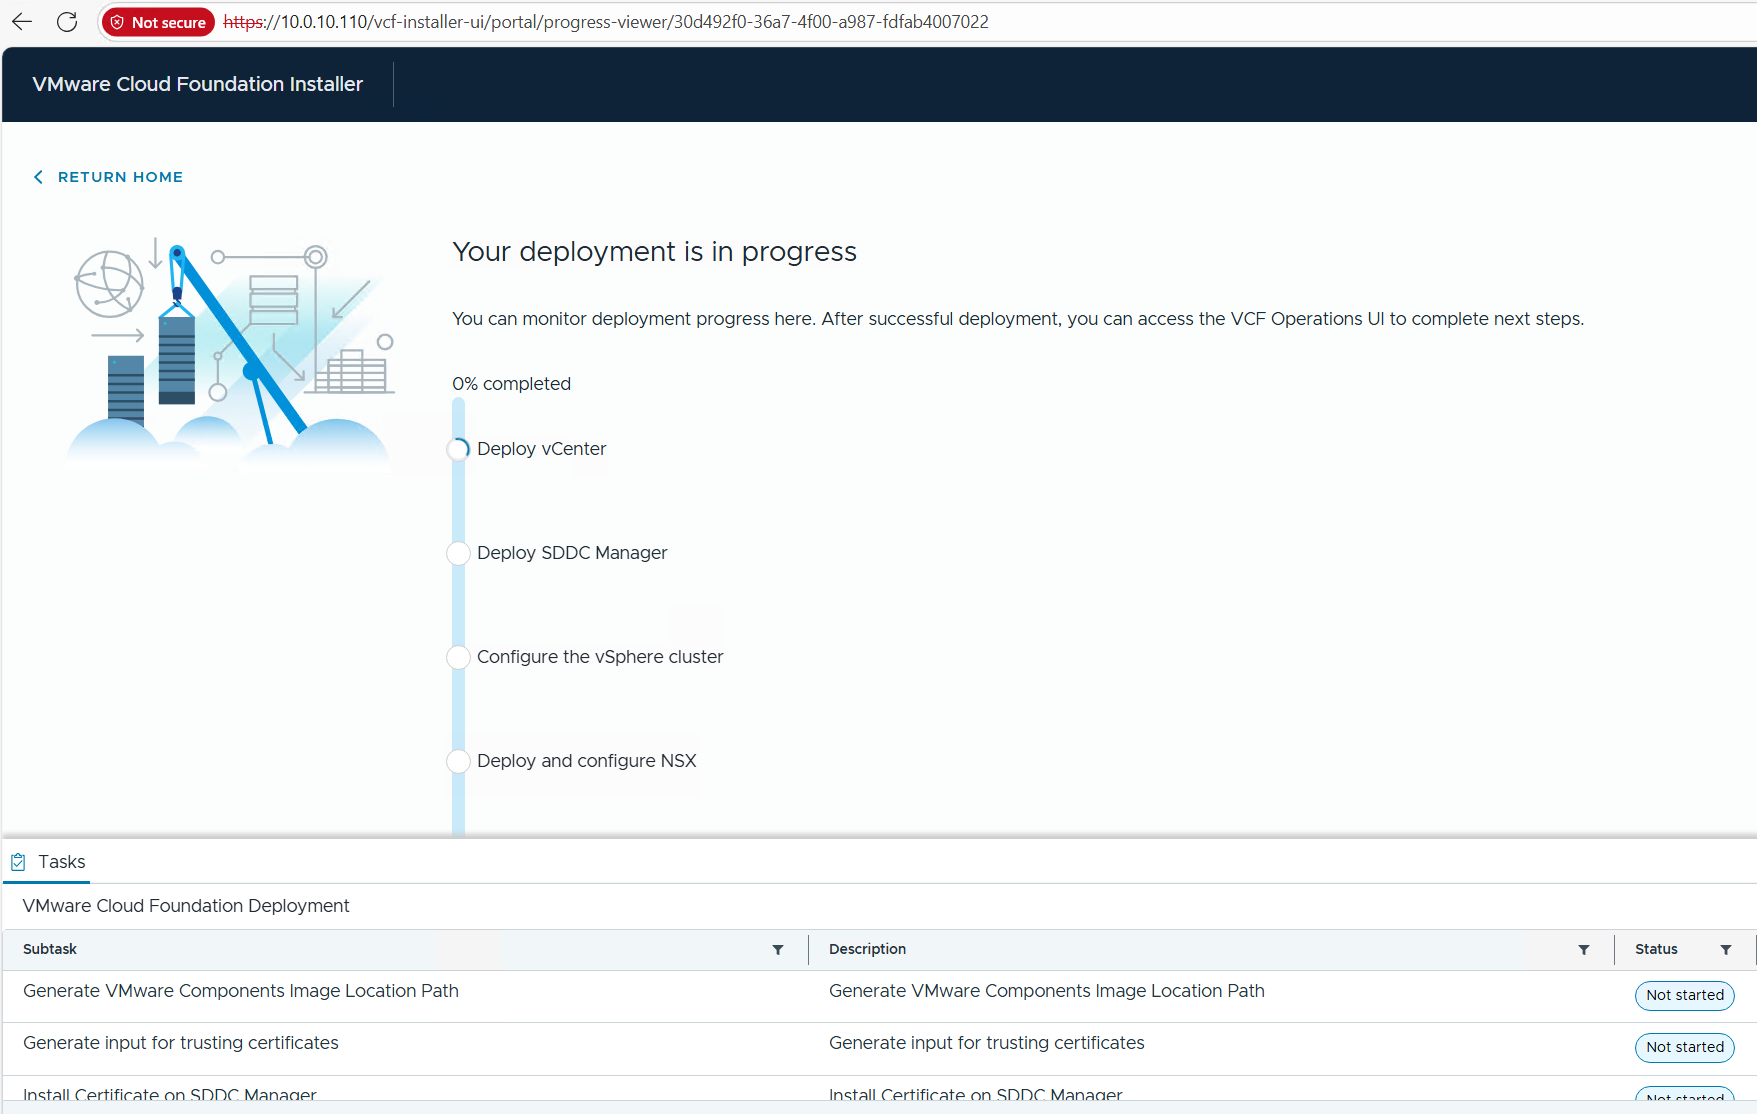
Allow the deployment to complete.
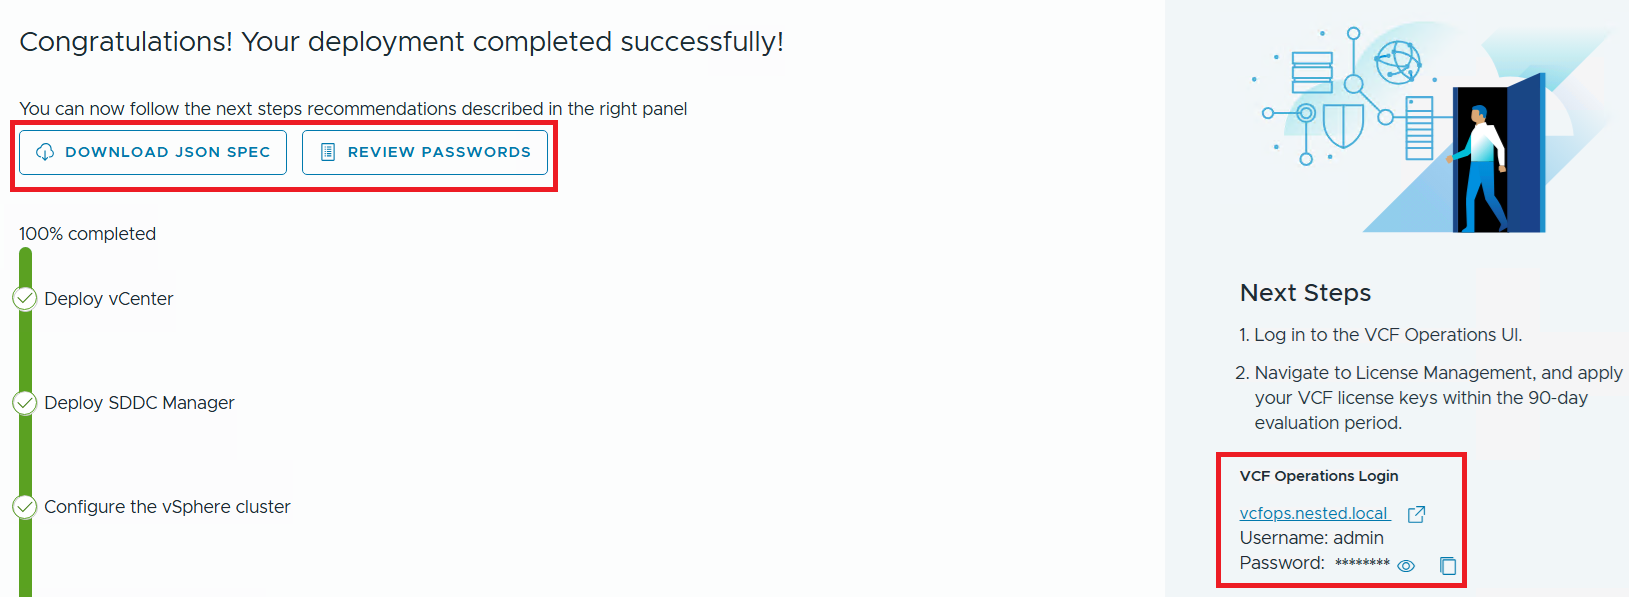
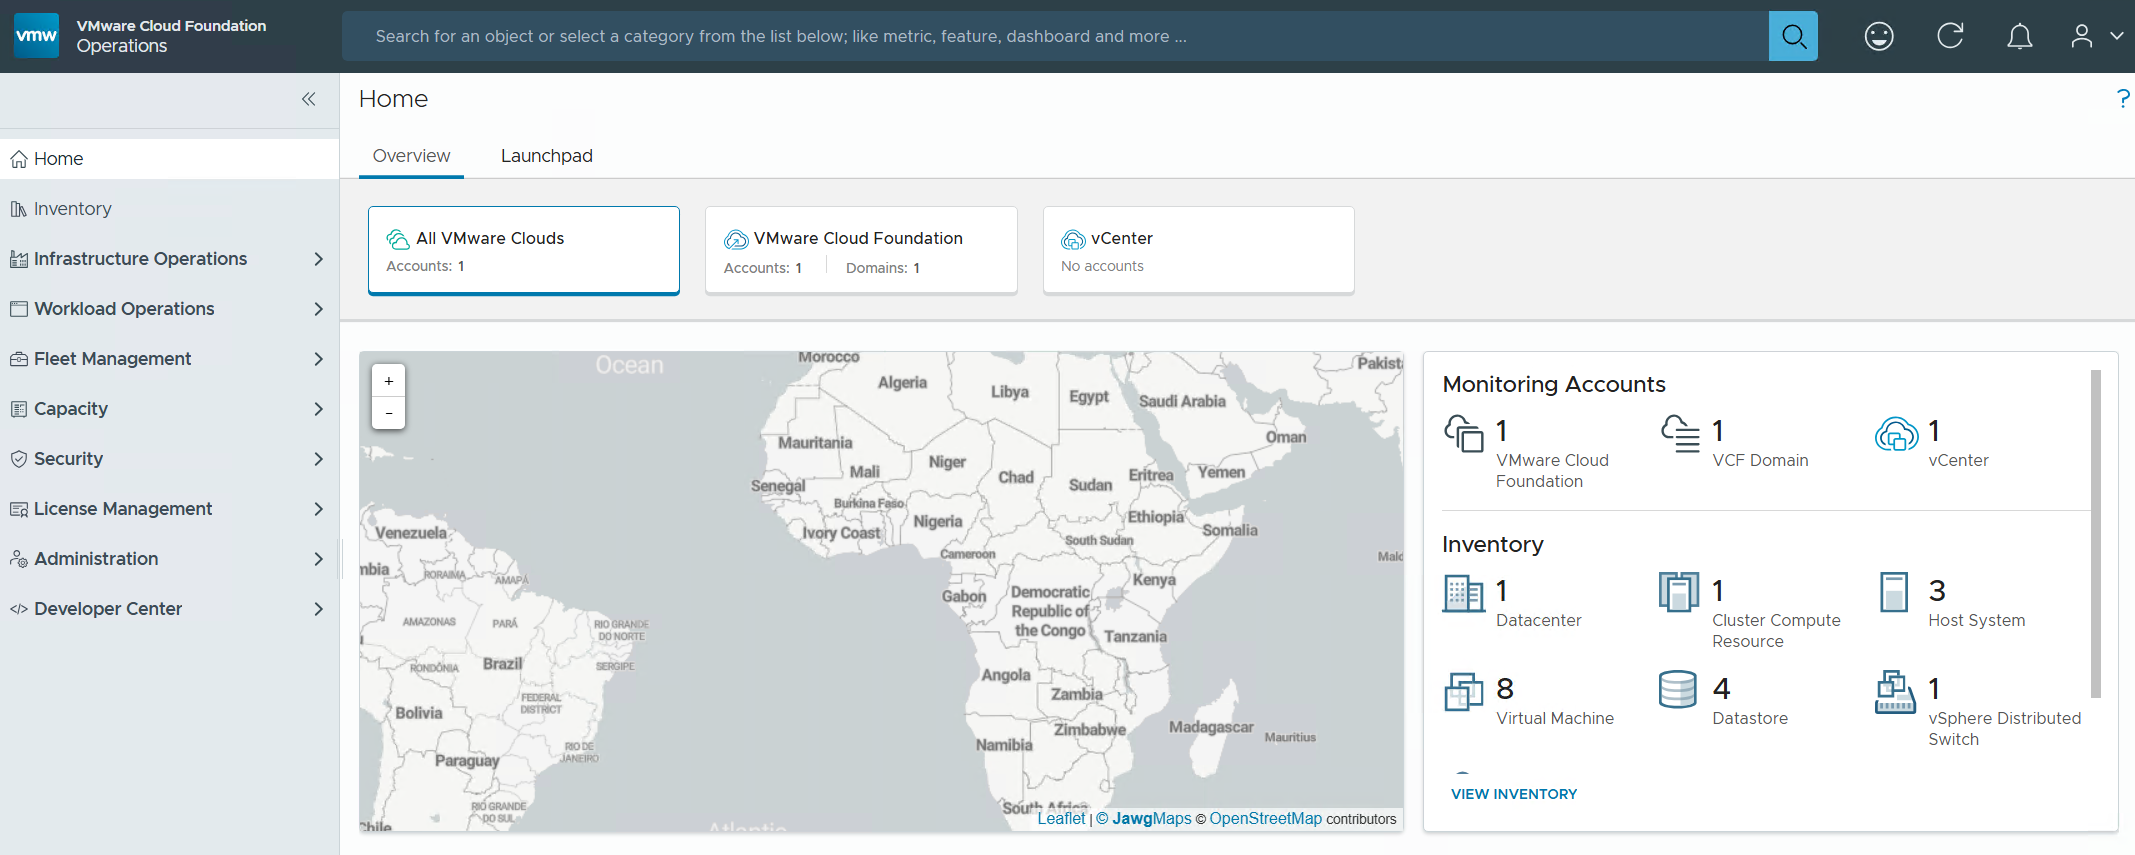
Once completed, I download the JSON SPEC, Review and document the passwords, (Fig-1) and then log into VCF Operations. (Fig-2)
(Fig-1)
(Fig-2)
Now that I have a VCF 9.0.1 deployment complete I can move on to Day N tasks. Thanks for reading and reach out if you have any questions.
