Storage
VMware Workstation 17 Nested Home Lab Part 2
In Part 2, I go into a physical hardware overview, show how to enable VT-X and VT-D, installation of Windows 11 (which includes a trick to disable the TPM requirement), install of Workstation 17, and review common issues when Hyper V is enabled. At the end of this video #windows11 and #workstation 17 are installed and operational. Coming up in Part 3 we’ll build out or Workstations Networks, start building the Windows 2022 server with AD, DNS, RAS, DHCP, and other services.

#Optane #IntelXeon #Xeon #vExpert #VMware #Cloud #datacenter
VMware Workstation 17 Nested vSAN ESA Overview
In this high level video I give an overview of my #VMware #workstation running 3 x nested ESXi 8 Hosts, vSAN ESA, VCSA, and a Windows 2022 AD. Additionally, I show some early performance results using HCI Bench.
I got some great feedback from my subscribers after posting this video. They were asking for a more detailed series around this build. You can find this 8 Part Series under Best of VMX > ‘VMware Workstation Generation 8 : Complete Software Build Series’.
For more information around my VMware Workstation Generation 8 Build check out my latest BOM here

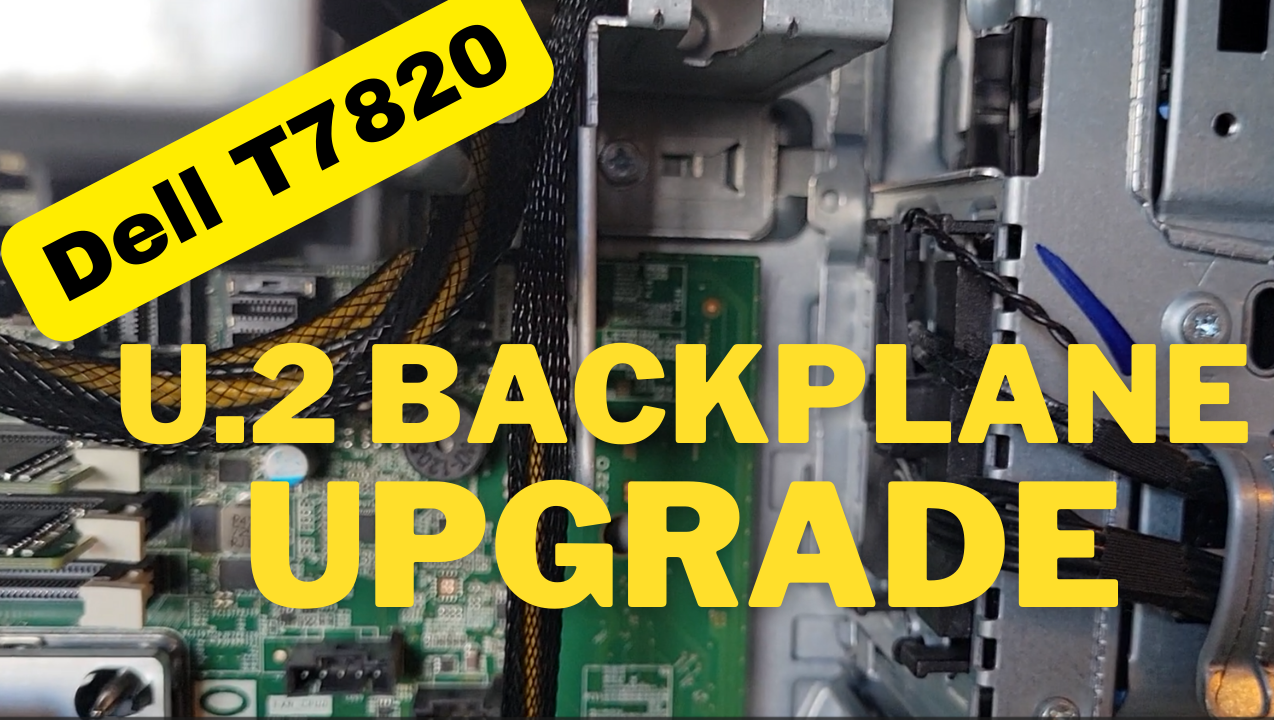
How to upgrade a Dell T7820 to a U.2 Backplane
In this video I show how I upgraded my Dell T7820 SATA backplane to a U.2 backplane. I’m doing this upgrade to enable support for 2 x #intel #Optane drives. I’ll be using these #Dell #T7820 Workstations for my Next Generation #homelab where I’ll need 4 x Intel Optane drives to support #VMware #vsan ESA.
Part Installed in this Video: (XN8TT) Dell Precision T7820 T5820 U.2 NVME Solid State Drive Backplane Kit found used on Ebay.
For more information around My Next Generation 8 Home Lab based on the Dell T7820 check out my blog series at https://vmexplorer.com/blog-series/
First Look GEN8 ESXi/vSAN ESA 8 Home Lab (Part 1)
I’m kicking off my next generation home lab with this first look in to my choice for an ESXi/vSAN 8 host. There will be more videos to come as this series evolves!

10Gbe NAS Home Lab: Part 8 Interconnecting MikroTik Switches
It’s been a long wait for Part 8 but I was able to release it today! If you are interested on how to network performance test your storage environment this session might help. The purpose of this session is to show how to interconnect two MikroTik switches and ensure their performance is optimal when compared to a single switch. The two NAS devices in this session have different physical capabilities and by no means is this a comparison of their performance. The results are merely data points. Users should work with their vendor of choice to ensure best performance and optimization.

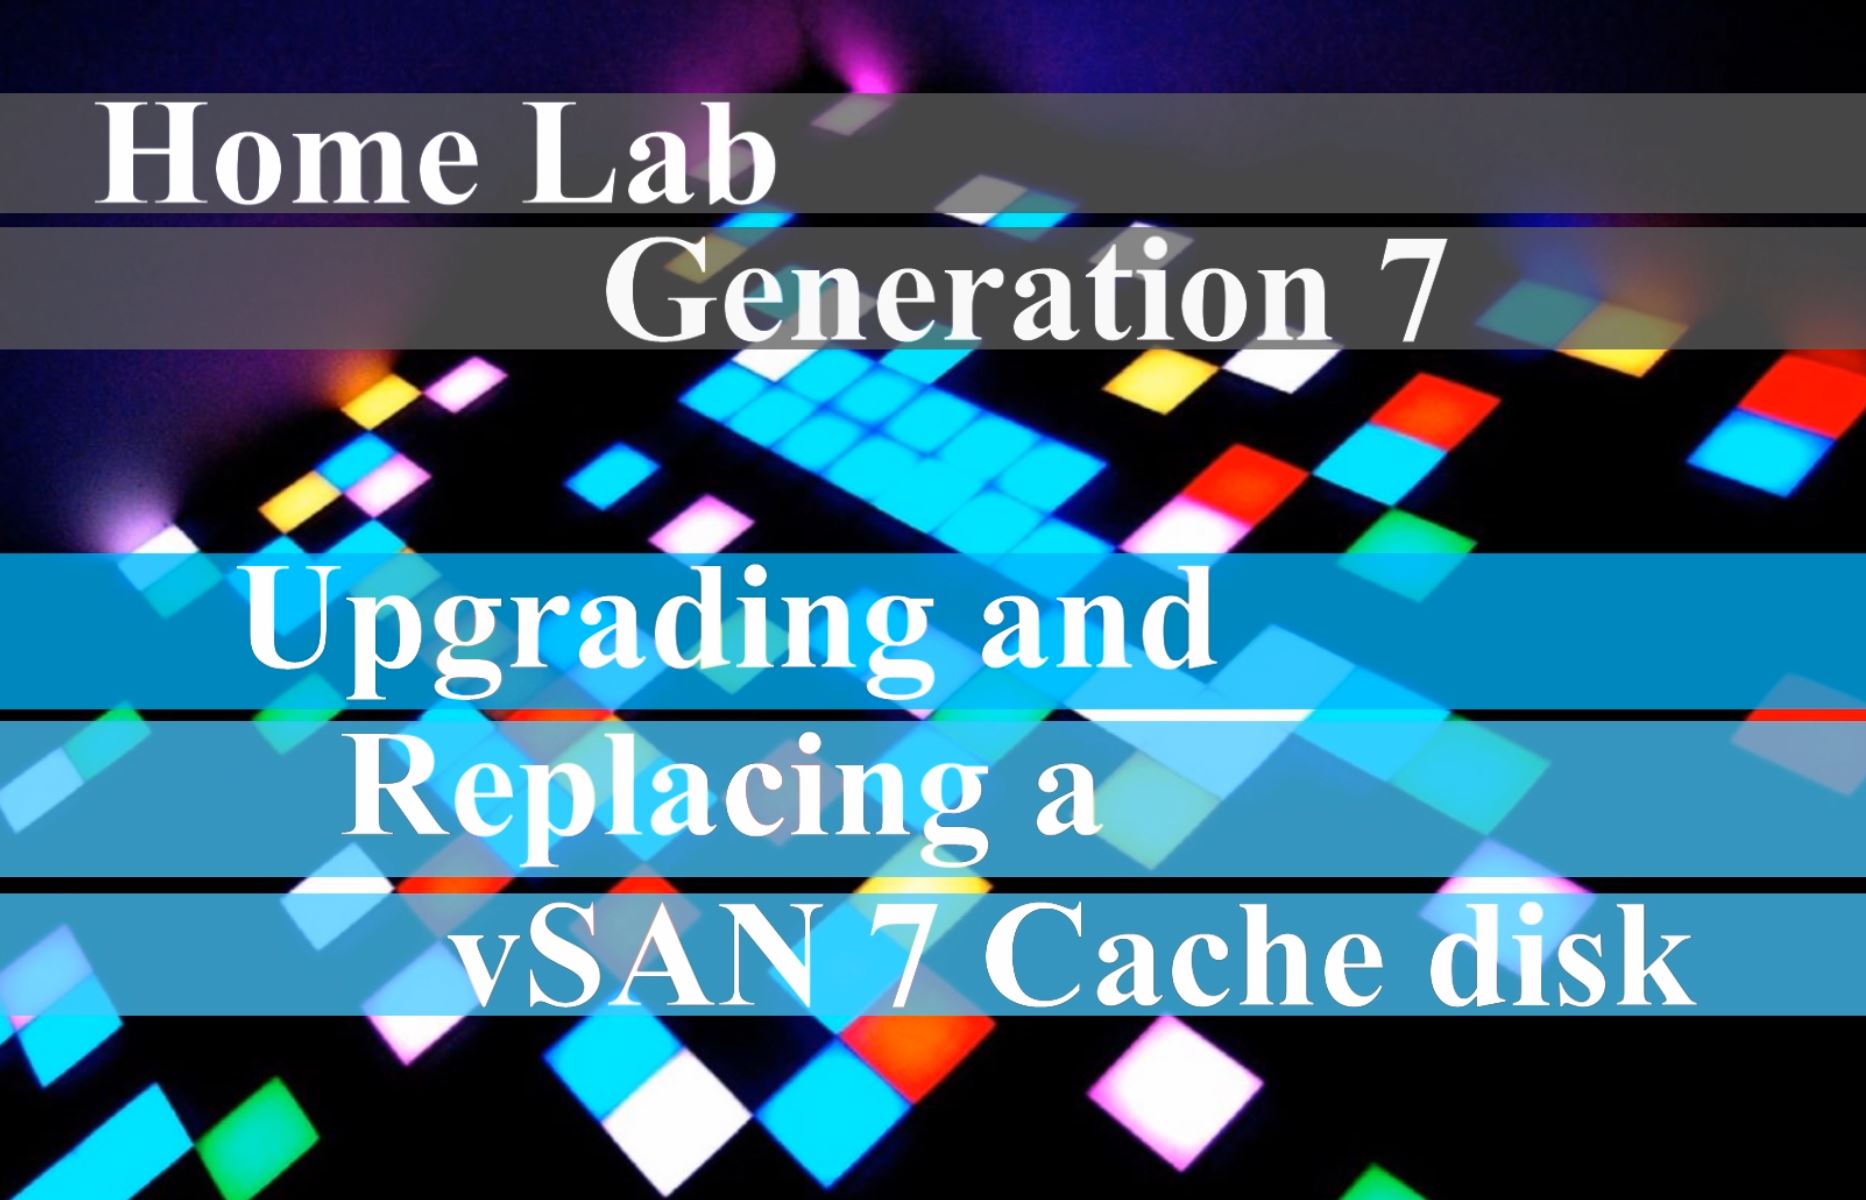
Home Lab Generation 7: Upgrading and Replacing a vSAN 7 Cache Disk
In this video I go over some of the rational and the steps I took to replace the vSAN 7 2 x 200GB SSD SAS cache disks with a 512GB NVMe flash device.
*Products in this video*
Sabrent 512 Rocket – https://www.sabrent.com/product/SB-ROCKET-512/512gb-rocket-nvme-pcie-m-2-2280-internal-ssd-high-performance-solid-state-drive/#description
Dual M.2 PCIe Adapter Card for NVMe/SATA – https://www.amazon.com/gp/product/B08MZGN1C5
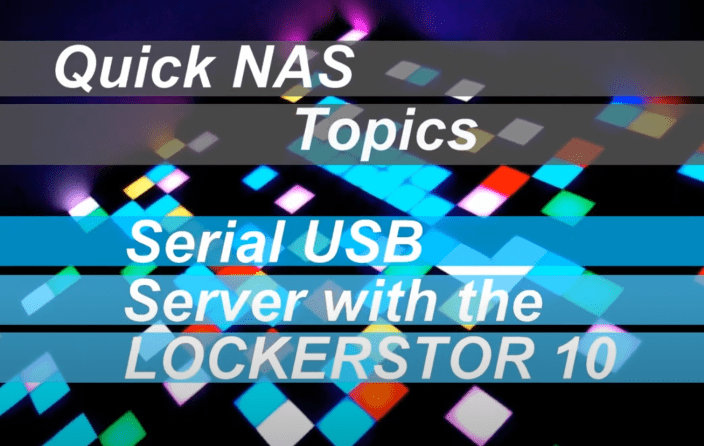
Quick NAS Topics: Serial USB Server with the LOCKERSTOR 10
In this Quick NAS Topic video I go over how to install VirutalHere USB Server on the LOCKERSTOR 10 and its client on my Windows 10 PC. This enables the client to establish a link to the a USB NULL Model Cable which is connected directly into the NAS. Once established I’m able to use putty to create a serial SSH connection.
** Products in this Video **
- LOCKERSTOR 10 https://www.asustor.com/en/product?p_id=64
- Mikrotik CRS309-1G-8S+IN https://mikrotik.com/product/crs309_1g_8s_in
- VirtualHere https://www.virtualhere.com/home
- StarTech.com USB to Serial RS232 Adapter https://www.amazon.com/USB-Serial-Adapter-Modem-9-pin/dp/B008634VJY?th=1

10Gbe NAS Home Lab Part 7: Network testing with iperf3 on containers
In Part 7 I go over how I used iperf3 to test between my different NAS devices and Windows PCs. Each NAS device are running Docker and had a ubuntu container with iperf3 installed. If you want more information on how I setup the container check out my other post here.

Quick NAS Topics: Create your own iperf3 Docker Container
In this Quick NAS Topic video and the steps further below, I use docker to create a ubuntu container with Linux tools and iperf3.
This video is a supplement for the 10Gbe Home NAS Lab Part 7. In Part 7 I show how to use these containers to network performance test the 3 NAS devices I have.
Notes:
- Create your own Docker Account – https://hub.docker.com/signup
- My Docker Repository – https://hub.docker.com/u/vmexplorer
- A Blog around using a Docker Image that has Iperf3 but limits you to server mode only.
Docker Ubuntu/iperf3 Basic Steps: Items in-between [ ] and the brackets should be removed
- On the NAS:
- Ensure devices can access the inet OR not covered in this blog, you’ll need to manually import and export images, etc.
- Ensure Docker-ce and if needed Shell-in-a-box and portainer are installed and basic configuration is done. The Synology didn’t need shell in a box or portainter
- Test Docker Install
- docker -v << Shows the version
- docker images << Show the images that are available
- docker ps << Shows the running containers
- Elevate local privileges to run docker commands
- It may be necessary to use ‘sudo’ in front of docker commands to get them to execute, followed by the admin/root password. Example: sudo docker ps
- Download and run Ubuntu
- docker pull ubuntu << Image is located here https://hub.docker.com/_/ubuntu
- docker run -it ubuntu bash << Creates an instance of this image for us to modify and opens up the terminal
- Update the Ubuntu running container
- apt-get -y update
- apt-get install iproute2
- apt-get install net-tools
- apt-get install iputils
- apt-get install iputils-ping
- apt-get install -y iperf3
- Test with ping and iperf3 -v
- Do not exit
- Commit and push the new image
- docker ps -l << Check for the latest running container, and note the Container ID of the container that was just updated with these steps
- docker commit [Container ID] [repository name]/[insert-container-name]
- docker images << will validate that the image is now there
- docker push [repository name]/[Container you want to push]
- Testing Steps
- Check basic ping between all devices
- Put one device in server mode iperf3 -s
- On the other device start the test iperf3 -c [Target IP]


Quick NAS Topics Changing Storage Pool from RAID 1 to RAID5 with the Synology 1621+
In this not so Quick NAS topic I cover how to expand a RAID 1 volume and migrate it to a RAID 5 storage pool with the Synology 1621+. Along the way we find a disk that has some bad sectors, run an extended test and then finalize the migration.
** Products / Links Seen in this Video **
Synology DiskStation DS1621+ — https://www.synology.com/en-us/products/DS1621+

