vmware
Updating VMware Workstation 17 to 25H2
** Update – Workstation 25H2u1 has been released 02/2026. Upgrade from 25H2 to 25H2u1 blog here **
Last October 2025 VMware changed the naming convention of their Workstation product. They moved from traditional version numbers (e.g., Workstation 17.6.x) and are adopting a new naming format that reflects the year (2025) and the half of the year (H2). This provides a more consistent naming across releases and helps to ensures version clarity. With the name change of VMware Workstation from 17 to 25H2 so has the update process. In this blog I cover some of those changes and the steps I took to update my system.
Why can’t I download updates via Workstation 17 Updater?
The product update feature is no longer available in VMware Workstation 17, Player, Fusion. See Article ID: 395172 Moving forward, updates will need to be manually downloaded from the Broadcom Support Portal. Once the appropriate product update is downloaded, it can be manually installed.
Where can I download the Update?
Follow the step-by-step instructions provided in the following articles for the respective products: Download Desktop Hypervisor (Workstation and Fusion) Products
What are the requirements to install Workstation 25H2?
See Host System Requirements for Workstation Pro
What are the steps to upgrade to Workstation 25H2?
Once you have downloaded the product, open it, and then click next on this screen.

Accept the EULA.

Click next on the ‘Compatible Setup’
NOTE: If you have having issues with Hyper-V there is a good chance your Windows OS is not setup properly. See my guide that can help resolve this.

Select the Install directory

Check or Un-Check Product updates and Join CEIP.

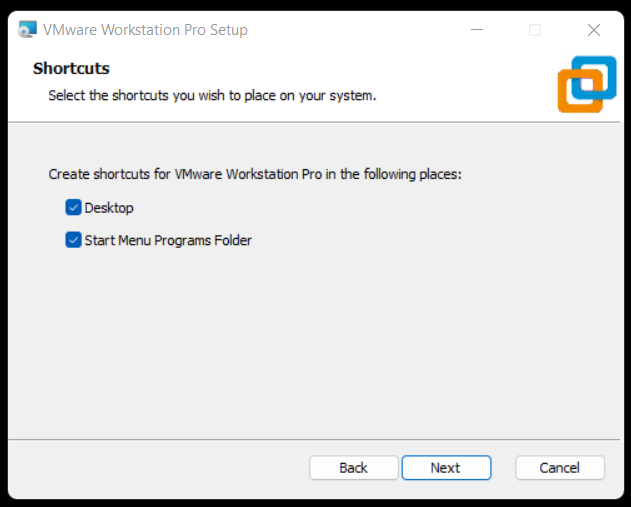
Choose where you want your shortcuts.
Choose upgrade to begin the installation.
Note: This step will vary if you are doing a fresh install of Workstation.

Allow it to complete its install.

Click Finish.

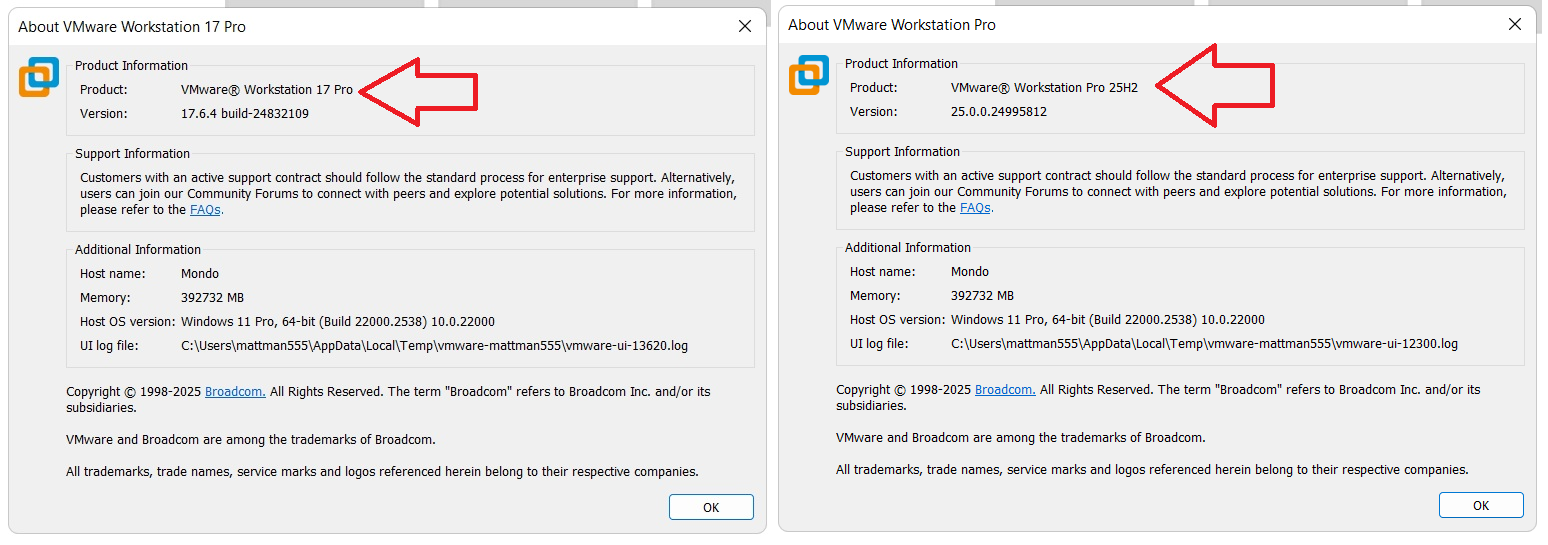
After opening Workstation 25H2 here is the new ‘About’ screen. The about screen is found under Help > About VMware Workstation

VMware Workstation & Fusion 25H2 Released

A VMware Workstation and Fusion update was released Mid-Oct-2025 and it comes with a new name. In this blog I outline some of the changes to Workstation and supply several helpful links.
Why 25H2?
VMware has decided to move away from their past version numbers (e.g., Workstation 17.6.x, Fusion 13.6.x) and is adopting a new naming format — 25H2. This change reflects the year (2025) and the half of the year (H2) and provides consistency across releases plus helps to ensure better clarity for customers. This simple change should make it easier to understand when a release was published and plan upgrades accordingly.
What are some of the important changes with Workstation 25H2?
- VMware Workstation Pro 25H2 provides the following new capabilities.
- Introducing dictTool: A command-line tool to examine and modify VMware configuration files, such as a vmx file or user preferences file. For more information, see Using dictTool to Modify Configuration Files.
- Added support for USB 3.2
- Added support for virtual hardware version 22
- Added support for Hyper-V/WHP detection
- Added support for new guest operating systems
- Red Hat Enterprise Linux 10
- Fedora Linux 42
- openSUSE Leap 16.0 (RC)
- SUSE Linux 16 (Beta)
- Debian 13
- Oracle Linux 10
- VMware ESX 9.0
- Added support for new host operating systems
- Red Hat Enterprise Linux 10
- Fedora Linux 42
- openSUSE Leap 16.0 (RC)
- SUSE Linux 16 (Beta)
- Debian 13
What do the new ‘About’ screens look like?
Helpful Links:
VMware Workstation & Fusion 25H2: Embracing Calendar Versioning and New Features
VMware Workstation 17 Nested Home Lab Part 2
In Part 2, I go into a physical hardware overview, show how to enable VT-X and VT-D, installation of Windows 11 (which includes a trick to disable the TPM requirement), install of Workstation 17, and review common issues when Hyper V is enabled. At the end of this video #windows11 and #workstation 17 are installed and operational. Coming up in Part 3 we’ll build out or Workstations Networks, start building the Windows 2022 server with AD, DNS, RAS, DHCP, and other services.

#Optane #IntelXeon #Xeon #vExpert #VMware #Cloud #datacenter
VMware Workstation 17 Nested vSAN ESA Overview
In this high level video I give an overview of my #VMware #workstation running 3 x nested ESXi 8 Hosts, vSAN ESA, VCSA, and a Windows 2022 AD. Additionally, I show some early performance results using HCI Bench.
I got some great feedback from my subscribers after posting this video. They were asking for a more detailed series around this build. You can find this 8 Part Series under Best of VMX > ‘VMware Workstation Generation 8 : Complete Software Build Series’.
For more information around my VMware Workstation Generation 8 Build check out my latest BOM here

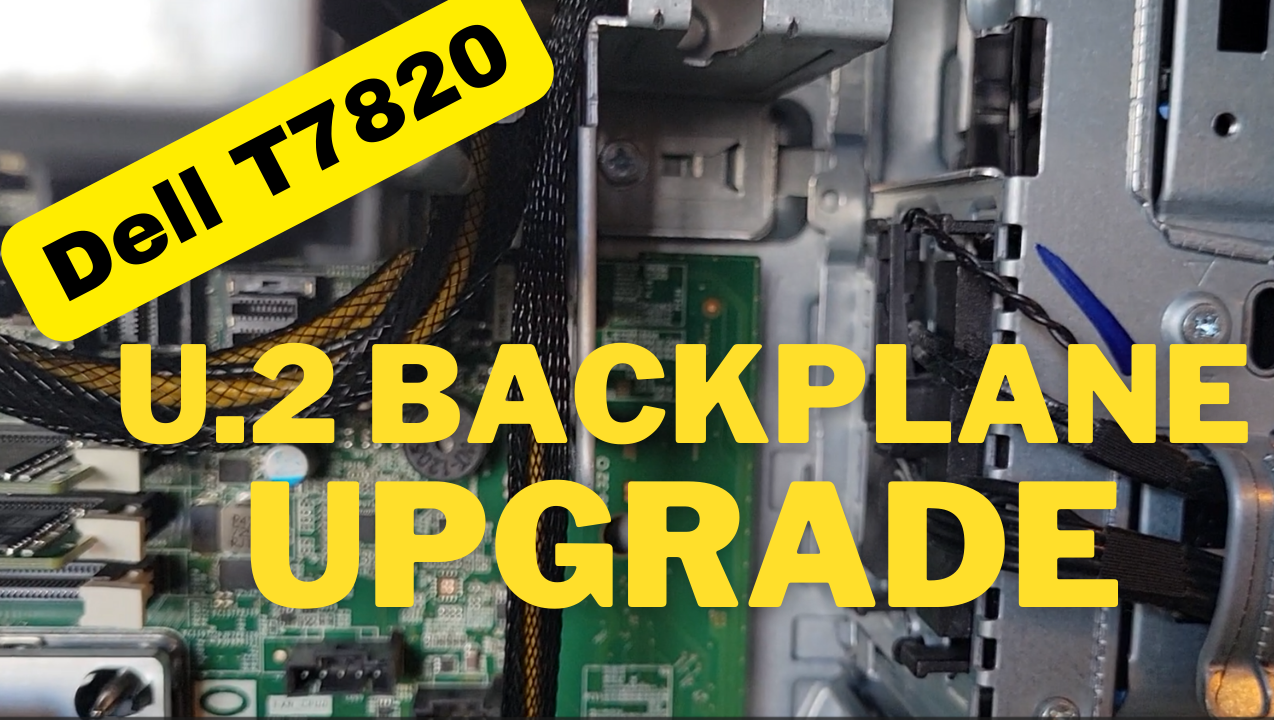
How to upgrade a Dell T7820 to a U.2 Backplane
In this video I show how I upgraded my Dell T7820 SATA backplane to a U.2 backplane. I’m doing this upgrade to enable support for 2 x #intel #Optane drives. I’ll be using these #Dell #T7820 Workstations for my Next Generation #homelab where I’ll need 4 x Intel Optane drives to support #VMware #vsan ESA.
Part Installed in this Video: (XN8TT) Dell Precision T7820 T5820 U.2 NVME Solid State Drive Backplane Kit found used on Ebay.
For more information around My Next Generation 8 Home Lab based on the Dell T7820 check out my blog series at https://vmexplorer.com/blog-series/
First Look GEN8 ESXi/vSAN ESA 8 Home Lab (Part 1)
I’m kicking off my next generation home lab with this first look in to my choice for an ESXi/vSAN 8 host. There will be more videos to come as this series evolves!

Will ESXi 8 install on to the ASRockRack EPC621D8A motherboard?
In this video I show how I installed ESXi 8 on to the ASRockRack EPC621D8A motherboard and discuss some of the caveats of doing so.
Links in the video:
ASRockRack EPC621D8A motherboard: https://www.asrockrack.com/general/productdetail.asp?Model=EPC621D8A#specifications
VMware Comptibility Guide: https://www.vmware.com/resources/compatibility/detail.php?deviceCategory=server&productid=47030&deviceCategory=server&details=1&partner=600&page=1&display_interval=10&sortColumn=Partner&sortOrder=Asc
H3C NIC-GE-4P-360T-L3 NIC: https://www.vmware.com/resources/compatibility/detail.php?deviceCategory=io&productid=50861&deviceCategory=io&details=1&VID=8086&DID=37d1&SVID=8086&page=1&display_interval=10&sortColumn=Partner&sortOrder=Asc

3 Interesting DIY PC / Server Case Options for Home Labs
I’ve been building White box PCs since the early 90’s and if you seen my home lab blogs and videos its a passion that has continued on for so many years. When I look for a case, I’m usually looking for practicality and usability as it relates to the indented design. As a DIY home lab builder, using commodity cases is normal but unique cases for home labs are not always easy to find. When I do look for unique Home Lab case ideas, I usually run into lists of the gamer builds that are not so much meant for Home Labs. In this blog I wanted to compile a list of cases that are a bit more unique but someone might want to use for a home lab. For each case, I listed out some of my thoughts around home lab use cases. Of course, deeper research will be needed to determine if they fit your indented use.
#1 – Cryorig TAKU, The PC Monitor Stand Mini ITX PC Case

USE CASE: Could be used for a stackable home lab or workstations
PROS:
- ~1U Formfactor | ++ Coolness factor
- Portability | Light Weight | Low Noise
- The slide out system tray makes for easy access to internal components, especially when stacked
CONS:
- Tight form factor limiting options
- Sometimes limited SFX Power Supplies Options
- ITX Standard might be hard for Home Lab deployments
- Limited to 3 Drives
- When opening cables may have to slide with it or be disconnected
- Company just starting out, hard to find replacement parts
Other Links:
- Cost ~$200
- Video Review
- Amazon
#2 – Fractal Design Define 7

USE CASE: Sure this may look like a standard PC Case, but what’s unique about this case is the MANY ways it can be configured and re-configured. Because of this unique flexibility it would work well as a Workstation or ESXi Host.
PROS:
- MANY case configurations options
- Want even more space? Look at the Define 7 XL
- Supports ATX and some E-ATX configurations
- Clean case design with 3 Color Options
- Horizontal and vertical PCI Slots
- Wire management
- Air Filters
- 9 Fan Connections
- Lots of Disk space
CONS:
- No 5.25″ disk bays
- No front facing USB or external ports (all on top)
- It’s big and the XL even bigger
- Some options sold separately
Other Links:
- Standard ~$140 | XL Version $220
- Amazon
- Video Review
- Manufacture Site
#3 – JONSBO N1 Mini-ITX NAS Chassis

USE CASE: With so many disk options could see this case being used for FreeNAS or even a vSAN cluster
PROS:
- LOTS of disk space 5 x 3.5 and 1 2.5
- MINI-ITX / Small form factor
- PCI Low Profile slot
- Upright or Lie-down configurations
- Check out the manufacture site for more and similar case designs
CONS:
- Does require SFX power supply
- Power/Cables may be hard to work with in the upright position
- The size may limit flexibility
- Only one PCI slot
- No 5.25″ disk bays
Other Links:
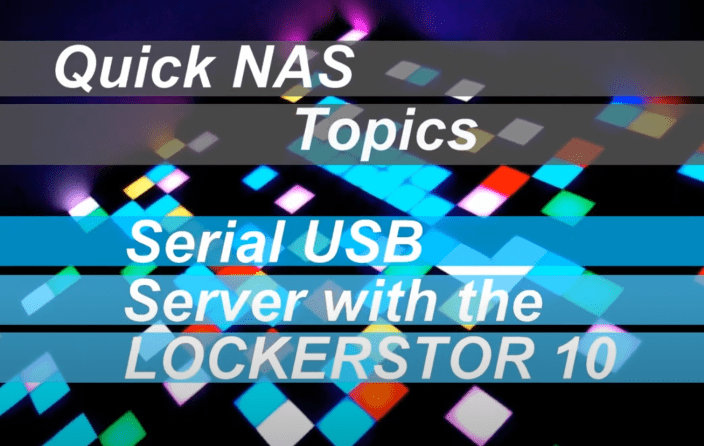
Quick NAS Topics: Serial USB Server with the LOCKERSTOR 10
In this Quick NAS Topic video I go over how to install VirutalHere USB Server on the LOCKERSTOR 10 and its client on my Windows 10 PC. This enables the client to establish a link to the a USB NULL Model Cable which is connected directly into the NAS. Once established I’m able to use putty to create a serial SSH connection.
** Products in this Video **
- LOCKERSTOR 10 https://www.asustor.com/en/product?p_id=64
- Mikrotik CRS309-1G-8S+IN https://mikrotik.com/product/crs309_1g_8s_in
- VirtualHere https://www.virtualhere.com/home
- StarTech.com USB to Serial RS232 Adapter https://www.amazon.com/USB-Serial-Adapter-Modem-9-pin/dp/B008634VJY?th=1

Tips for installing Windows 7 x32 SP1 on Workstation 16.1.2
This past weekend I needed to install Windows 7 x32 to support some older software. After installing Windows 7 x32 I noticed VMware tools is grayed out. I then tried to install VMware tools manually but it failed. There are a few tricks to overcome this issue and in this blog I’ll cover the steps I took to resolve.
So what changed and why all these extra steps?
You may recall that Workstation 16.0.0 could install Windows 7SP1 x32 without any additional intervention. Starting September 2019, Microsoft added SHA-2 algorithm requirements for driver signing. As Workstation 16 released updates it too included updated VMtools that were complaint with the Microsoft SHA-2 requirements. So if you deploy the Windows 7 SP1 x32 ISO (which doesn’t have the SHA-2 patch) the vmtools install will fail because it cannot validate the drivers. For a bit more information See VMware KB 78655.
What are options to fix this?
By default Windows 7×32 SP1 doesn’t include the needed SHA-2 updates. Users have 2 options when doing new installs.
Option 1: Create an updated Windows 7SP1 ISO by slip streaming in the Convenience Rollup Patch (More details here) and then use this slipstreamed ISO to do the install on Workstation. From there you should be able to install VMTools.
Option 2: After Windows 7 SP1 installation is complete, manually install the SHA-2 update, and then install VMtools. See steps below.
Steps for Option 2:
- First I created a new Workstation VM. When creating it I made sure the ISO path pointed to the Windows 7 SP1 ISO and Workstation adjusted the VM hardware to be compatible with Windows 7 SP1. I allowed the OS installation to complete.
- After the OS was installed I applied the following MS Patch.
- VMware Tools requires Windows 7 SP1 to have KB4474419 update installed, See https://kb.vmware.com/s/article/78708
- I downloaded this patch (2019-09 Security Update for Windows 7 for x86-based Systems (KB4474419)) directly to the newly create Windows 7 VM and installed it.
- Download TIP – To download this update, I needed to right click on the *.msu link > choose save link as > pushed the up arrow next to ‘Discard’ and choose ‘Keep’ > and saved it to a folder

- After the rebooted, I went into Workstation and did the following:
- Right clicked on the VM > Settings > CD/DVD
- Made sure ‘Devices status’ was check for connected and connect at power on
- Clicked on ‘Use ISO Image’ > Browse
- Browsed to this folder ‘C:\Program Files (x86)\VMware\VMware Workstation’
- Choose ‘windows.iso’
- Choose OK to closed the VM Settings
- Back in the Windows 7 VM I went into File Explorer opened up the CD and ran setup.exe
- From there I followed the default steps to install VM Tools and rebooted
- Screenshot of the final outcome

