Month: February 2026
My Silicon Treasures: Mapping My Home Lab Motherboards Since 2009
I’ve been architecting home labs since the 90s—an era dominated by bare-metal Windows Servers and Cisco products. In 2008, my focus shifted toward virtualization, specifically building out VMware-based environments. What began as repurposing spare hardware for VMware Workstation quickly evolved. As my resource requirements scaled, I transitioned to dedicated server builds. Aside from a brief stint with Gen8 enterprise hardware, my philosophy has always been “built, not bought,” favoring custom component selection over off-the-shelf rack servers. I’ve documented this architectural evolution over the years, and in this post, I’m diving into the the specific motherboards that powered my past home labs.
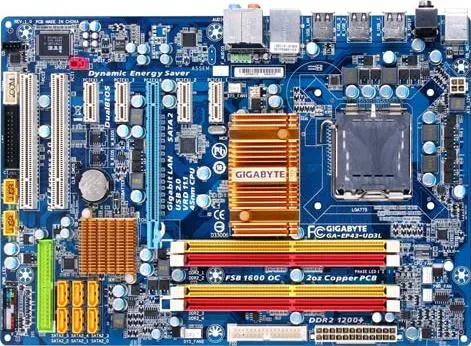
Gen 1: 2009-2011 GA-EP43-UD3L Workstation 7 | ESX 3-4.x
Back in 2009, I was working for a local hospital in Phoenix and running the Phoenix VMUG. I deployed a Workstation 7 Home lab on this Gigabyte motherboard. Though my deployment was simple, I was able deploy ESX 3.5 – 4.x with only 8GB of RAM and attach it to an IOMega ix4-200d. I used it at our Phoenix VMUG meetings to teach others about home labs. I found the receipt for the CPU ($150) and motherboard ($77), wow price sure have changed.
REF Link – Home Lab – Install of ESX 3.5 and 4.0 on Workstation 7
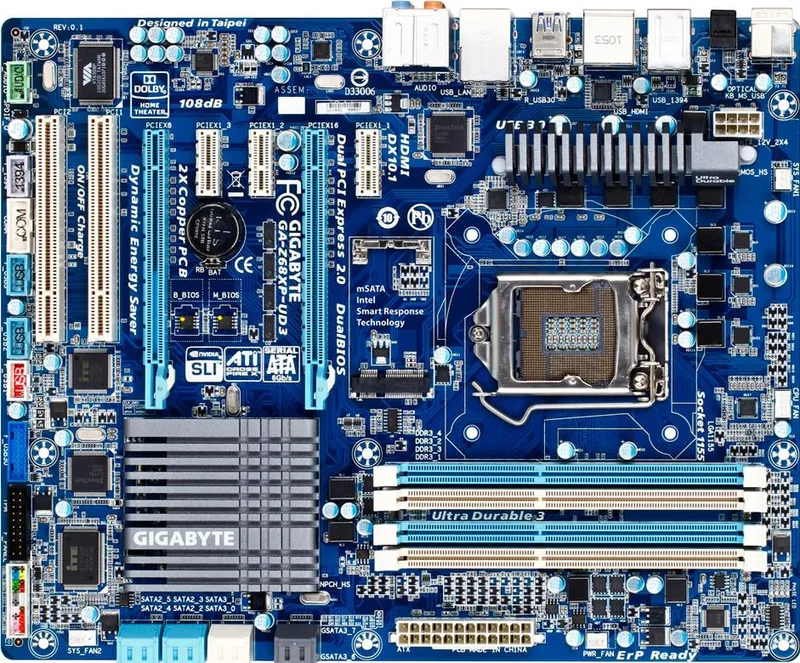
Gen2: 2011-2013 Gigabyte GA-Z68XP-UD3 Workstation 8 | ESXi 4-5
Gen1 worked quite well for what I needed but it was time to expand as my I started working for VMware as a Technical Account Manager. I needed to keep my skills sharp and deploy more complex home lab environments. Though I didn’t know it back then, this was the start of my HOME LABS: A DEFINITIVE GUIDE. I really started to blog about the plan to update and why I was making different choices. I ran into a very unique issues that even Gigabyte or Hitachi could figure out, I blogged about here.
Deployed with an i7-2600 ($300), Gigabyte GA-Z68XP-UD3 ($150), and 16GB DDR3 RAM
REF Link: Update to my Home Lab with VMware Workstation 8 – Part 1 Why
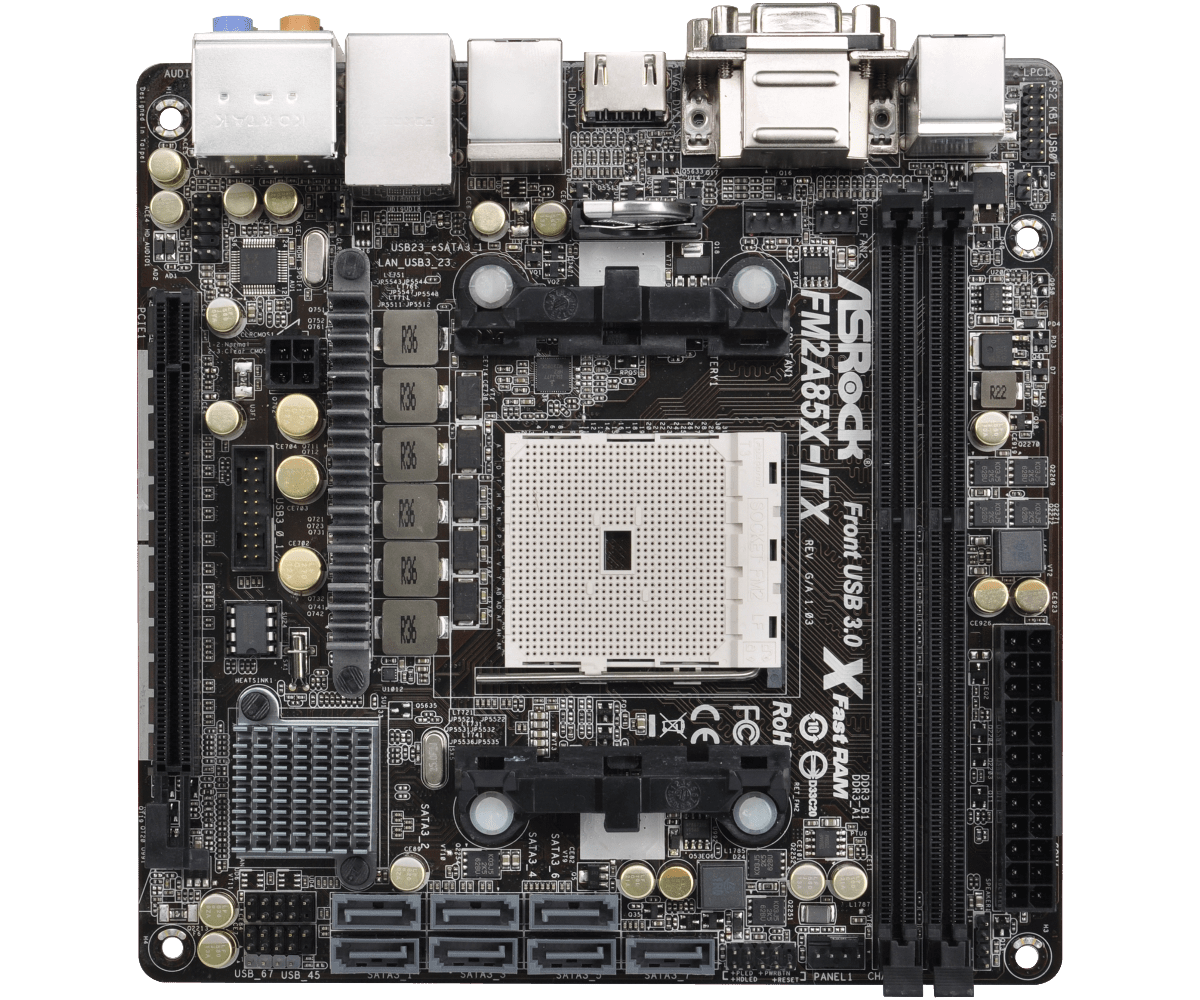
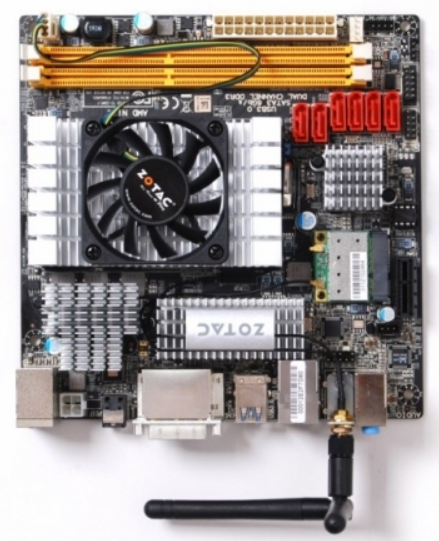
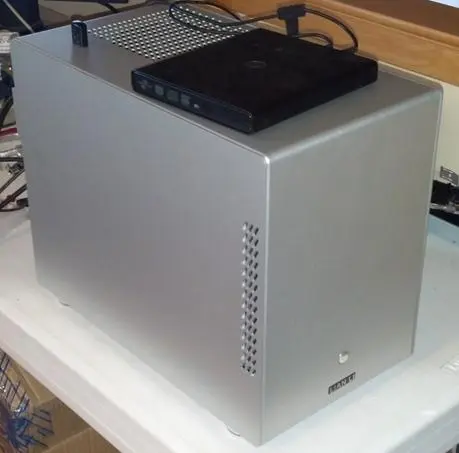
Gen2: Zotac M880G-ITX then the ASRock FM2A85X-ITX | FreeNAS Sever
Back in the day I needed better performance from my shared storage as the IOMega had reached its limits. Enter the short lived FreeNAS server to my home lab. Yes it did preform better but man it was full of bugs and issues. Some due to the Zotac Motherboard and some with FreeNAS. I was happy to be moving on to vSAN with Gen3.
REF: Home Lab – freeNAS build with LIAN LI PC-Q25, and Zotac M880G-ITX
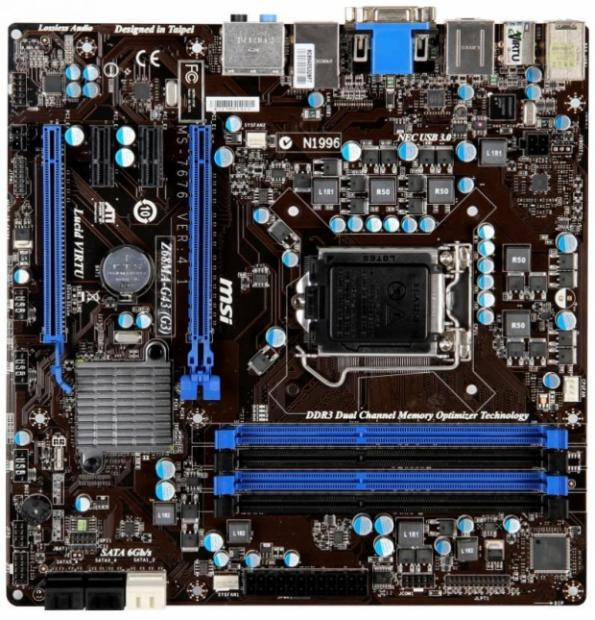
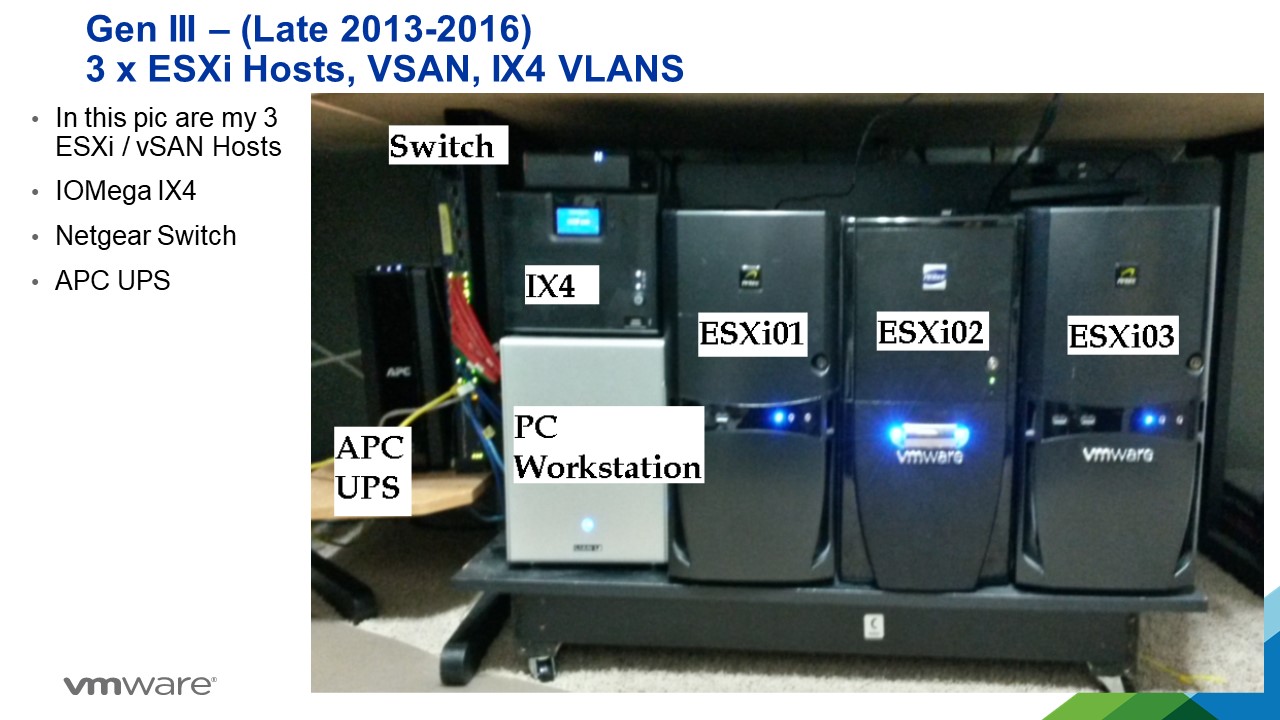
Gen3: 2012-2016 MSI Z68MA-G45 (B3) | ESXi 5-6
I needed to expand my home lab into dedicated hosts. Enter the MSI Z68MA-G45 (B3). It would become my workhorse expanding it from one server with the Gen 2 Workstation to 3 dedicated hosts running vSAN.
REF: VSAN – The Migration from FreeNAS
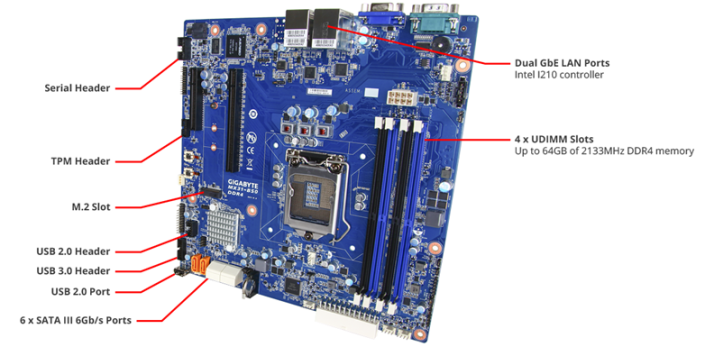
Gen4: 2016-2019 Gigabyte MX31-BS0
This mobo was used in my ‘To InfiniBand and beyond’ blog series. It had some “wonkiness” about its firmware updates but other then that it was a solid performer. Deployed with a E3-1500 and 32GB RAM
REF: Home Lab Gen IV – Part I: To InfiniBand and beyond!
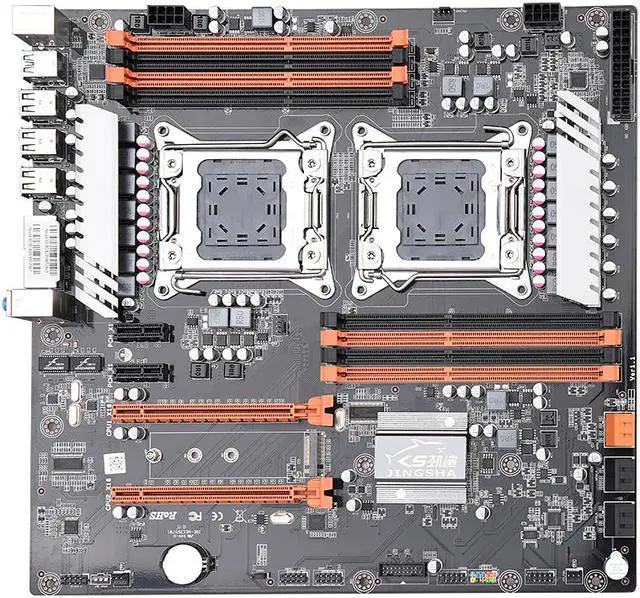
Gen 5: 2019-2020 JINGSHA X79
I had maxed out Gen 4 and really needed to expand my CPU cores and RAM. Hence the blog series title – ‘The Quest for More Cores!’. Deployed with 128GB RAM and Xeon E5-2640 v2 8 Cores it fit the bill. This series is where I started YouTube videos and documenting my builds per my design guides. Though this mobo was good for its design its lack of PCIe slots made it short lived.
REF: Home Lab GEN V: The Quest for More Cores! – First Look
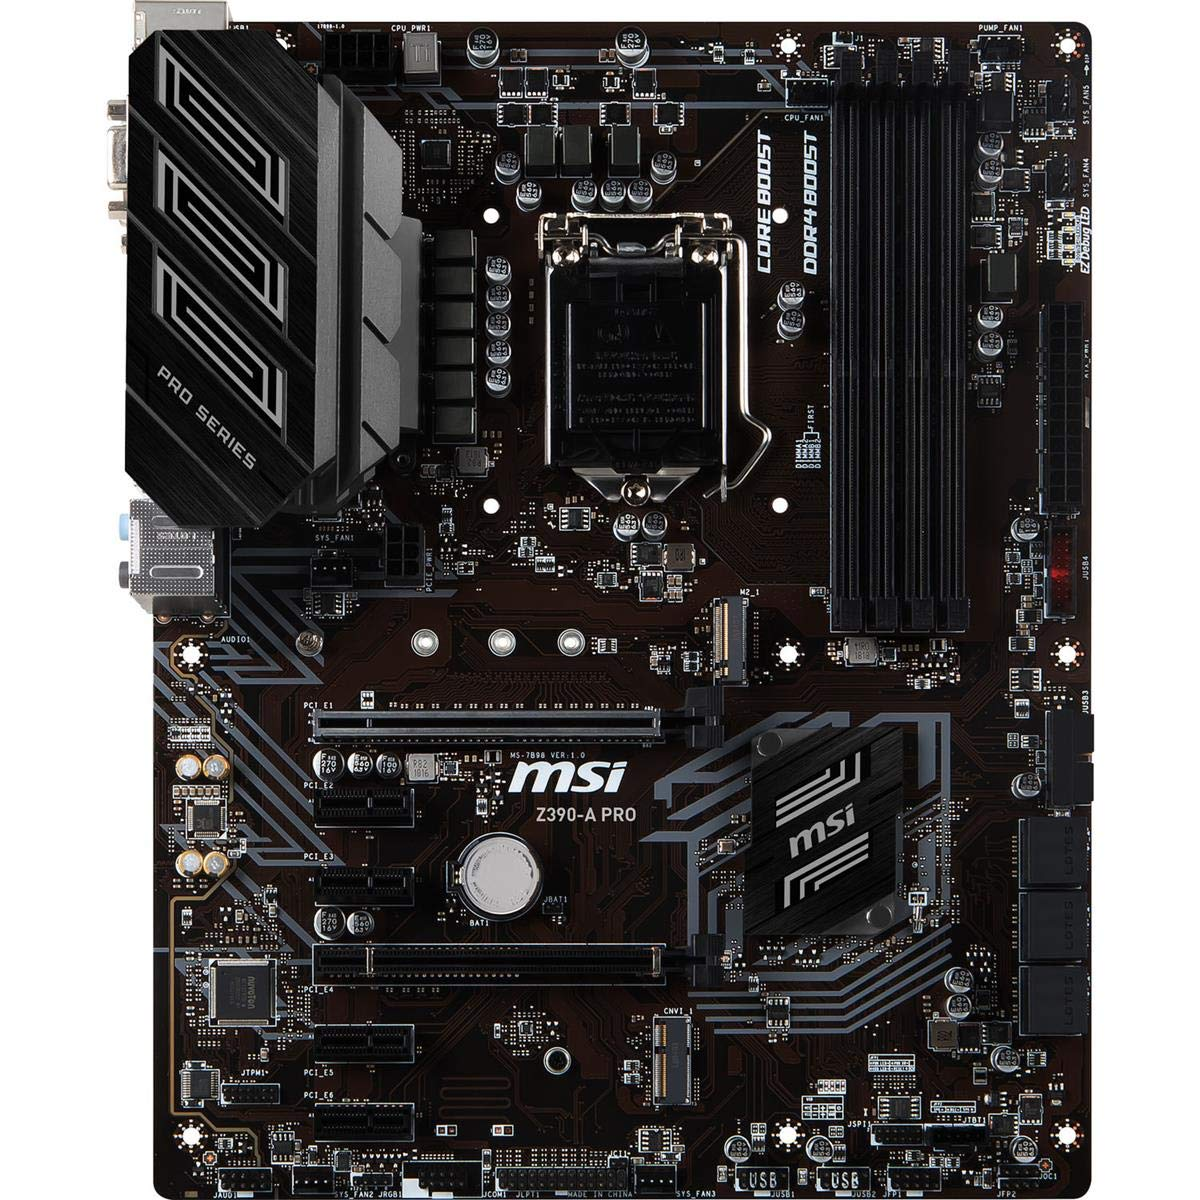
Gen 7: 2020-2023: Supermicro X9DRD-7LN4F-JBOD and the MSI PRO Z390-A PRO
Gen 5 motherboard fell short when I wanted to deploy and all flash vSAN based on NVMe. With this Supermicro motherboard I had no issues with IO and deploying it as all Flash vSAN. It also gathered the attention of Intel to which they offered me their Optane drives to create an All Flash Optane system. More on that in Gen 8.
The MSI motherboard was a needed update to my VMware Workstation system. I built it up as a Workstation / Plex server and it did this job quite well.
This generation is when I started to align my Gen#s to vSphere releases. Makes it much easier to track.
REF: Home Lab Generation 7: Updating from Gen 5 to Gen 7

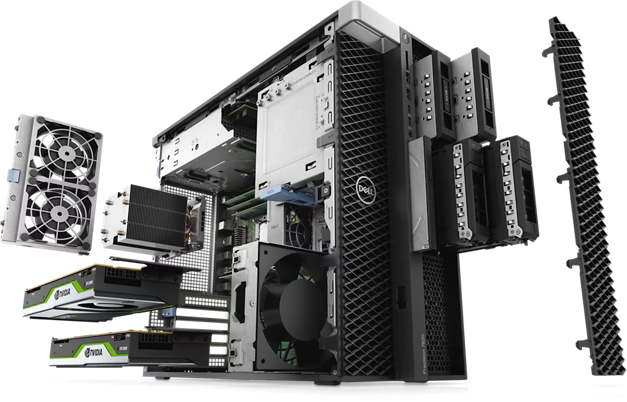
Gen 8: 2023-2024 Dell T7820 VMware Dedicated Hosts
With some support from Intel I was able to uplift my 3 x Dell T7820 workstations into a great home lab. They supplied Engineering Samples CPUs, RAM, and Optane Disks. Plus I was able to coordinate the distribution of Optane disks to vExperts Globally. It was a great homelab and I leaned a ton!
REF: Home Lab Generation 8 Parts List (Part 2)
Gen 8-9: 2023-2026 ASRack Rock EPC621D8A VMware Workstation Motherboard
Evolving my Workstation PC I used this ASRack Rock motherboard. It was the perfect solution for running nested clusters of ESXi VMs with vSAN ESA. It was until most recently a really solid mobo and I even got it to run nested VCF 9 simple install.
REF: Announcing my Generation 8 Super VMware Workstation!

Gen 9: 2024 – Current
As of this date its still under development. See my Home Lab BOM for more information. However, I’m moving my home lab to only nested VCF 9 deployment on Workstation and not dedicated servers.
Windows 11 Workstation VM asking for encryption password that you did not explicitly set
I had created a Windows 11 VM on Workstation 25H2 and then moved it to a new deployment of Workstation. Upon powerup it the VM stated I must supply a password (fig-1) as the VM was encrypted. In this post I’ll cover why this happened and how I got around it.
Note: Disabling TPM/Secure Boot is not recommended for any system. Additionally, bypassing security leaves systems open for attack. If you are curious around VMware system Hardening check out this great video by Bob Plankers.
(Fig-1)
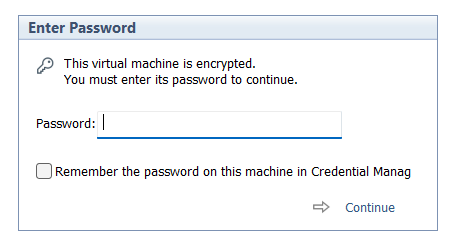
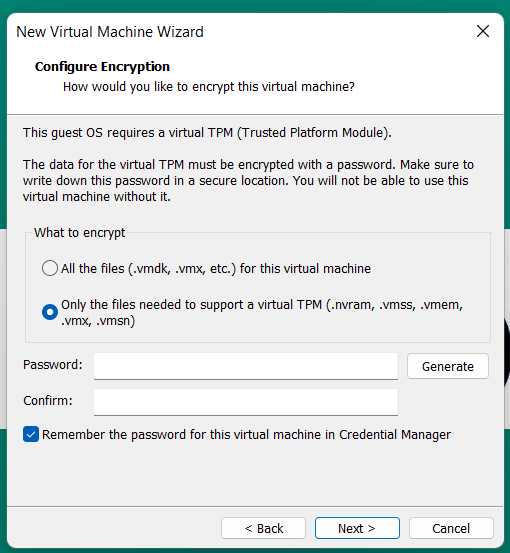
Why did this happen? As of VMware Workstation 17 encryption is required with a TPM 2.0 device, which is a requirement for Windows 11. When you create a new Windows 11×64 VM, the New VM Wizard (fig-2) asks you to set an encryption password or auto-generated one. This enables the VM to support Windows 11 requirements for TPM/Secure boot.
(Fig-2)
I didn’t set a password, where is the auto-generated password kept? If you allowed VMware to “auto-generate” the password, it is likely stored in your host machine’s credential manager. For Windows, open the Windows Credential Manager (search for “Credential Manager” in the Start Menu). Look for an entry related to VMware, specifically something like “VMware Workstation”.
I don’t have access to the PC where the auto-generated password was kept, how did I get around this? All I did was edit the VMs VMX configuration file commenting out the following. Then added the VM back into Workstation. Note: this will remove the vTPM device from the virtual hardware, not recommended.
# vmx.encryptionType
# encryptedVM.guid
# vtpm.ekCSR
# vtpm.ekCRT
# vtpm.present
# encryption.keySafe
# encryption.data
How could I avoid this going forward? 2 Options
Option 1 – When creating the VM, set and record the password.
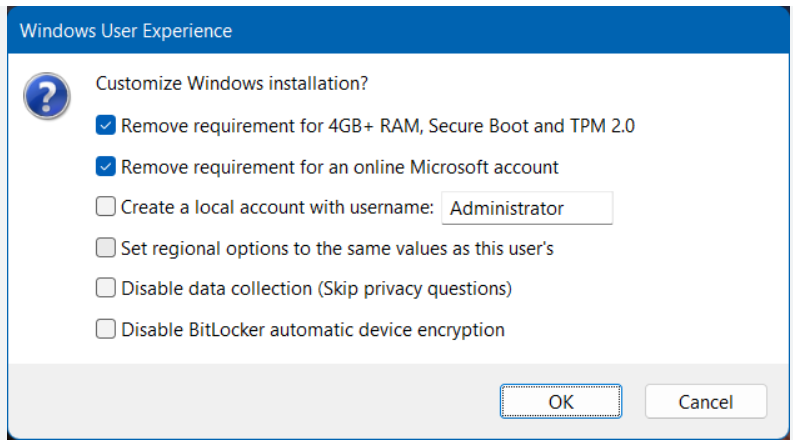
Option 2 – To avoid this all together, use Rufus to create a new VM without TPM/Secure boot enabled.
- Use Rufus to create a bootable USB drive with Windows 11. When prompted choose the options to disable Secure Boot and TPM 2.0.
- Once the USB is created create a new Windows 11×64 VM in Workstation.
- For creation options choose Typical > choose I will install the OS later > choose Win11x64 for the OS > chose a name/location > note the encryption password > Finish
- When the VM is completed, edit its settings > remove the Trusted Platform Module > then go to Options > Access Control > Remove Encryption > put in the password to remove it > OK
- Now attach the Rufus USB to the VM and boot to it.
- From there install Windows 11.
Wrapping this up — Bypassing security allowed me to access my VM again. However, it leaves the VM more vulnerable to attack. In the end, I enabled security on this vm and properly recorded its password.
