VMware Workstation Gen 9 Part 4 ESX Host Deployment and initial configuration
Now that I created 3 ESX hosts from templates it is time to install ESX. To do this I simply power on the Hosts and follow the prompts. The only requirement at this point is my Windows Server and Core Services be up and functional. In this blog we’ll complete the installation of ESX.
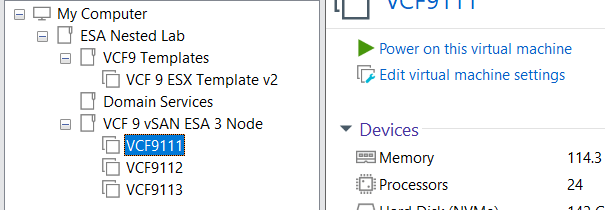
Choose a host then click on “Power on this virtual machine”.
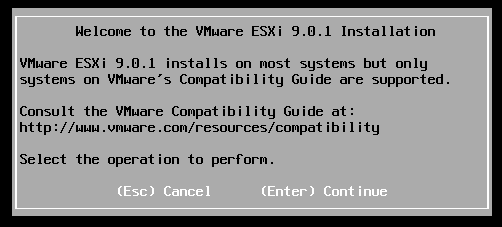
The host should boot to the ESX ISO I choose when I created my template.
Choose Enter to Continue
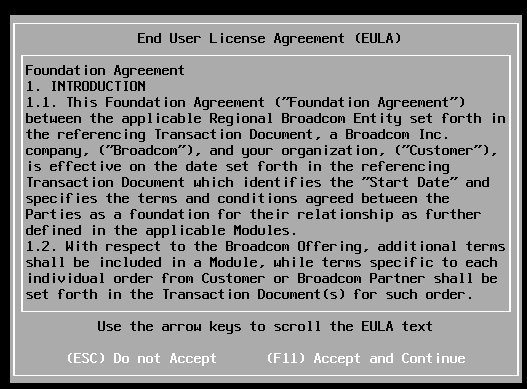
Choose F11 to Accept and Continue
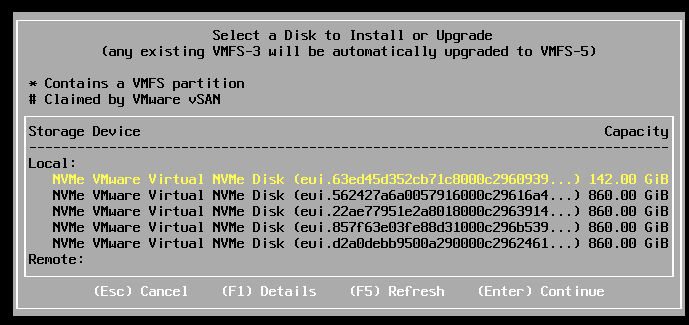
If the correct boot disk is selected, press Enter to continue.
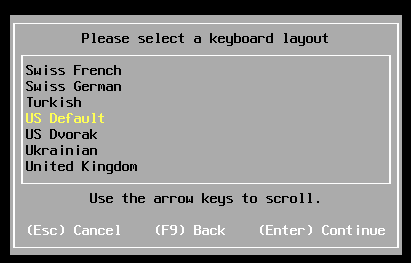
Choose pressed enter to accept the US Default keyboard layout
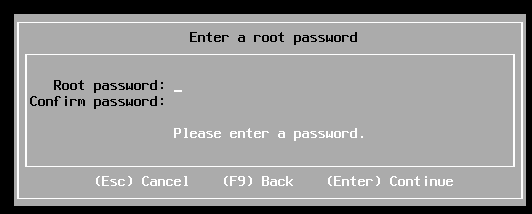
Entered a root password and pressed enter.
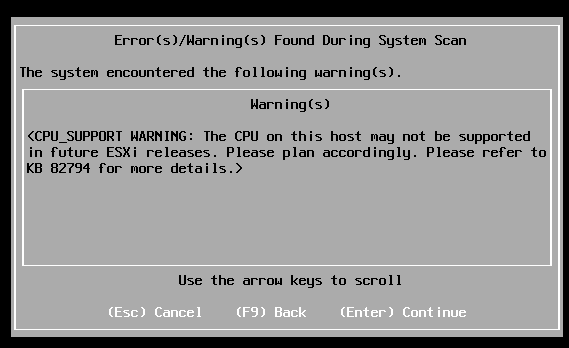
Pressed enter at the warning of CPU support.
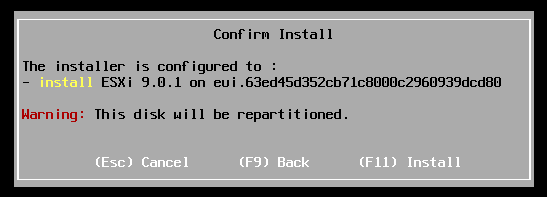
Pushed F11 to install
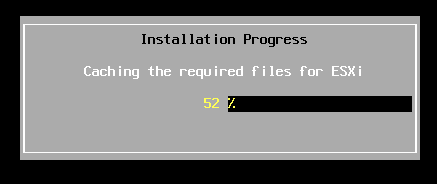
Allowed ESX to install.
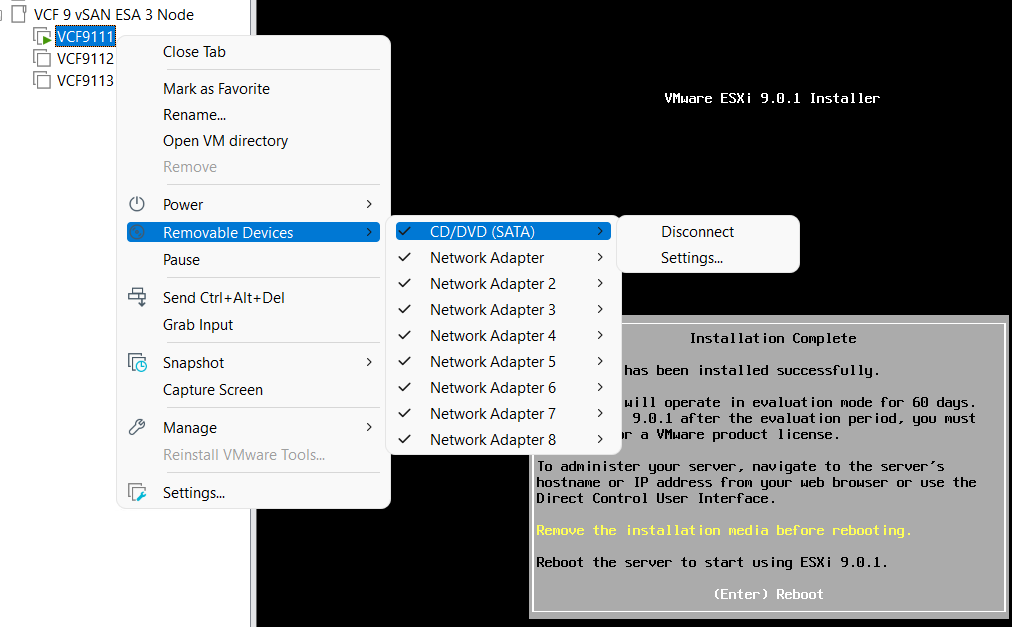
Disconnected the media and pressed enter to reboot
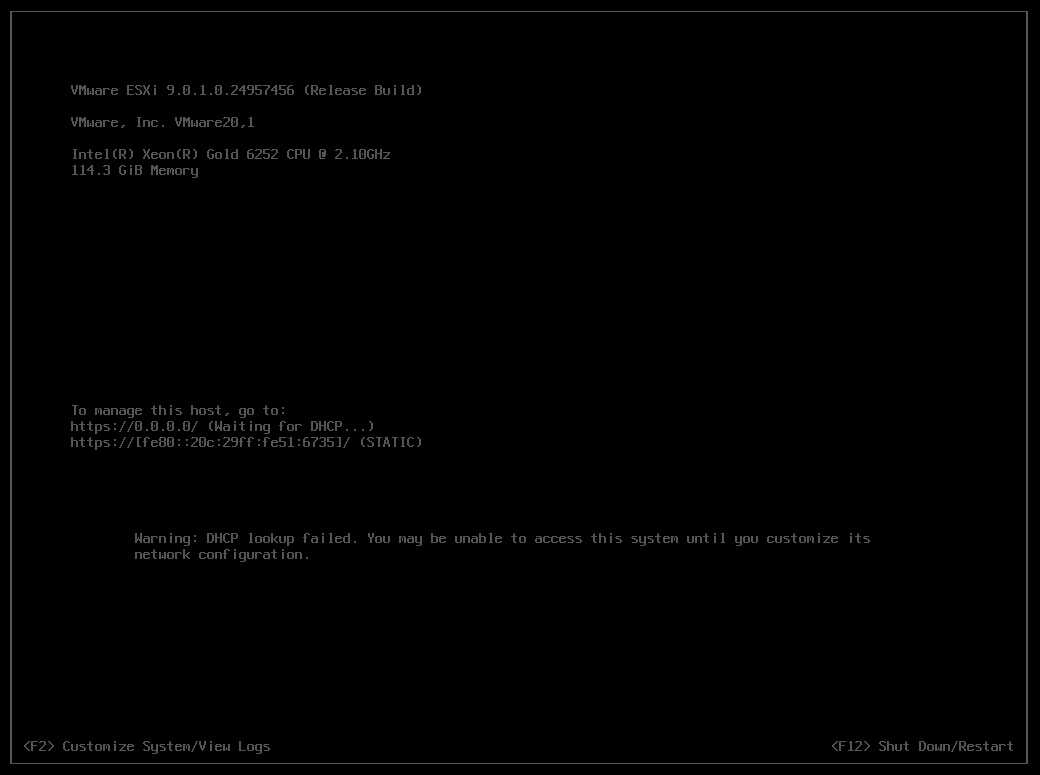
Once rebooted I choose F2 to customize the system and logged in with my root password
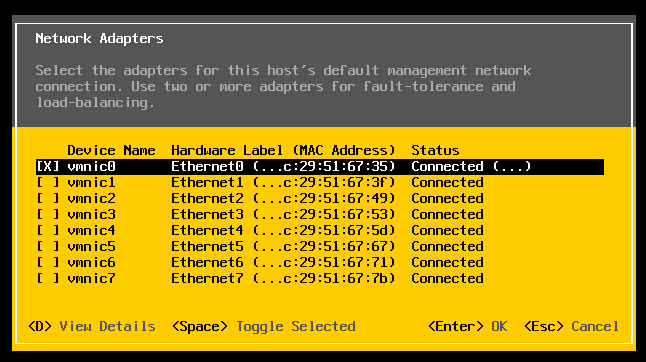
Choose Configure Management Network > Network Adapters, and validate the vmnic0 is selected, then pressed escape
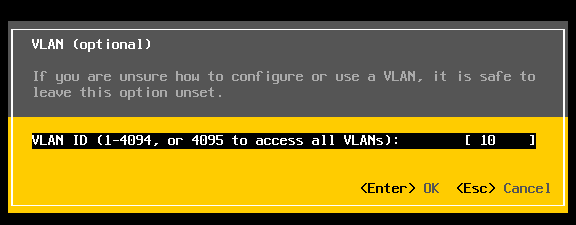
Choose VLAN (optional) > Entered in 10 for my VLAN > pressed enter to exit
Choose IPv4 Configuration and enter the following for VCF9111 host and then pressed enter.

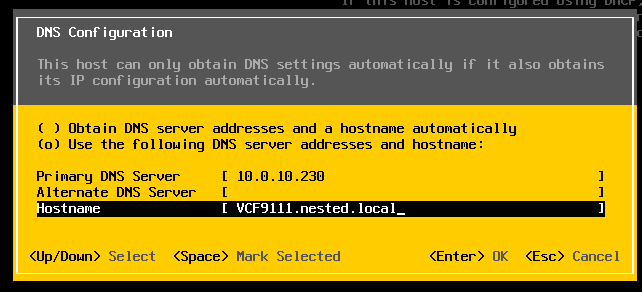
Choose DNS Configuration and enter the following.
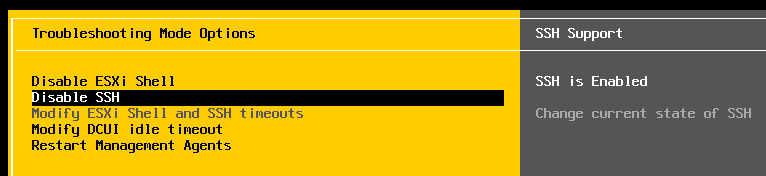
Press Escape to go to the main screen. Press Y to restart management. Arrow down to ‘Enable ESXi Shell” and press enter, then the same for SSH. Both should now be enabled.
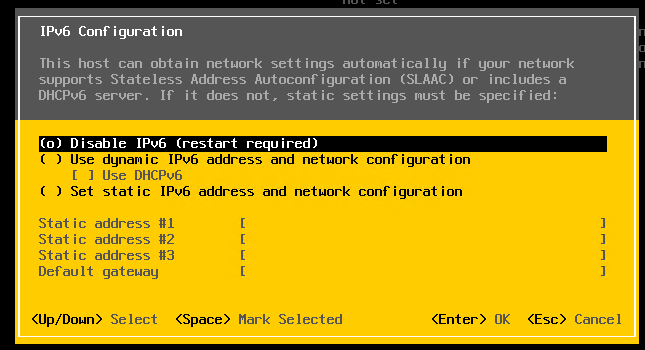
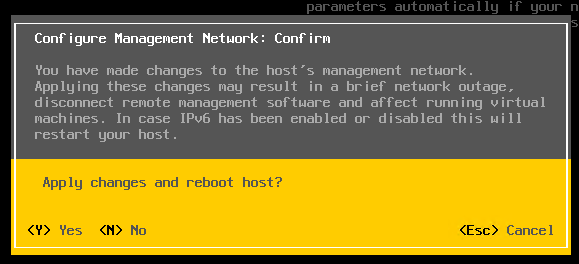
Press Escape and choose Configure Management Network. Next choose IPv6 Configuration, choose “Disable IPv6” and press enter.
Press Escape and the host will prompt you to reboot, press Y to reboot.
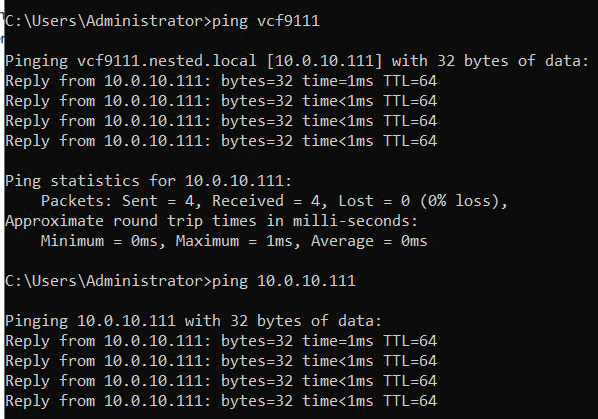
Test connectivity
From the AD server simply ping the VCF9111 host. This test ensures DNS is working properly and the LAN Segment is passing VLAN10.
From here I repeat this process for the other 2 hosts, only assigning them unique IPs.
Next up Deploying the VCF Installer with VLANs.
