Workstation
VMworld 2012 – Public Voting Now Open – Vote for my sessions!
For the first time I submitted sessions for VMworld 2012.
Please support me by going to vmworld.com and voting for my sessions…
Please visit VMworld 2012
Update to my Home Lab with VMware Workstation 8 – Part 3 Installation of Workstation 8
Okay so now that we have a sound hardware and OS, its now time to install Workstation 8.
Here’s the brief version – Next, Custom, Next, Change, Next, Change, Next, Change, Next, Continue, Enter, Finish… Well it’s almost that simple there is a bit more thought behind this….
Pre-Plan –
Make sure you have Workstation 8 downloaded
Read the release notes https://www.vmware.com/support/ws80/doc/releasenotes_workstation_80.html
Why read them… Lots of goodies and gotcahs in there. I checked my hardware prior to purchase so I know I’m okay, you should check yours too
I needed to know two things to get the base Program installed:
- Where will I install Workstation 8? Do I choose one of my SATA disks or my SSD?
- Where will my default VM direction go? Do I choose one of my SATA disks or my SSD
The Steps I took –
First thing I did was check my network settings…
Why is this important, for most it’s probably not, but for me I always like to see the before and after effects
Workstation 8 will install “virtual” network adapters, below is the before and at the end is the after…
From this screen shot you can see ‘Ethernet Adapter Local Area Network’ is my primary single pNIC in my PC.

Download and install the Workstation 8 executable… Lunch it and click next…

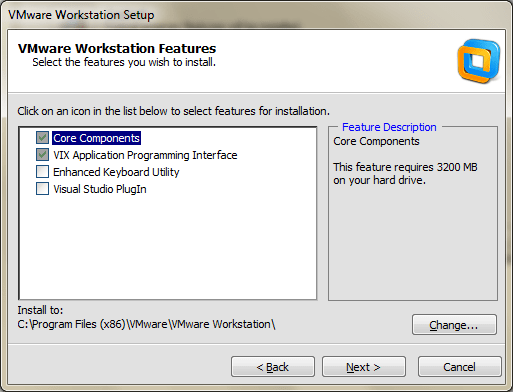
I Choose Custom to see some options for directory customization.

This is a good screen and is something you should think about…
If you have some SSD drives and PLEANTY of space (for VM’s and Workstation) you might want to consider placing the install there.
TIP – I did install Workstation 8 on my SSD and the boot time for the program was very FAST!
However I really needed the SSD space so I moved it to my 500GB 3gb/s disk. It doesn’t boot as fast but once it’s loaded there really no difference.
This is another good screen and is something you should think about…
Where do you want your default VM’s to be stored?
For Me I had choices for 500GB, 300GB SATA disks or my 60GB SSD
At this point I clicked on change…
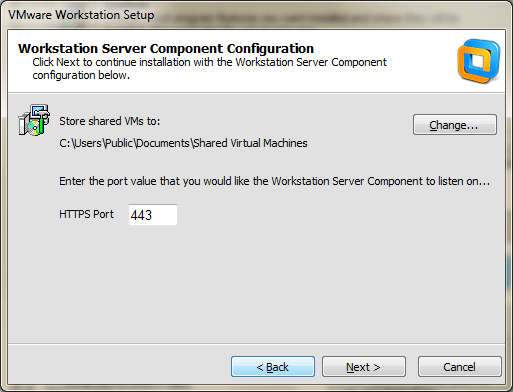
I choose the D: disk which was my 300GB SATA disk to get started…
By default your new VM will be placed in this folder and you can choose a different path if you wish.
Just like Fashion what’s in today is history tomorrow and so are default paths… you make a good choice now but want to change it later.
Don’t sweat this too much, changing the default VM path is easy in Workstation 8 and I do just that in an upcoming post.

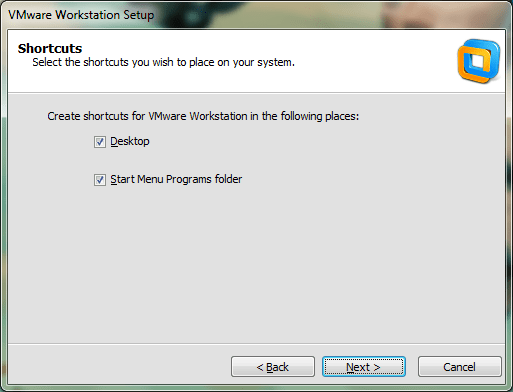
Click Next…
Click Continue…

Enter your License Key…
TIP – Want a free copy of Workstation 8? When I got my VCP5 I got a free copy, get yours too, and get certified!
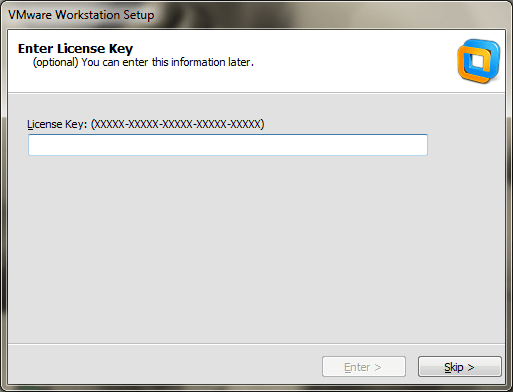
Click Finish and you’re done…

Going back to the network settings… you can now see Workstation 8 installed two new adapters.
VMware Network Adapter VMnet1 and VMnet8

Summary –
This went smooth no real issues; however as I later discovered some of the choices I made (Installation directories had to be changed)
Update to my Home Lab with VMware Workstation 8 – Part 2 Fun with a Windows 7 Installer
Part 1 of this series outlined the hardware I wanted to purchase and some of the ideas I had around the products.
I created an image of the current install of Windows 7, then booted it to my new hardware, and to my surprise there were not any hidden files or drivers that needed adjusted.
It worked quite well, so well it was scary but simply Impressive…. Sure beats those old XP days when you had to just about tear it apart to get it to work.
However I would like this install of Workstation 8 to run on a fresh copy of Windows 7 so I have decided to reinstall it.
Now this shouldn’t warrant a blog post however they way I had to get Windows 7 to behave is why I’m posting.
In this post I go into getting Windows 7 to install properly when you don’t have proper installation CD.
The CD I own for Windows 7 is an Windows based Installation only, you cannot create boot CD to install the OS fresh.
Trust me I tired many ways but it just doesn’t work…
Here is what I wanted to accomplish –
1. I’d like a fresh copy of Windows 7 Installed on to my system
2. I need to enable AHCI in my system BIOS (for more info see here http://en.wikipedia.org/wiki/Advanced_Host_Controller_Interface)
I found on the corsair blogs that my SSD drive will run much better if you enable AHCI in your BIOS.
Unfortunately this pretty much deems a reinstall. I’m okay with this because it is what I’m wanting to do.
Issues –
1. The version of Windows 7 I have is an upgrade or restore only version.
2. Currently AHCI is not enabled in my BIOS
Here’s how I did it… Oh, did it take some trickery and learning but it worked..
Know this…
Windows 7 will do a recovery install to your current HD (C:) or to a new HD (E:).
If you install to your current HD, C:, then it will install in to a WINDOWS.001 folder, and leave lots of old files laying around.
Not ideal as I want a pristine Install
Do this…
From Windows I initiated the install, choose custom install and choose my E: drive (At the time E: was just a blank HD)

Windows did it typical install, Copying files, and they rebooted the system.
During the reboot I enabled AHCI on ALL controllers in the BIOS << THIS IS VERY important step, if you miss this Windows will install in IDE Mode
Windows completed the install and boots to your E: drive.
Having E:\ be the boot and E:\Windows is not ideal. I really want Windows 7 on my C: drive.
I formatted my C: drive and ran the windows install, only this time choose the C: HD.
Windows completes the install and reboots.
When I was done Windows 7 is a fresh install and running on the C: drive.
Summary…
I got to tell you it was a chore figuring this out, it seems very simple now but I went through imaging processes, partition changing, drive renames, lots of blog posts, KB’s, etc…
Nothing worked well and it took up hours of my time. This pattern worked for me, Windows 7 installed properly and its working quite well.
Now its on to installing Workstation 8…
- ← Previous
- 1
- 2
