VMware Workstation Gen 9: Part 5 Deploying the VCF Installer with VLANs
The VCF Installer (aka SDDC Manager Appliance) is the appliance that will allow me to deploy VCF on to my newly created ESX hosts. The VCF Installer can be deployed on to a ESX Host or directly on Workstation. There are a couple of challenges with this deployment in my Home lab and in this blog post I’ll cover how I overcame this. It should be noted, the modifications below are strictly for my home lab use.
Challenge 1: VLAN Support
By default the VCF Installer doesn’t support VLANS. It’s a funny quandary as VCF 9 requires VLANS. Most production environments will allow you to deploy the VCF Installer and be able to route to a vSphere environment. However, my Workstation Home Lab uses LAN Segments which are local to Workstation. To communicate over LAN Segments all VMs must have a VLAN ID. To overcome this issue I’ll need to add VLAN support to the VCF Installer.
Challenge 2: Size Requirements
The installer takes up a massive 400+ GB of disk space, 16GB of RAM, and 4 vCPUs. The current configuration of my ESX hosts don’t have a datastore large enough to deploy it to, plus vSAN is not set up. To overcome this issue I’ll need to deploy it as a Workstation VM and attach it to the correct LAN Segment.
In the steps below I’ll show you how I added a VLAN to the VCF Installer, deployed it directly on Workstation, and ensure it’s communicating with my ESX Hosts.
Deploy the VCF Installer
Download the VCF Installer OVA and place the file in a location where Workstation can access it.
In Workstation click on File > Open. Choose the location of your OVA file and click open.
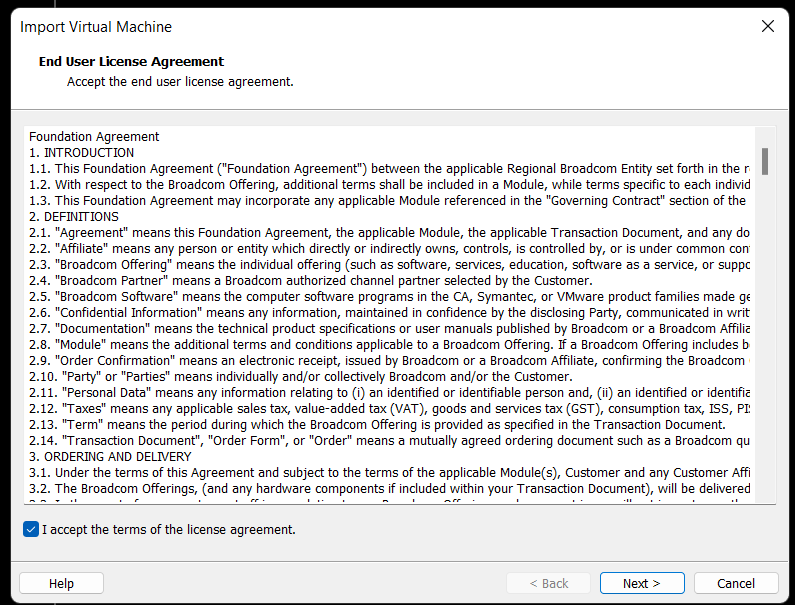
Check the Accept box > Next
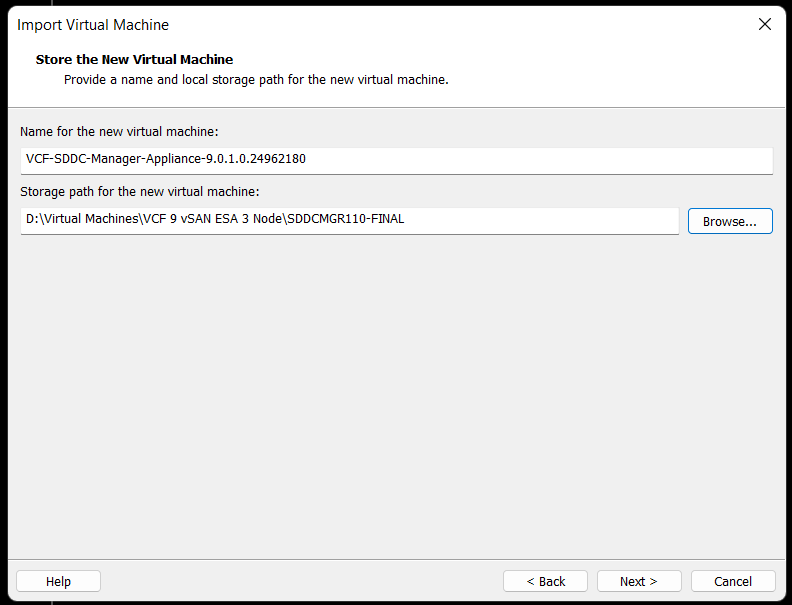
Choose your location for the VCF Installer Appliance to be deployed. Additionally, you can change the name of the VM. Then click Next.
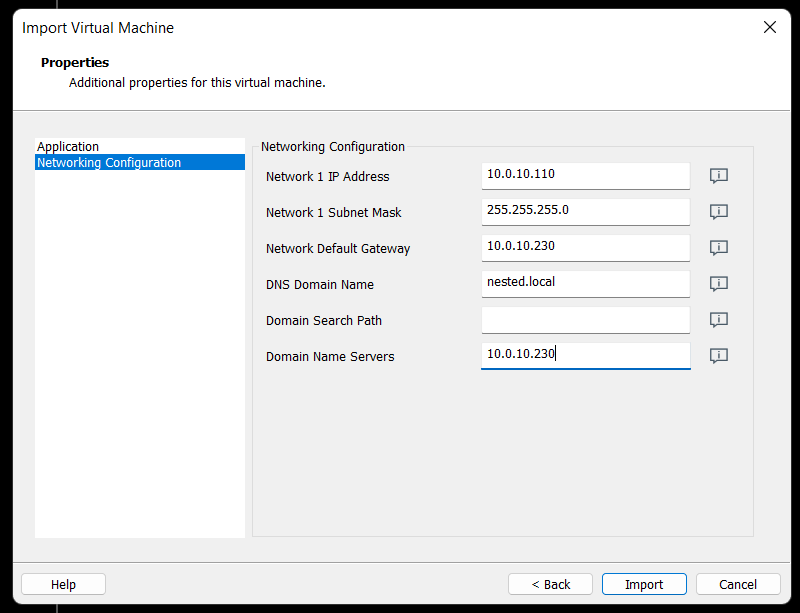
Fill in the passwords, hostname, and NTP Server. Do not click on Import at this time. Click on ‘Network Configuration’.

Enter the network configuration and click on import.
Allow the import to complete.
Allow the VM to boot.

Change the VCF Installer Network Adapter Settings to match the correct LAN Segment. In this case I choose 10 VLAN Management.

Enable VLAN support in the VCF Installer
1) Login as root and create the following file.

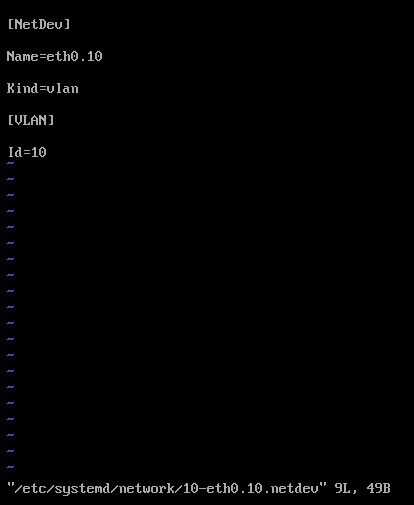
vi /etc/systemd/network/10-eth0.10.netdev
Press Insert the add the following
[NetDev]
Name=eth0.10
Kind=vlan
[VLAN]
Id=10
Press Escape, Press :, Enter wq! and press enter to save
2) Create the following file.
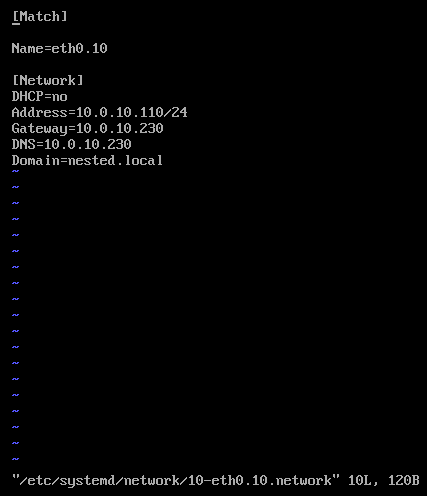
vi /etc/systemd/network/10-eth0.10.network
Press insert and add the following
[Match]
Name=eth0.10
[Network]
DHCP=no
Address=10.0.10.110/24
Gateway=10.0.10.230
DNS=10.0.10.230
Domain=nested.local
Press Escape, Press :, Enter wq! and press enter to save
3) Modify the original network file
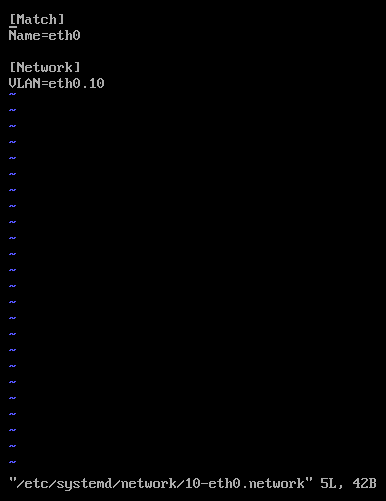
vi /etc/systemd/network/10-eth0.network
Press Escape, Press Insert, and remove the static IP address configuration and change the configuration as following:
[Match]
Name=eth0
[Network]
VLAN=eth0.10
Press Escape, Press :, Enter wq! and press enter to save
4) Update the permissions to the newly created files
chmod 644 /etc/systemd/network/10-eth0.10.netdev
chmod 644 /etc/systemd/network/10-eth0.10.network
chmod 644 /etc/systemd/network/10-eth0.network
5) Restart services or restart the vm.
systemctl restart systemd-networkd
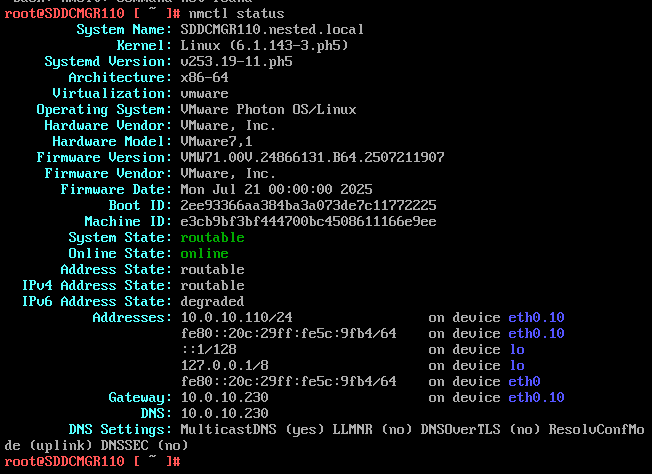
6) Check the network status of the newly created network eth0.10
nmctl status
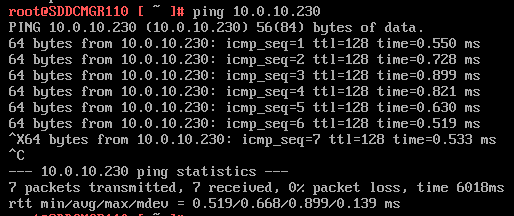
7) Do a ping test from the VCF Installer appliance.
Note – The firewall needs to be adjusted to allow other devices to ping the VCF Installer appliance.
Ping 10.0.10.230
Next I do ping to an internet location to confirm this appliance can route to the internet.

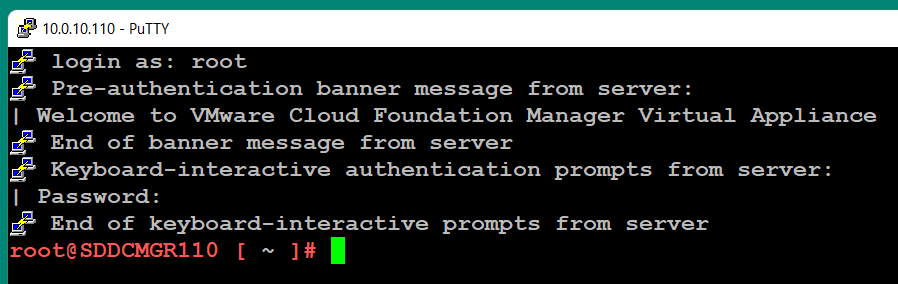
8) Allow SSH access to the VCF Installer Appliance
Follow this BLOG to allow SSH Access.
From the Windows AD server or other device on the same network, putty into the VCF Installer Appliance.
Adjust the VCF Installer Firewall to allow inbound traffic to the new adapter
Note – Might be a good time to make a snapshot of this VM.
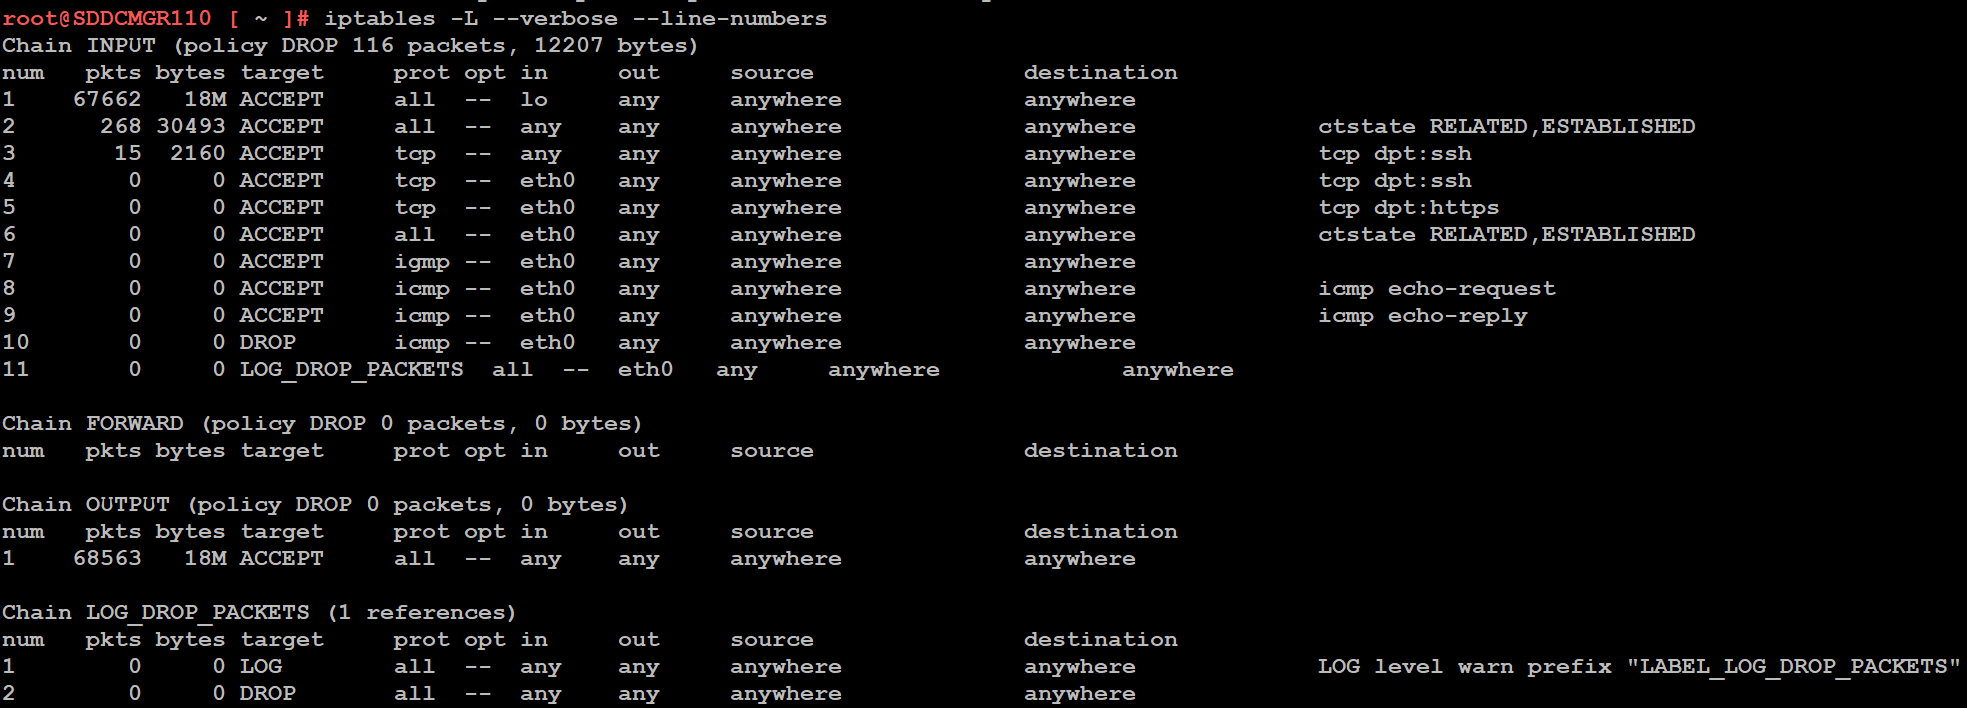
1) From SSH check the firewall rules for the VCF Installer with the following command.
iptables -L –verbose –line-numbers
From this output I can see that eth0 is set up to allow access to https, ping, and other services. However, there are no rules for the eth0.10 adapter. I’ll need to adjust the firewall to allow this traffic.
Next I insert a new rule allowing all traffic to flow through e0.10 and check the rule list.
iptables -I INPUT 4 -i eth0.10 -j ACCEPT

The firewall rules are not static. To make the current firewall rules stay static I need to save the rules.
Save Config Commands

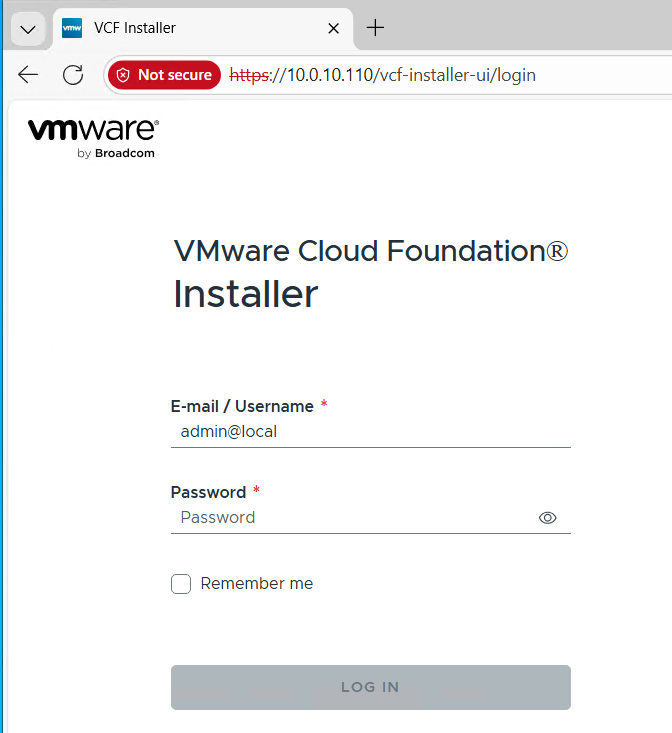
Restart and make sure you can now access the VCF Installer webpage, and I do a ping test again just to be sure.
Now that I got VCF Installer installed and working on VLANs I’m now ready to deploy the VCF Offline Depot tool into my environment and in my next blog post I’ll do just that.
