VMware Workstation Gen 9: BOM2 P2 Windows 11 Install and setup
**Urgent Note ** The Gigabyte mobo in BOM2 initially was working well in my deployment. However, shortly after I completed this post the mobo failed. I was able to return it but to replace it the cost doubled. I’m currently looking for a different mobo and will post about it soon.
For the Gen 9 BOM2 project, I have opted for a clean installation of Windows 11 to ensure a baseline of stability and performance. This transition necessitates a full reconfiguration of both the operating system and my primary Workstation environment. In this post, I will outline the specific workflow and configuration steps I followed during the setup. Please note that this is not intended to be an exhaustive guide, but rather a technical log of my personal implementation process.
After backing up and ensuring my VMs are not encrypted, the first thing I do is install the new hardware and ensure all of the hardware is recognized by the motherboard. There is quite a bit items being carried over from BOM1 plus several new items, so its import these items are recognized before the installation of Windows 11.
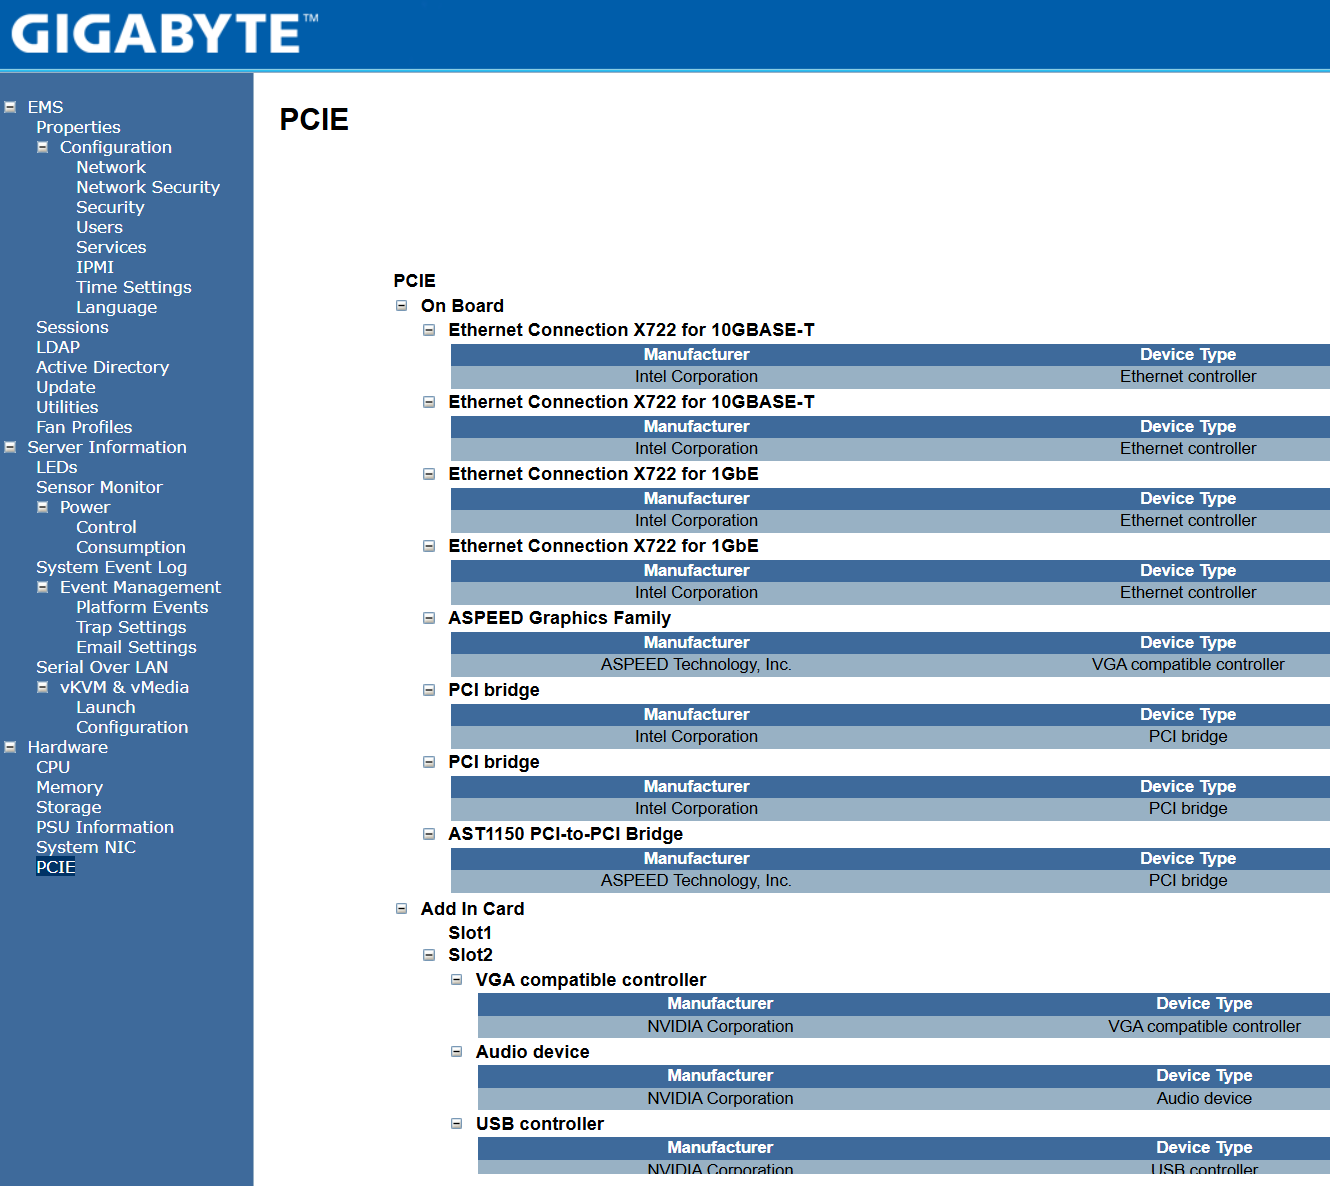
The Gigabyte mobo has a web based Embedded Management Software tool that allows me to ensure all hardware is recognized. After logging in I find the information under the Hardware section to be of value. The PCIe section seems to be the most detailed and it allows me to confirm my devices.
Next I validate that the CPU settings have the Virtual-Machines Extensions (VMX) enabled. This is a requirement for Workstation.

Once all the hardware is confirmed I create my Windows 11 boot USB using Rufus and boot to it. For more information on this process see my past video around creating it.
Next I install Windows 11 and after it’s complete I update the following drivers.
- Install Intel Chipset drivers
- Install Intel NIC Drivers
- Run Windows updates
- Optionally, I update the Nvidia Video Drivers
At this point all the correct drivers should be installed, I validate this by going into Device Manager and ensuring all devices have been recognized.
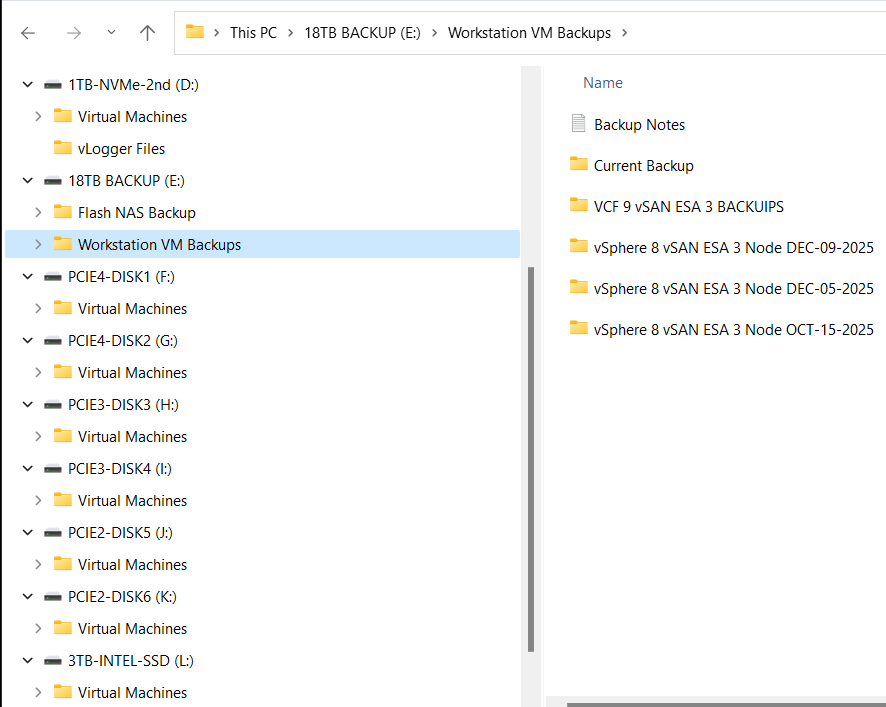
I then go into Disk Manager and ensure all the drives have the same drive letter as they did in BOM1.
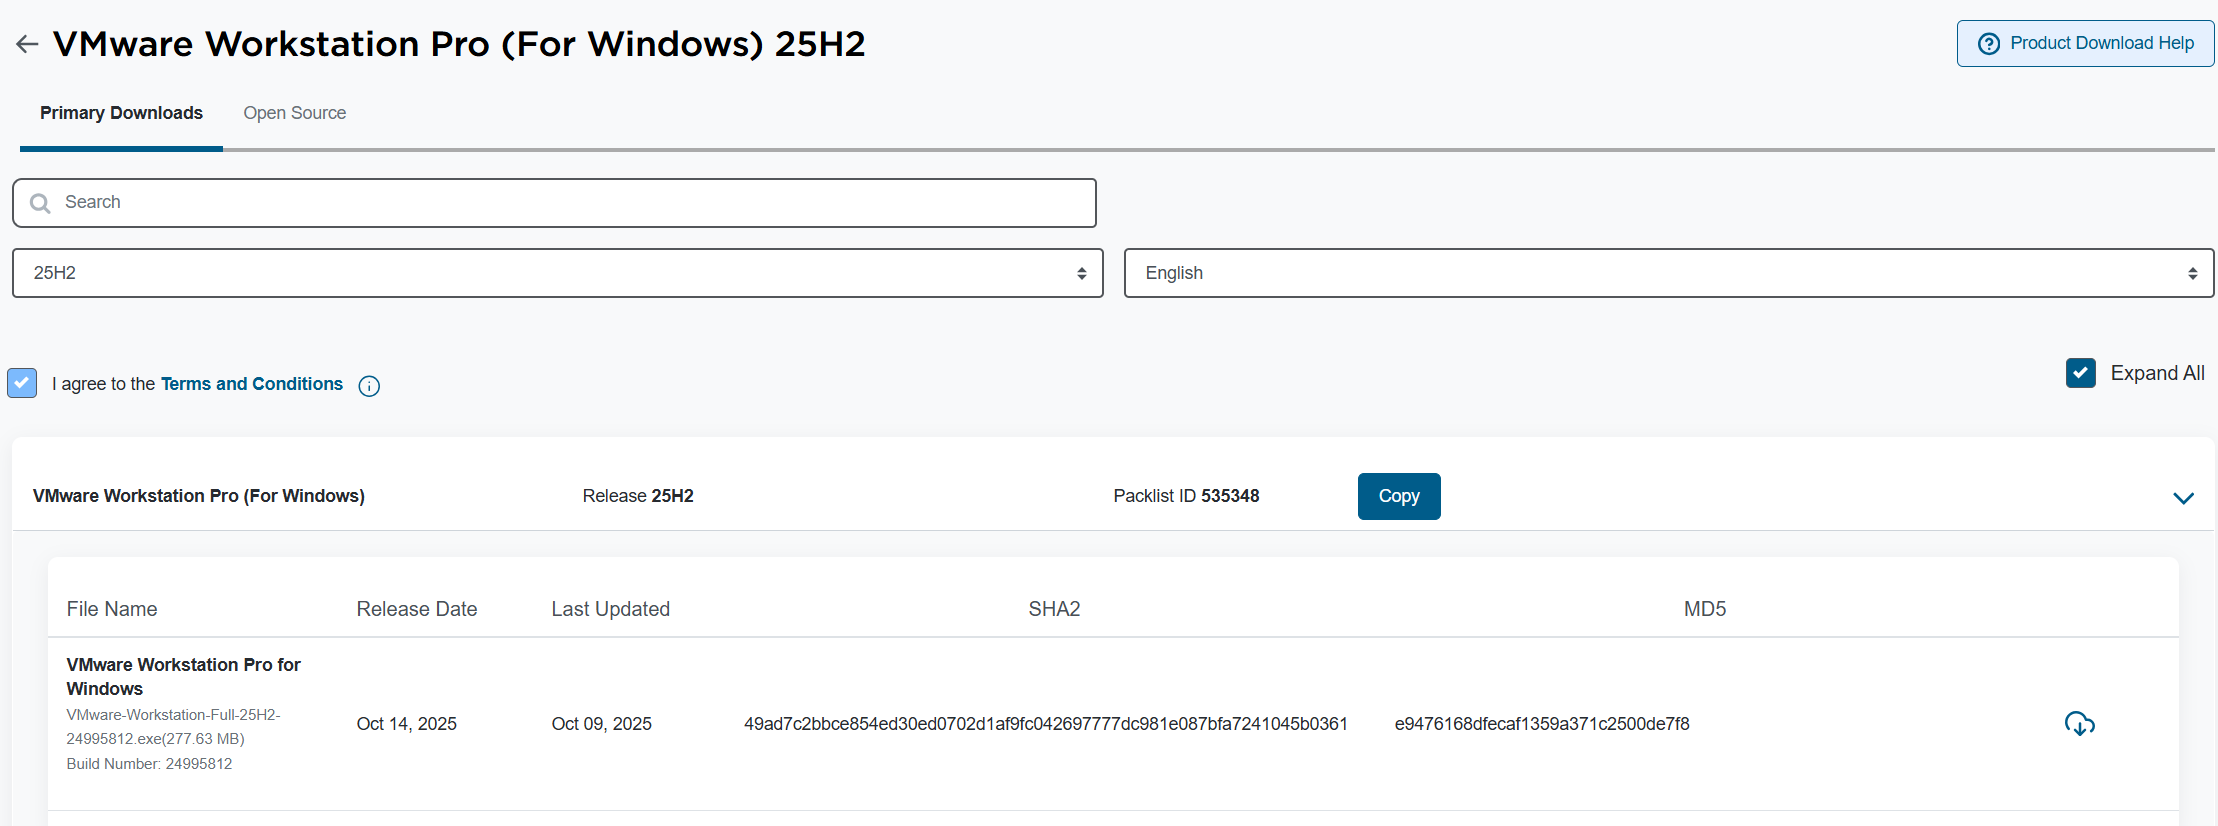
Workstation Pro is now free and users can download it at the Broadcom support portal. You can find it there under FREE Downloads.
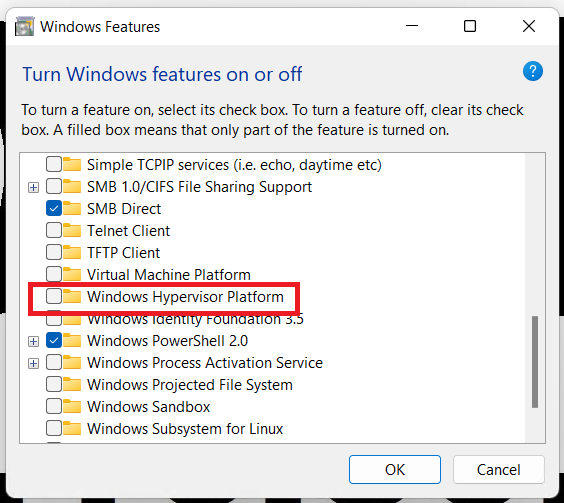
Before I install Workstation I validate that Windows Hyer-V is not enabled. I go into Windows Features, I ensure that Hyper-V and Windows Hypervisor Platform are NOT checked.
Once confirmed I install Workstation 25. For more information on how to install Workstation 25H2 see my blog.
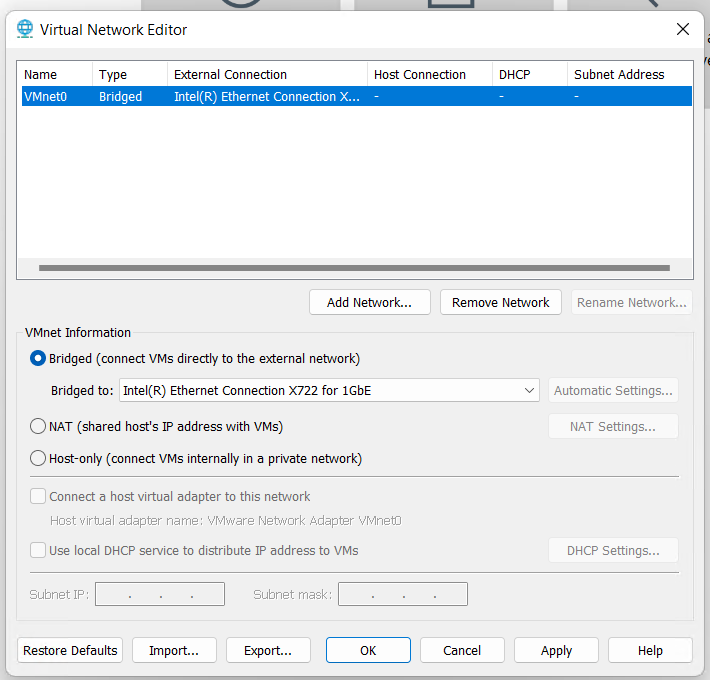
After Workstation has completed its installation, I open it up and go to Edit > Virtual Network Editor. I delete the other VMnets and adjust VMnet0 to match the correct network adapter.
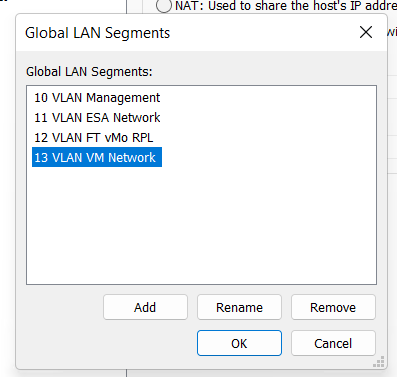
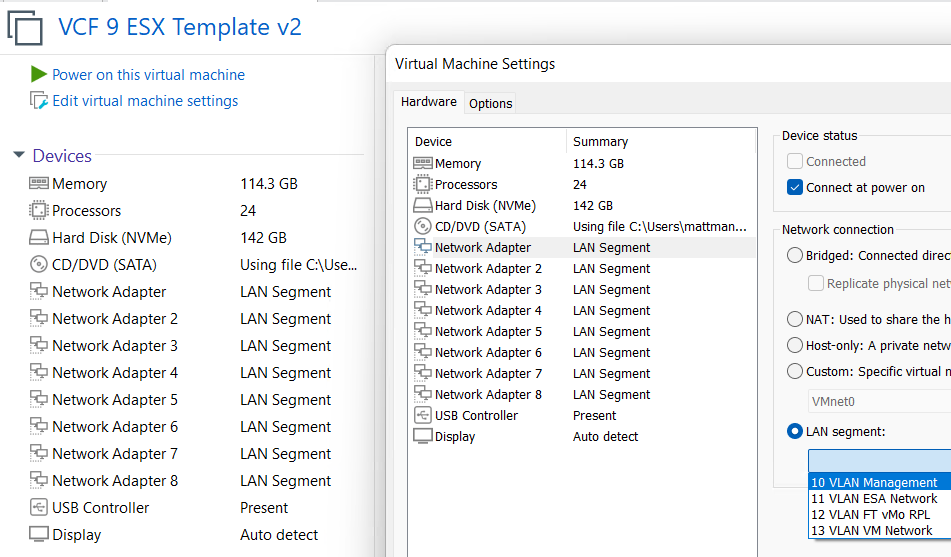
Next I create a simple VM and add in all the VLAN Segments. For more information on this process, see my post under LAN Segments.
One at a time I add in each of my VMs and ensure their LAN Segments are aligned properly.
This is what I love about Workstation, I was able to recover my entire VCF 9 environment and move it to a new system quite quickly. In my next post I’ll cover how I set up Windows 11 for better performance.
