Deploying the ASUSTOR DRIVESTOR 4 Pro Gen 2 | AS3304T v2
For years, my trusty DRIVESTOR 2 Pro was the heartbeat of our home. From kids navigating online school to adults working from home, it served as our essential, daily hub for family backups. Unfortunately, a sudden power event had other plans for it.
While I was lucky enough to have my data backed up elsewhere. In this post, I’ll walk you through how these two models compare, share some photos of the new hardware, and show you exactly how I got my new setup up and running.
Device Compare
| ASUSTOR AS3302T (Gen 1) | ASUSTOR AS3304T v2 (Gen 2) |
|---|---|
| Drive Bays 2 x 3.5″/2.5″ SATA | Drive Bays 4 x 3.5″/2.5″ SATA |
| Processor Realtek RTD1296 (1.4GHz Quad-Core) | Processor Realtek RTD1619B (1.7GHz Quad-Core) |
| Memory (RAM) 2GB DDR4 (Non-expandable) | Memory (RAM) 2GB DDR4 (Non-expandable) |
| Networking 1 x 2.5-Gigabit Ethernet | Networking 1 x 2.5-Gigabit Ethernet |
| USB Ports 3 x USB 3.2 Gen 1 | USB Ports 3 x USB 3.2 Gen 1 |
| Btrfs Support No (EXT4 only) | Btrfs Support Yes (Snapshots supported) |
| RAID OptionsSingle, JBOD, RAID 0, 1 | RAID OptionsSingle, JBOD, RAID 0, 1, 5, 6, 10 |
| FAN/Size 1 x 70mm Standby/Idle Noise 19db Active Operation Noise 32db | FAN/Size 1 x 120mm Standby/Idle Noise 19.7db Active Operation Noise 32db |
| Power Consumption 12.3W (Operation) | Power Consumption 25.1W (Operation) |
| Dimensions 170(H) x 114(W) x 230(D) mm | Dimensions 170(H) x 174(W) x 230(D) mm |
Key Improvements in the AS3304T v2
- Processor & GPU: The v2 uses the newer RTD1619B chip. It is roughly 20% faster in clock speed and features an upgraded iGPU, which provides significantly better 4K transcoding for media players like Plex.
- Modern File System (Btrfs): A major software upgrade for the v2 models is the addition of Btrfs support. This enables Snapshots, which protect your data against accidental deletion or ransomware by allowing you to “roll back” to a previous state.
- Storage Flexibility: Beyond having twice the bays, the AS3304T v2 supports RAID 5 and 6. These configurations offer a better balance of high capacity and data redundancy compared to the RAID 1 limit of the 2-bay AS3302T
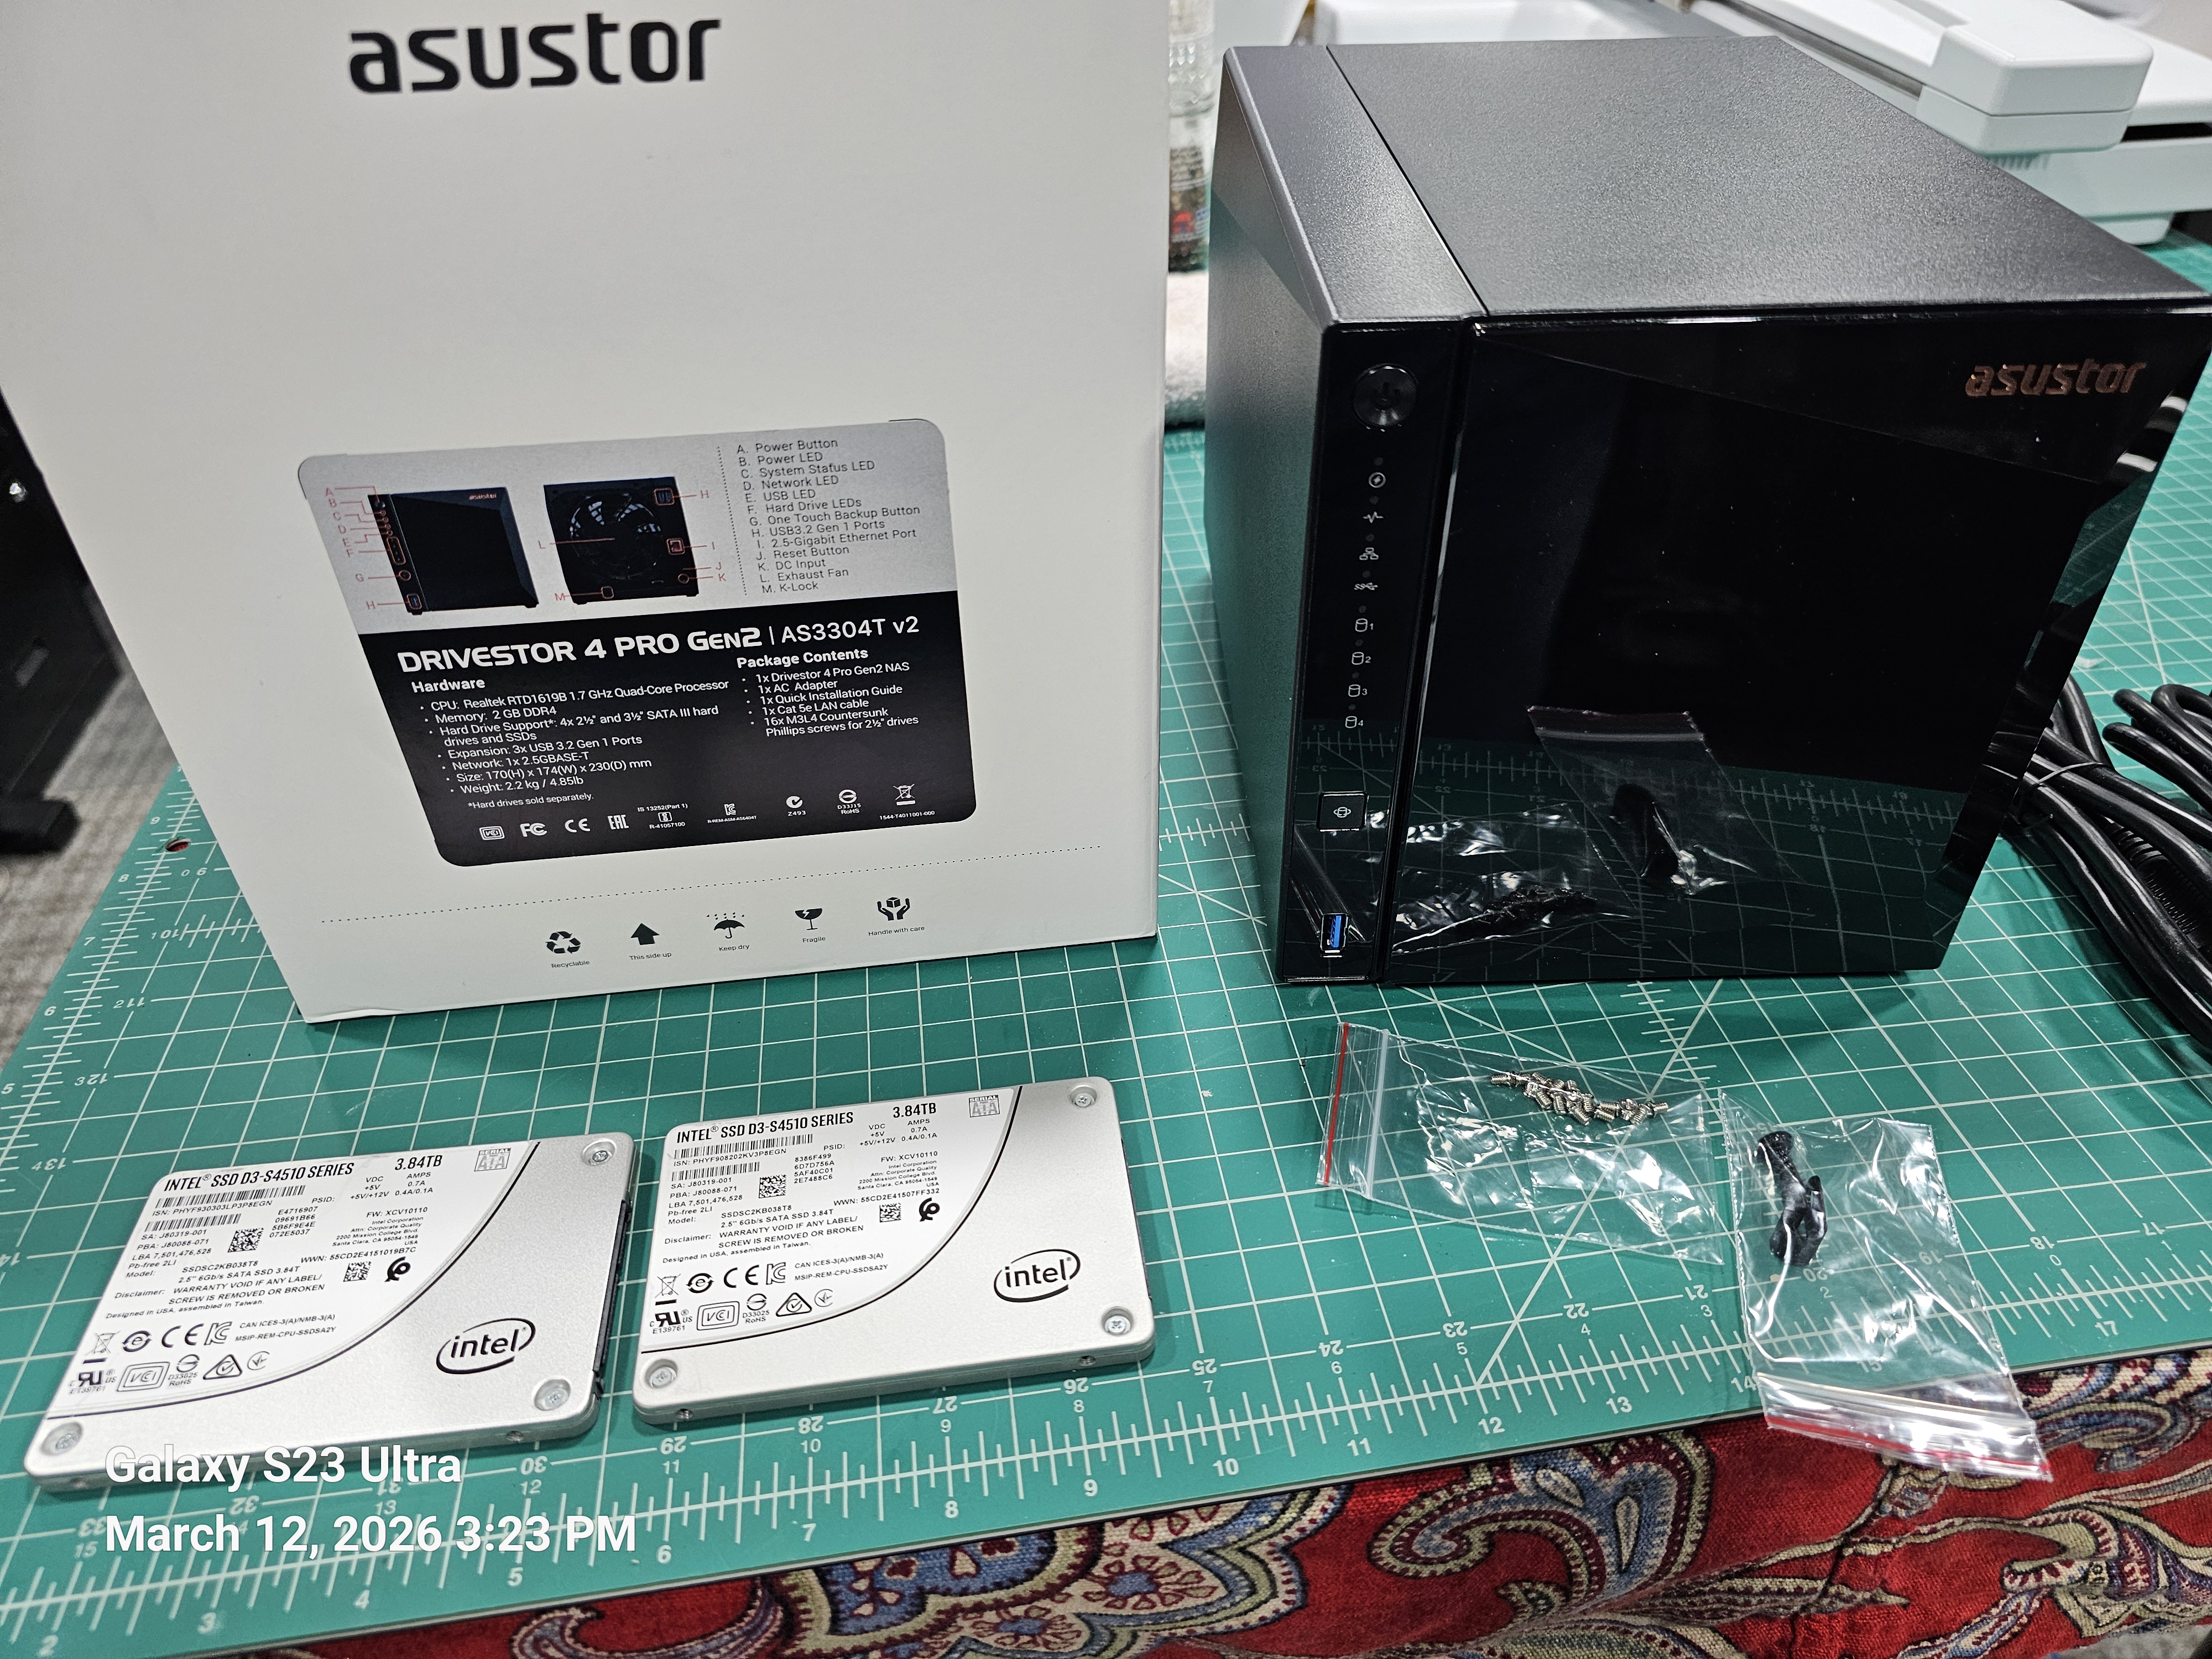
Product Photo
Initial Setup
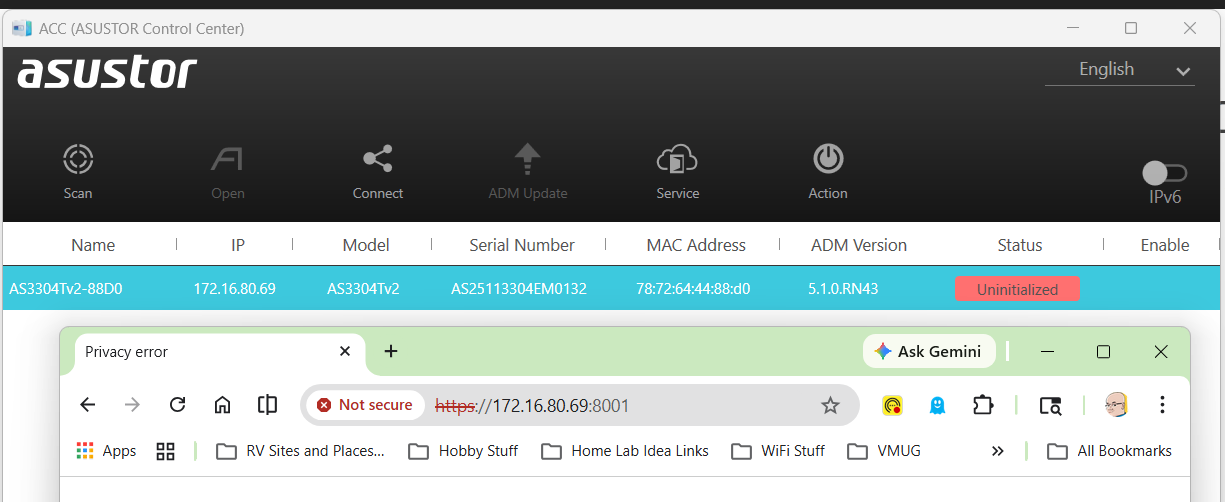
I plugged in the power and the network cable into the device and allowed it to get a DCHP address. To find the address assigned I downloaded and scanned my network with the ASUSTOR Control Center (acc.asustor.com). One I knew the IP address I went to it on port 8001.
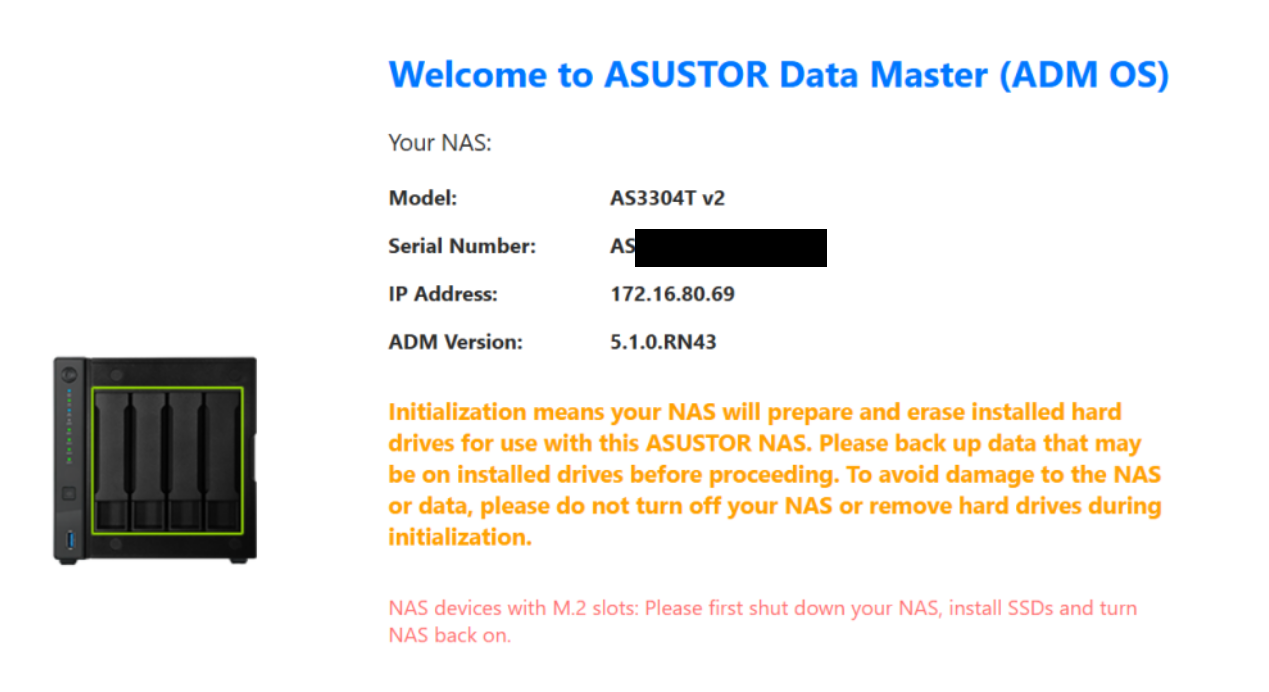
When I first entered the web interface I was welcomed by the main screen. One important note is the orange initialization statement. It notes your drive will be erased and a warning to backup your data.
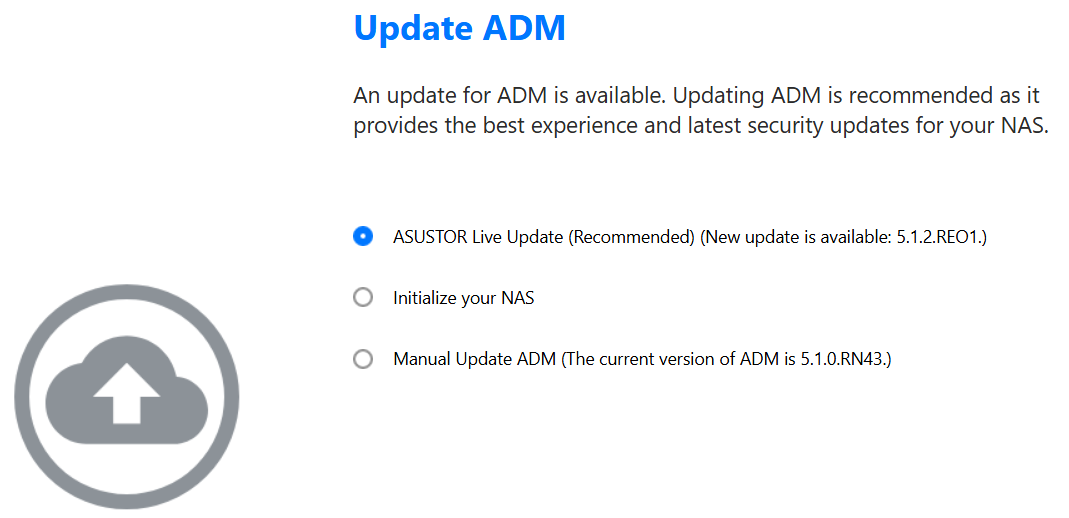
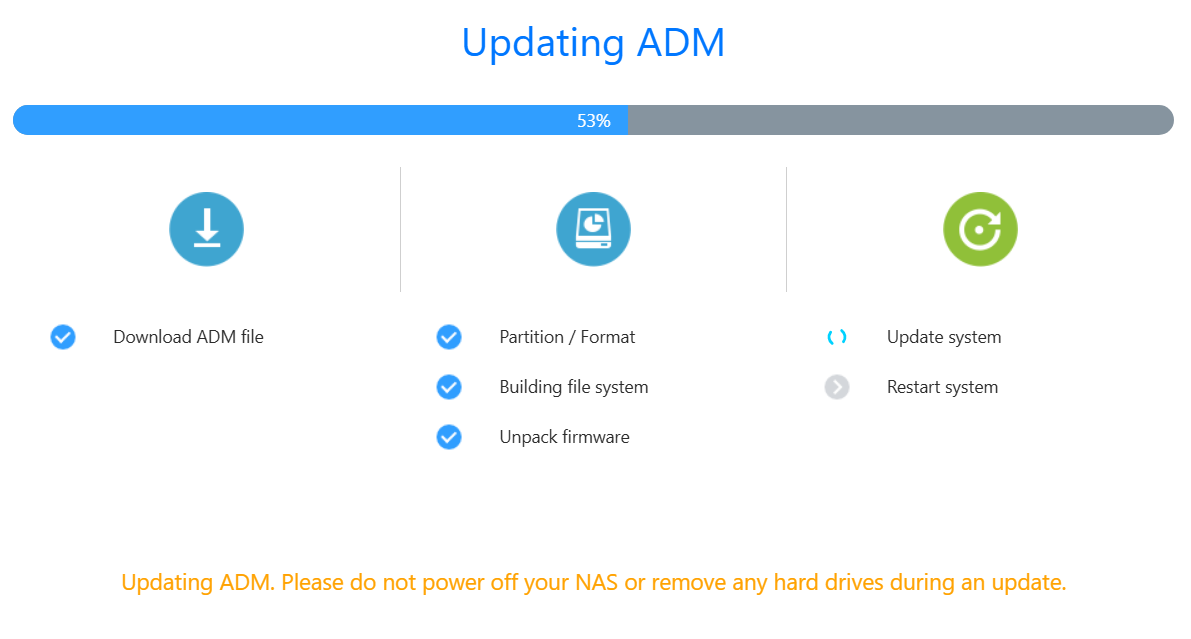
One thing I like about the initial setup is the ability to update the ADM (ASUSTOR Data Master) version. I allowed it to update as I was doing my install.
After I made all my selections, then ADM completes it pre-tasks.
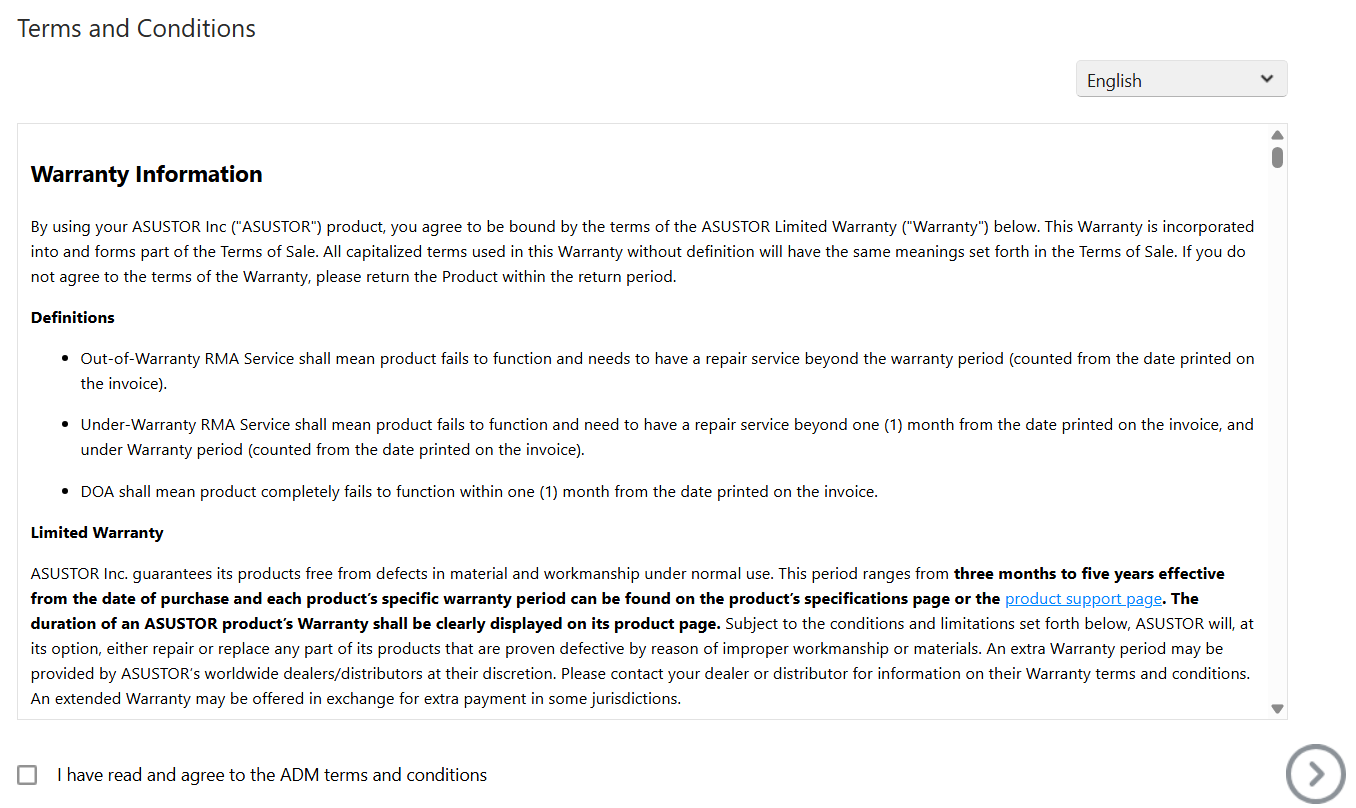
Next, the T&Cs are presented.
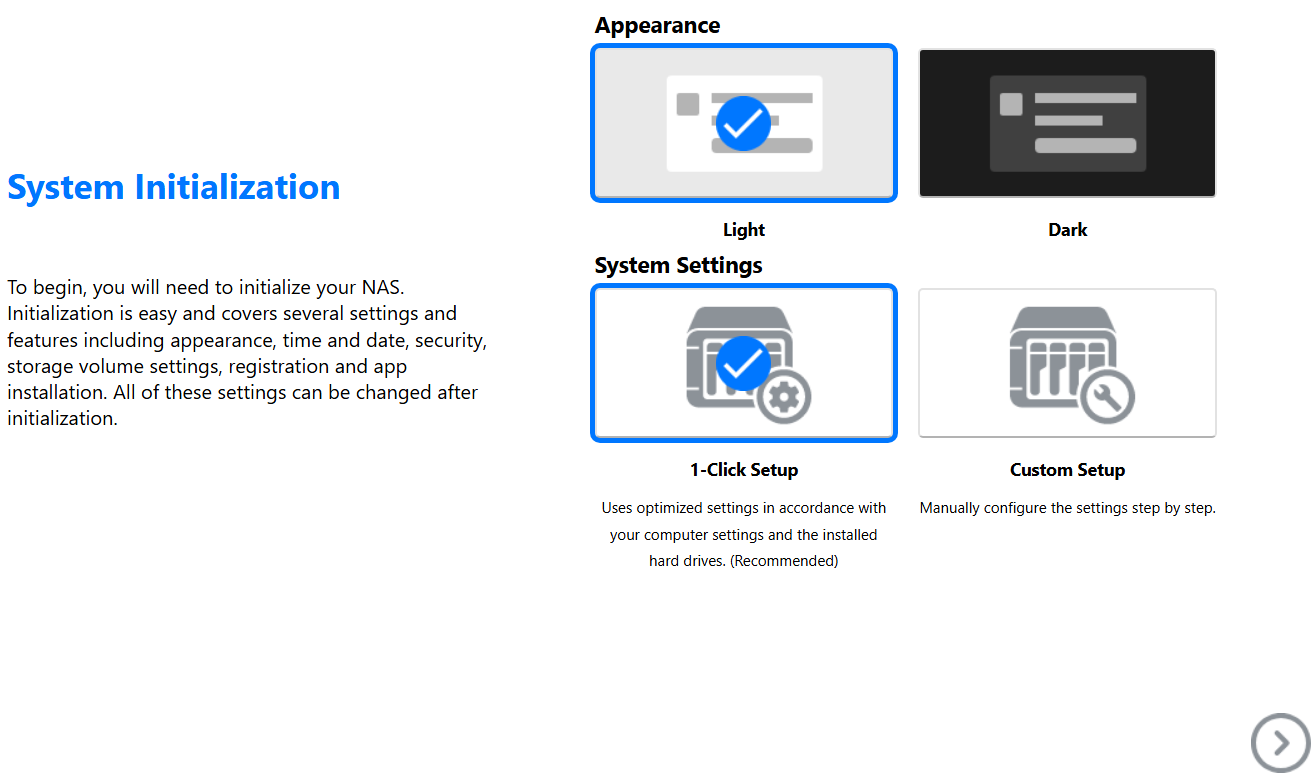
I get to choose my system appearance.
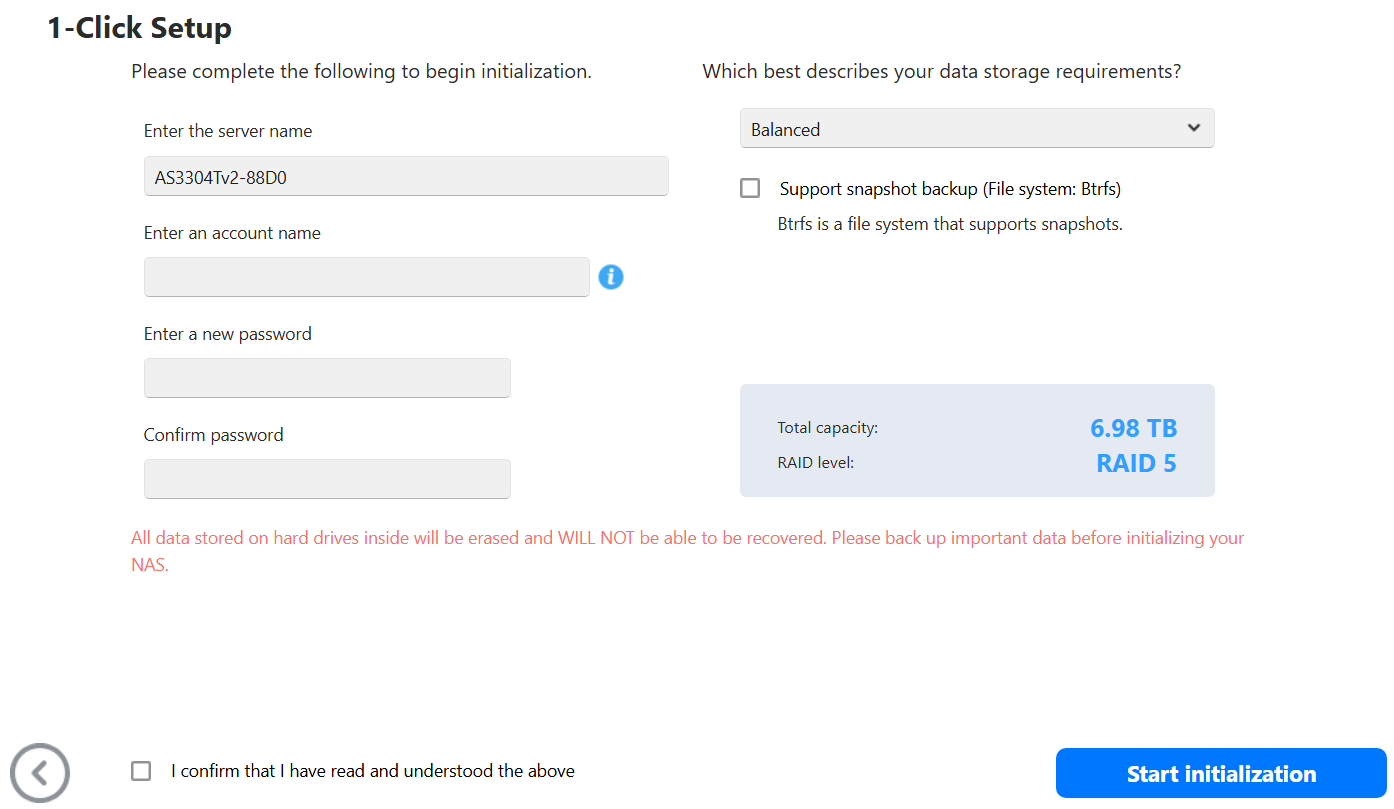
I entered my information.
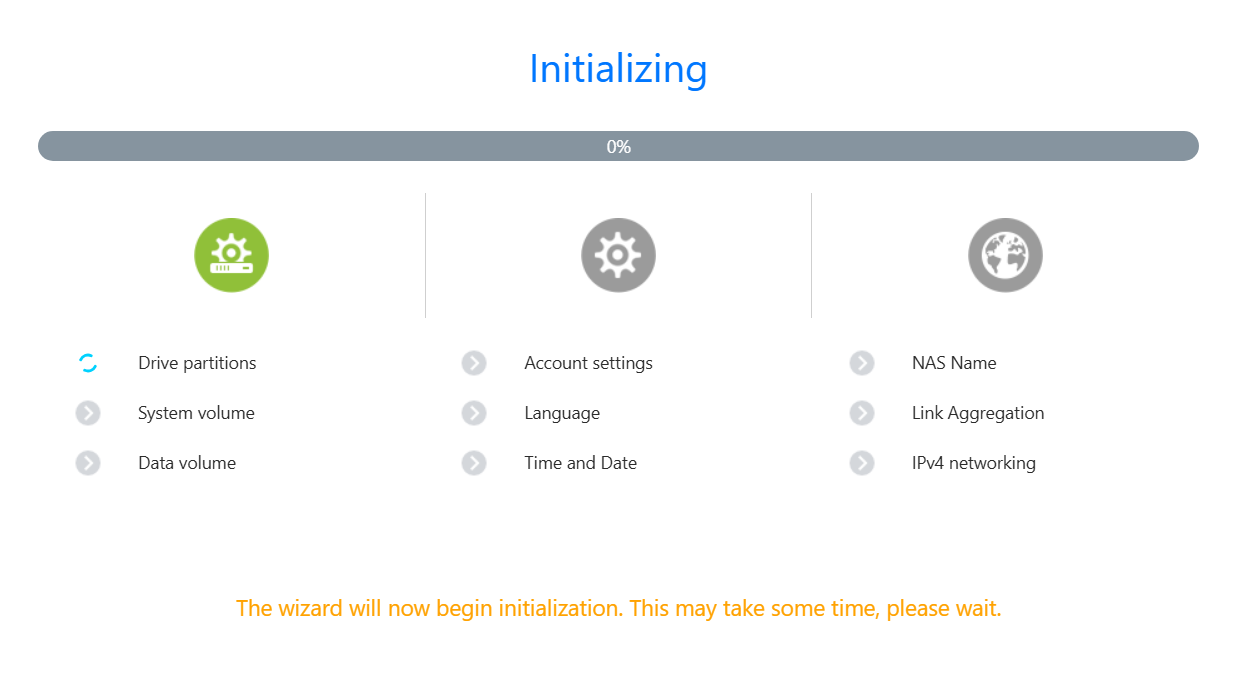
The system does its final initialization.
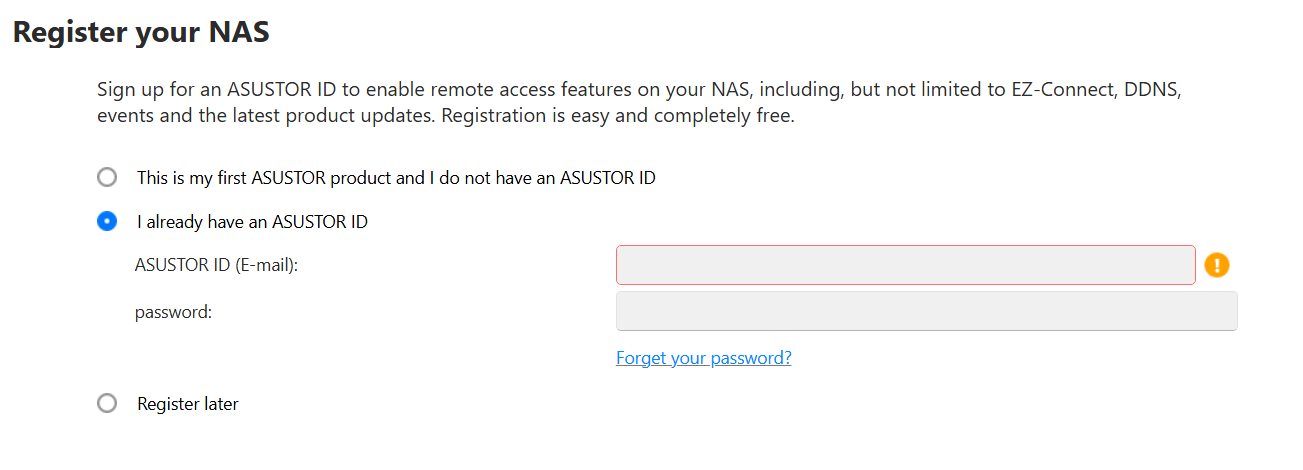
I enter in my ASUSTOR ID and then on next page put in your Contact information, region, and language
All done!
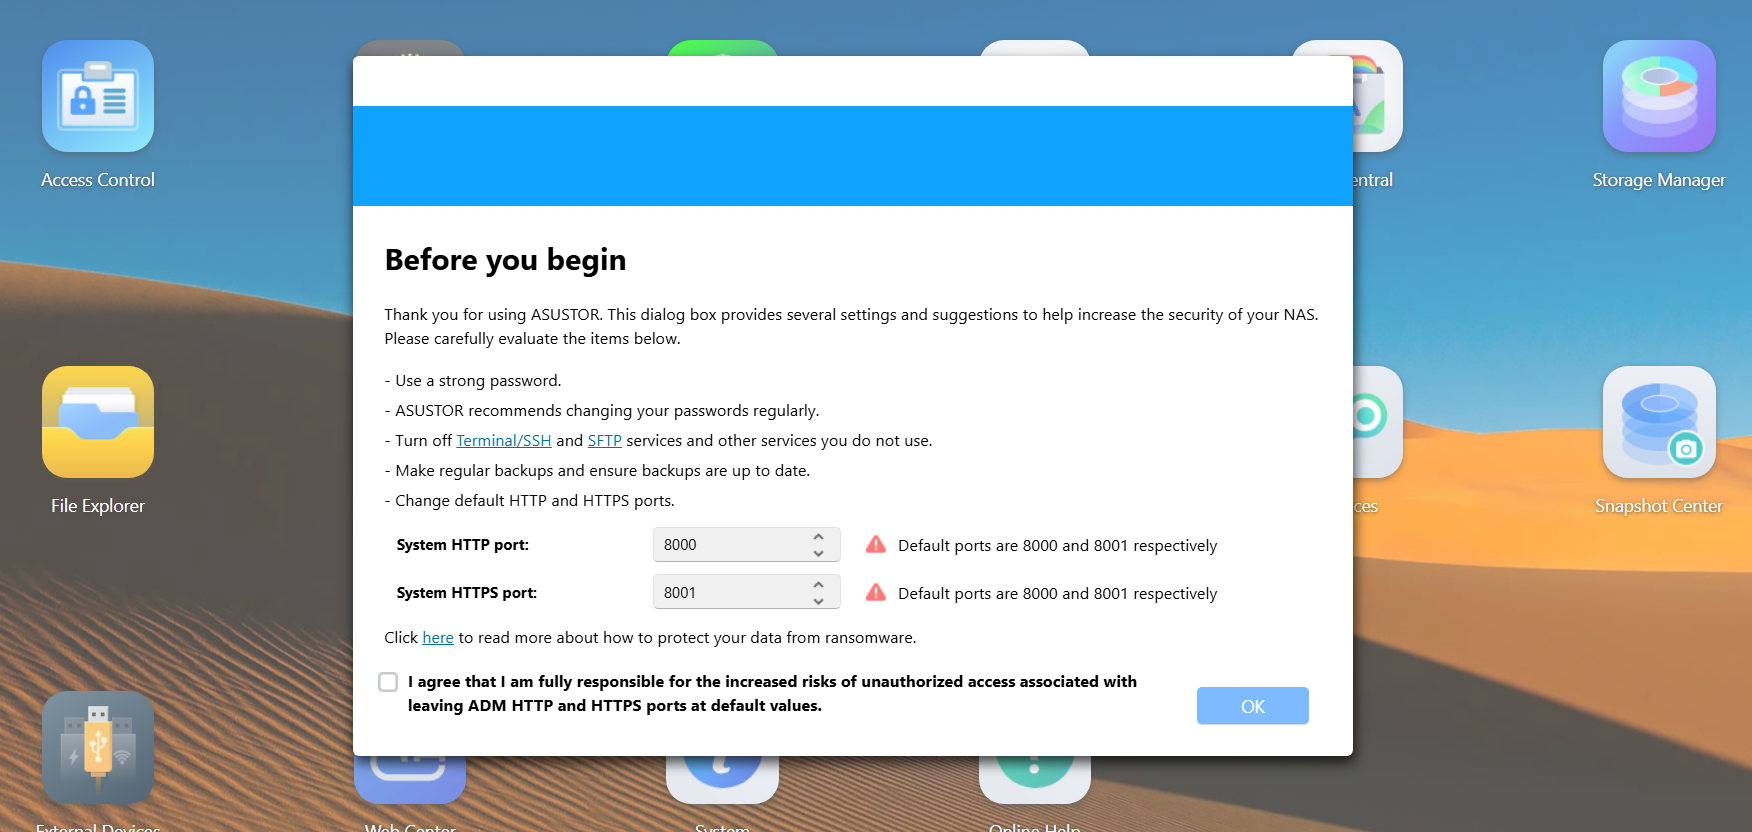
Back in the web interface, I’m prompted to adjust my http and https ports. I change them from the defaults of 8000 and 8001.
The ADM guide appears and it is a good way to learn where things are. I’m not going through all 6 steps but just know its a very hand tool.
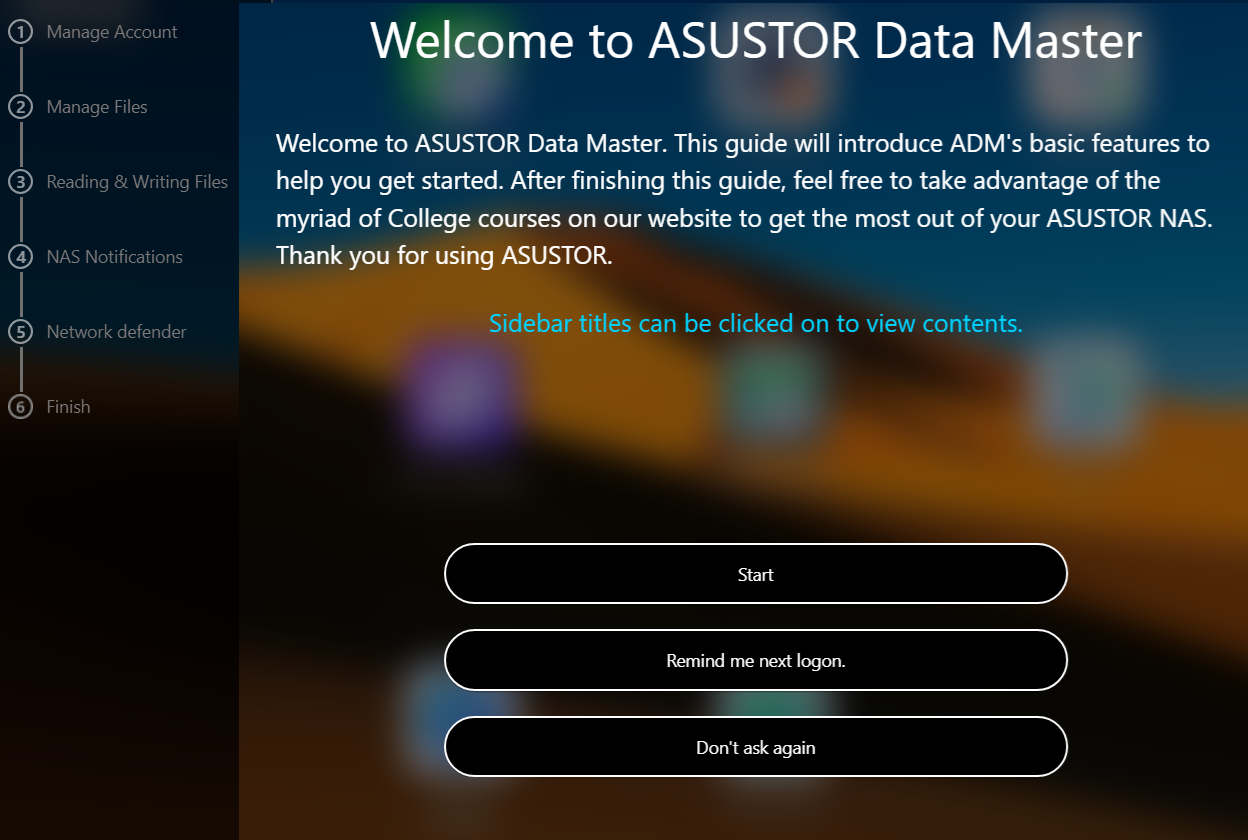
Here is what the first one looks like.
It actually takes you step by step.
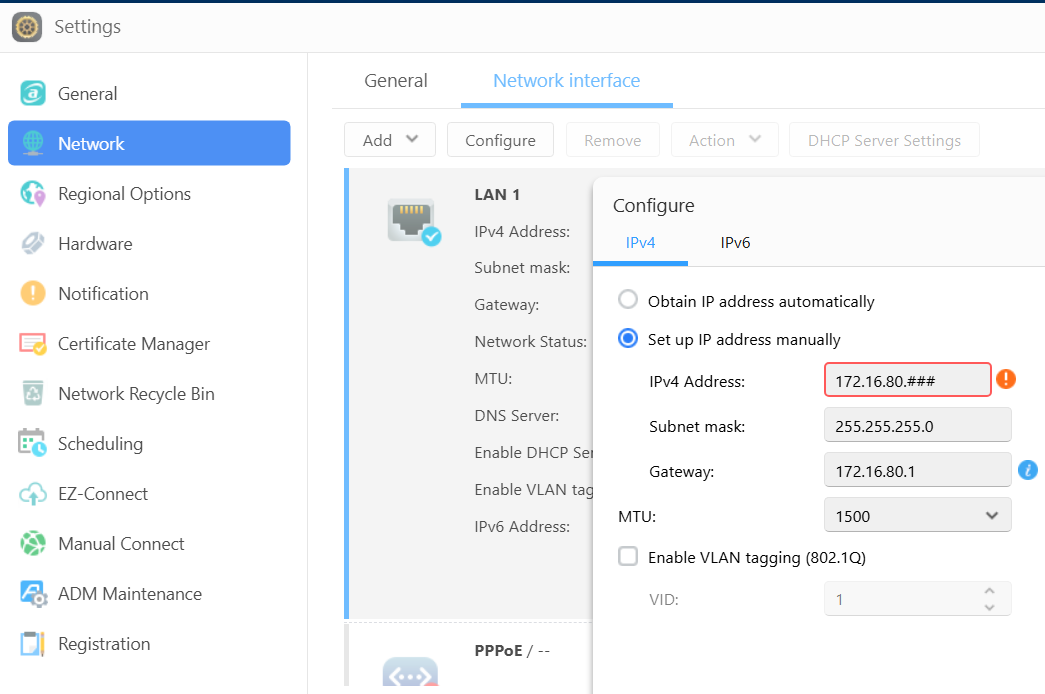
Once I exit the ADM guide, I first set up my network address. Settings > Network > change to manual IP > enter my IP and save it. The web interface reboots into the new IP. Additionally, I disabled IPv6.
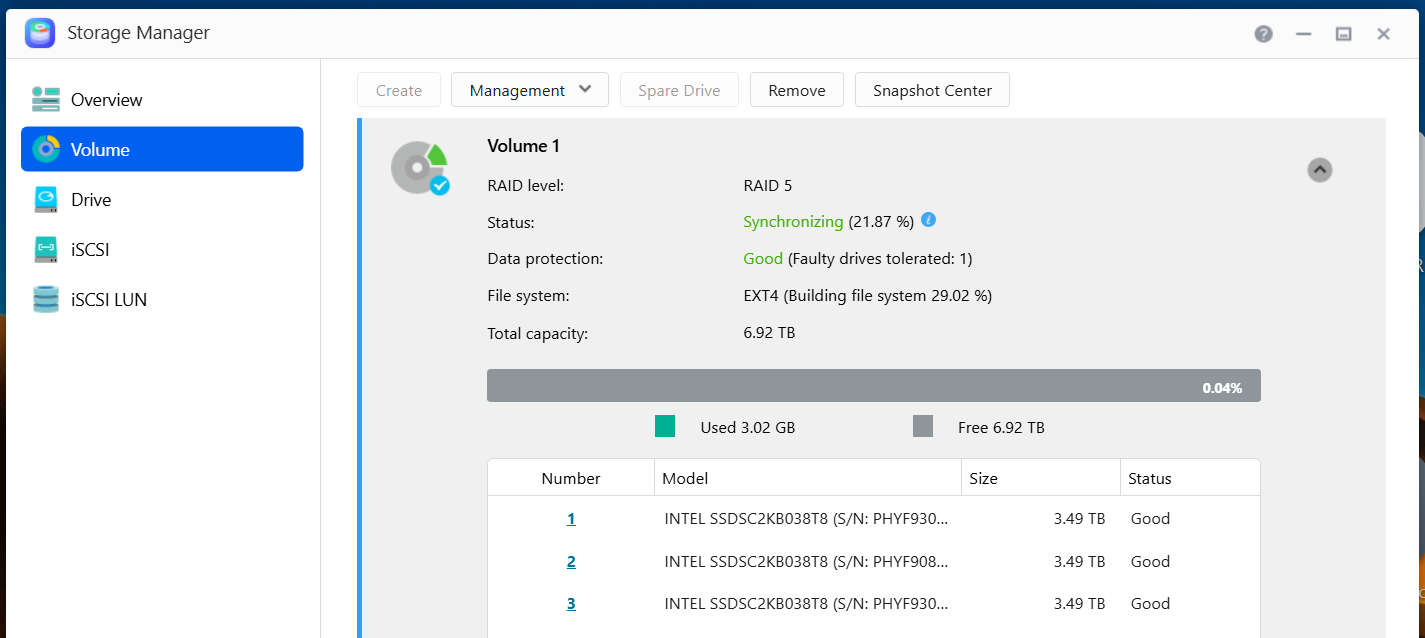
Next I go into the Storage Manager and validate my disks. It also gives me a status of the RAID 5 initialization.
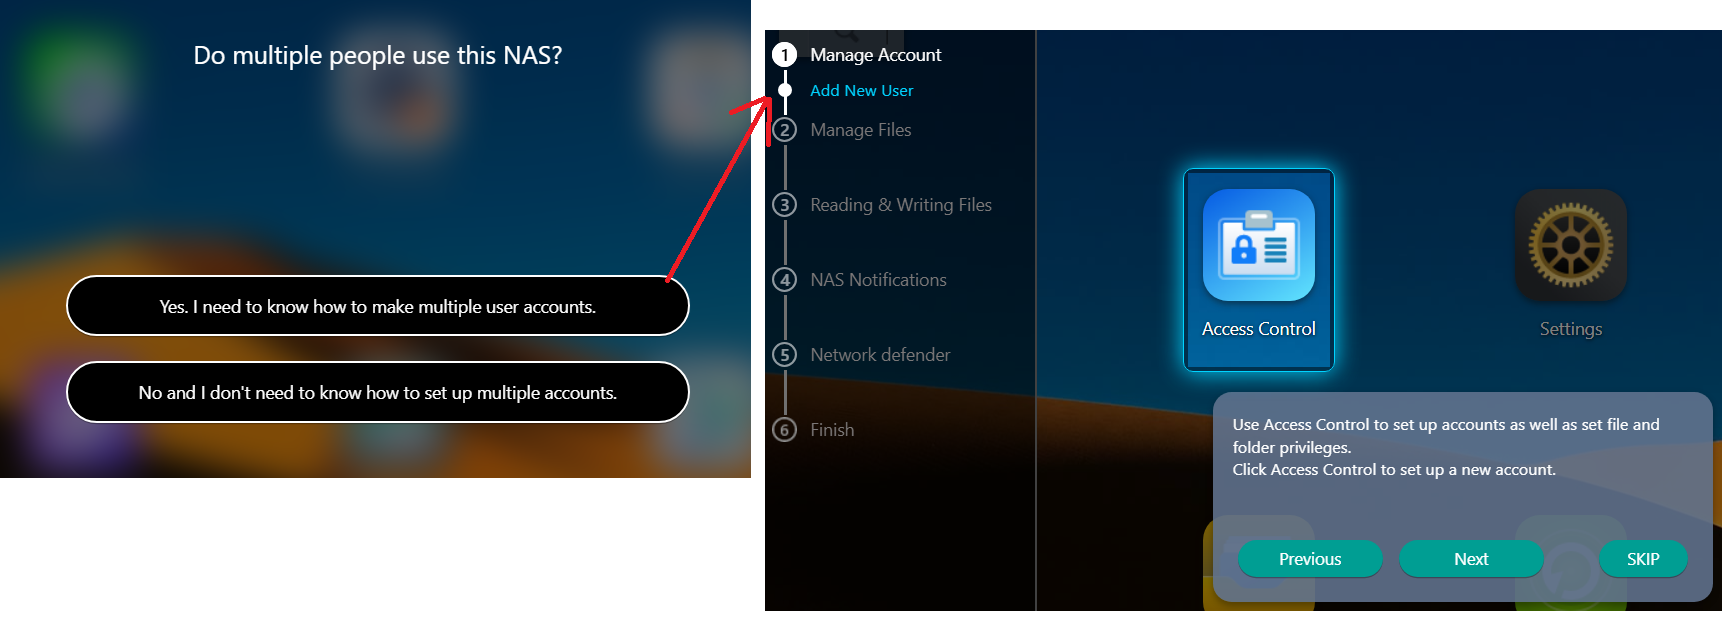
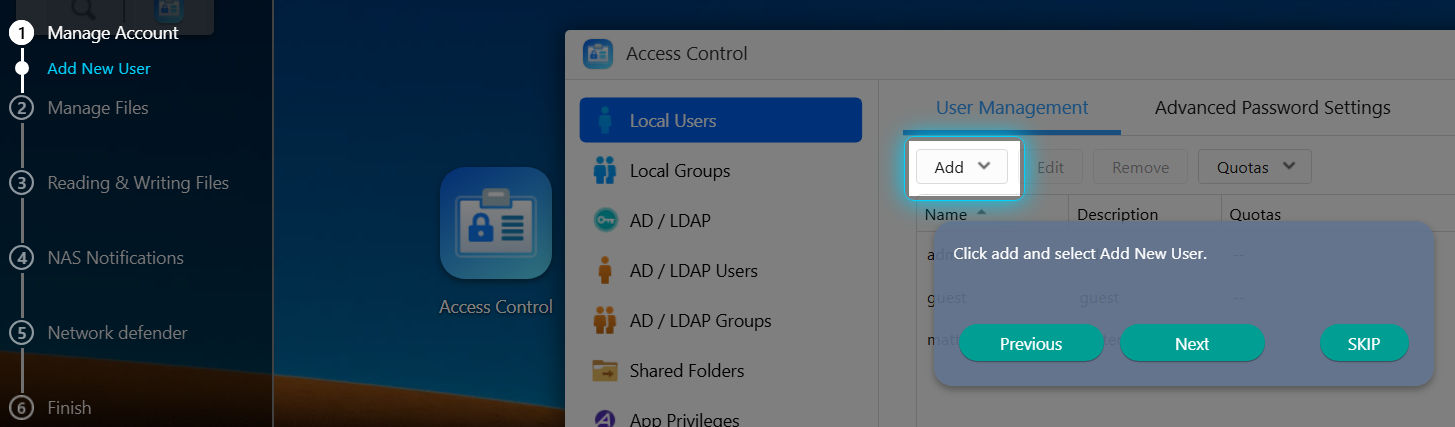
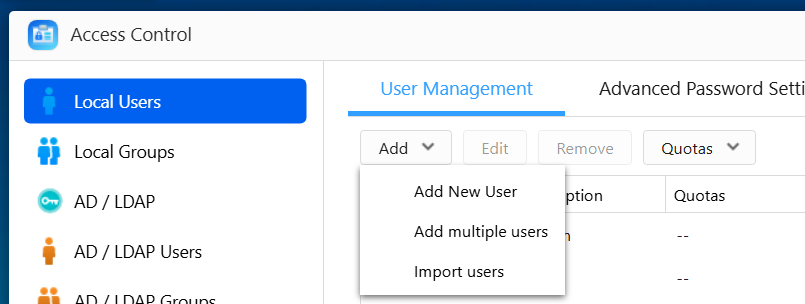
Then in Access Control I’ll setup a few user accounts.
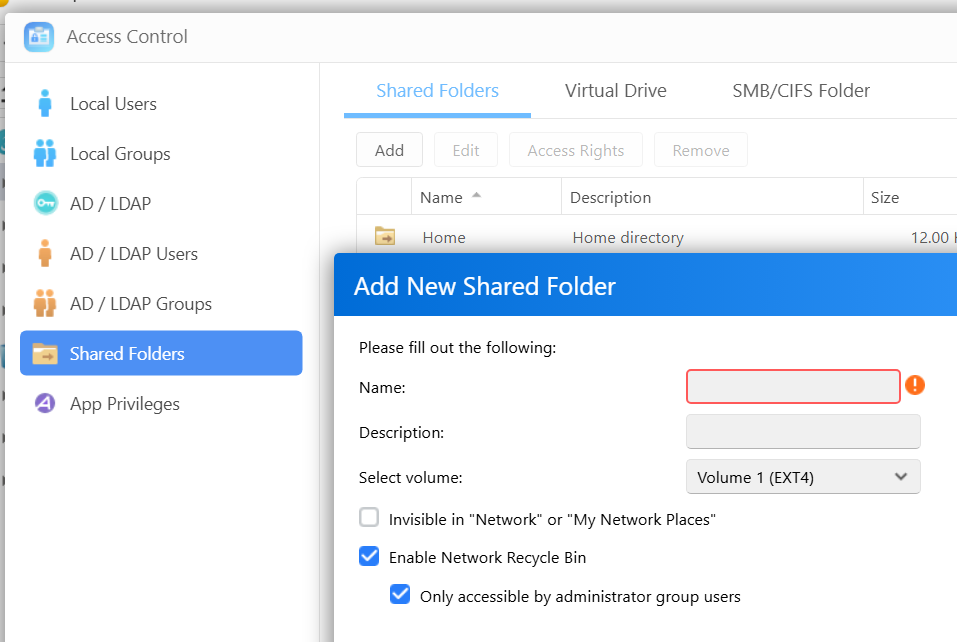
While in Access Control, I setup shared folder. The add shared folder window appears, I name my share, select access ‘by user’, choose the user and their access rights, chose to encrypt of not, and click on finish to complete the process.
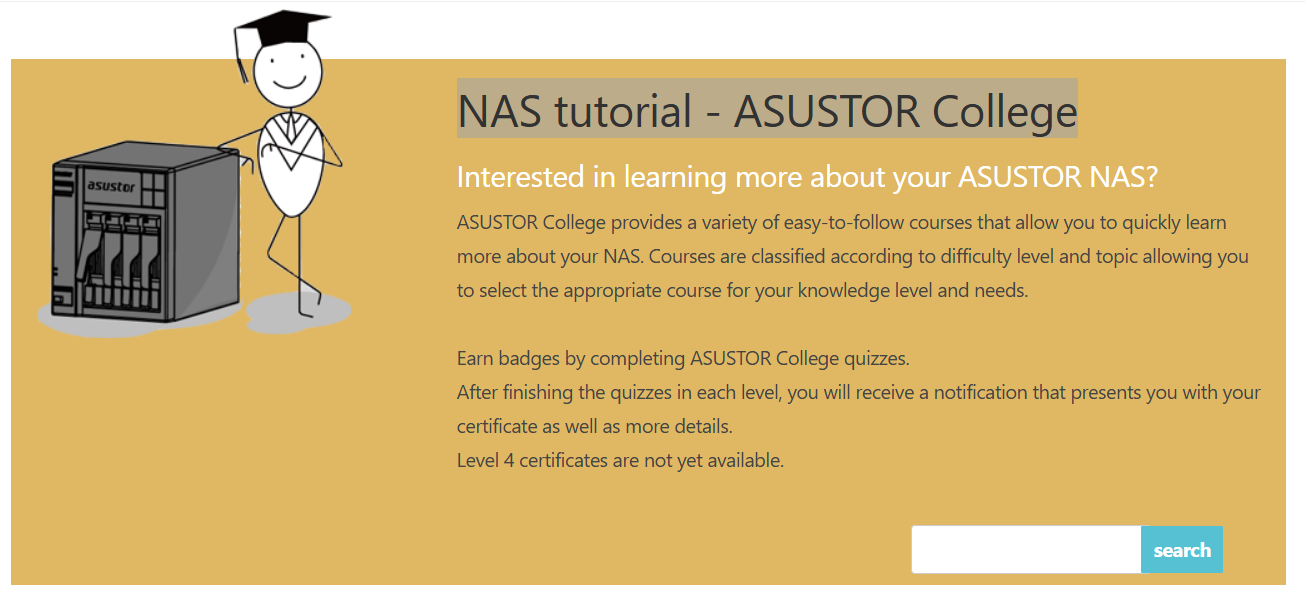
From my experience ADM is a very intuitive and easy to learn. Speaking of learning, ASUSTOR has a FREE NAS Tutorial that explains how to use it! I’ve used it quite a bit is worth a look.
While losing my original DRIVESTOR 2 Pro was a headache, the jump to the DRIVESTOR 4 Pro Gen 2 has been a massive silver lining. With the extra drive redundancy of RAID 5, I feel much more secure about our family’s digital files. It’s faster, quieter, and handles our school and work-from-home needs without breaking a sweat. If you’re looking for a NAS that balances power with a genuinely easy learning curve, ASUSTOR remains my top recommendation.
